Draft Feature
Overview
This feature switches the output of each Styles, Scripts, and HTML setting, so that a setting is output only while the draft view is in use, or is not output while the draft view is in use. Use it when you want to check how a setting behaves without applying it to the screens that are already published. To use the draft view, set a draft key in advance, and then add that draft key to the end of the URL when you check the display.
Prerequisites
- "Site Administration Permission" is required to configure the settings.
- This feature is configured separately for Styles, Scripts, and HTML.
Setting Method
How to configure
-
Select the Styles, Scripts, or HTML tab in "Manage Table".
This manual uses the HTML setting as an example.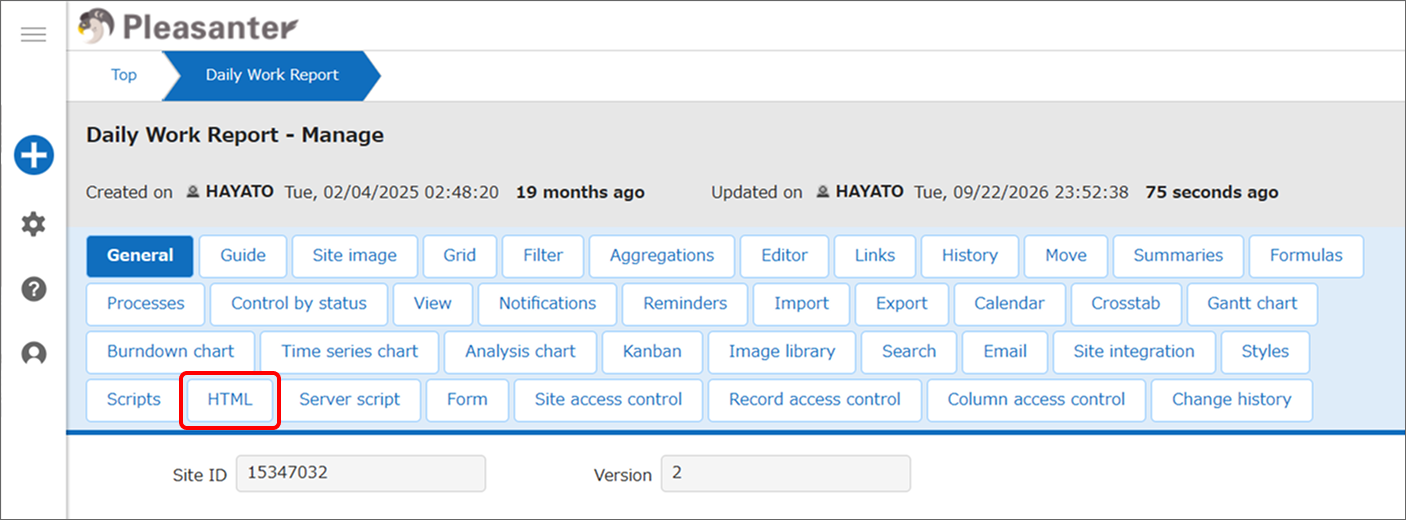
-
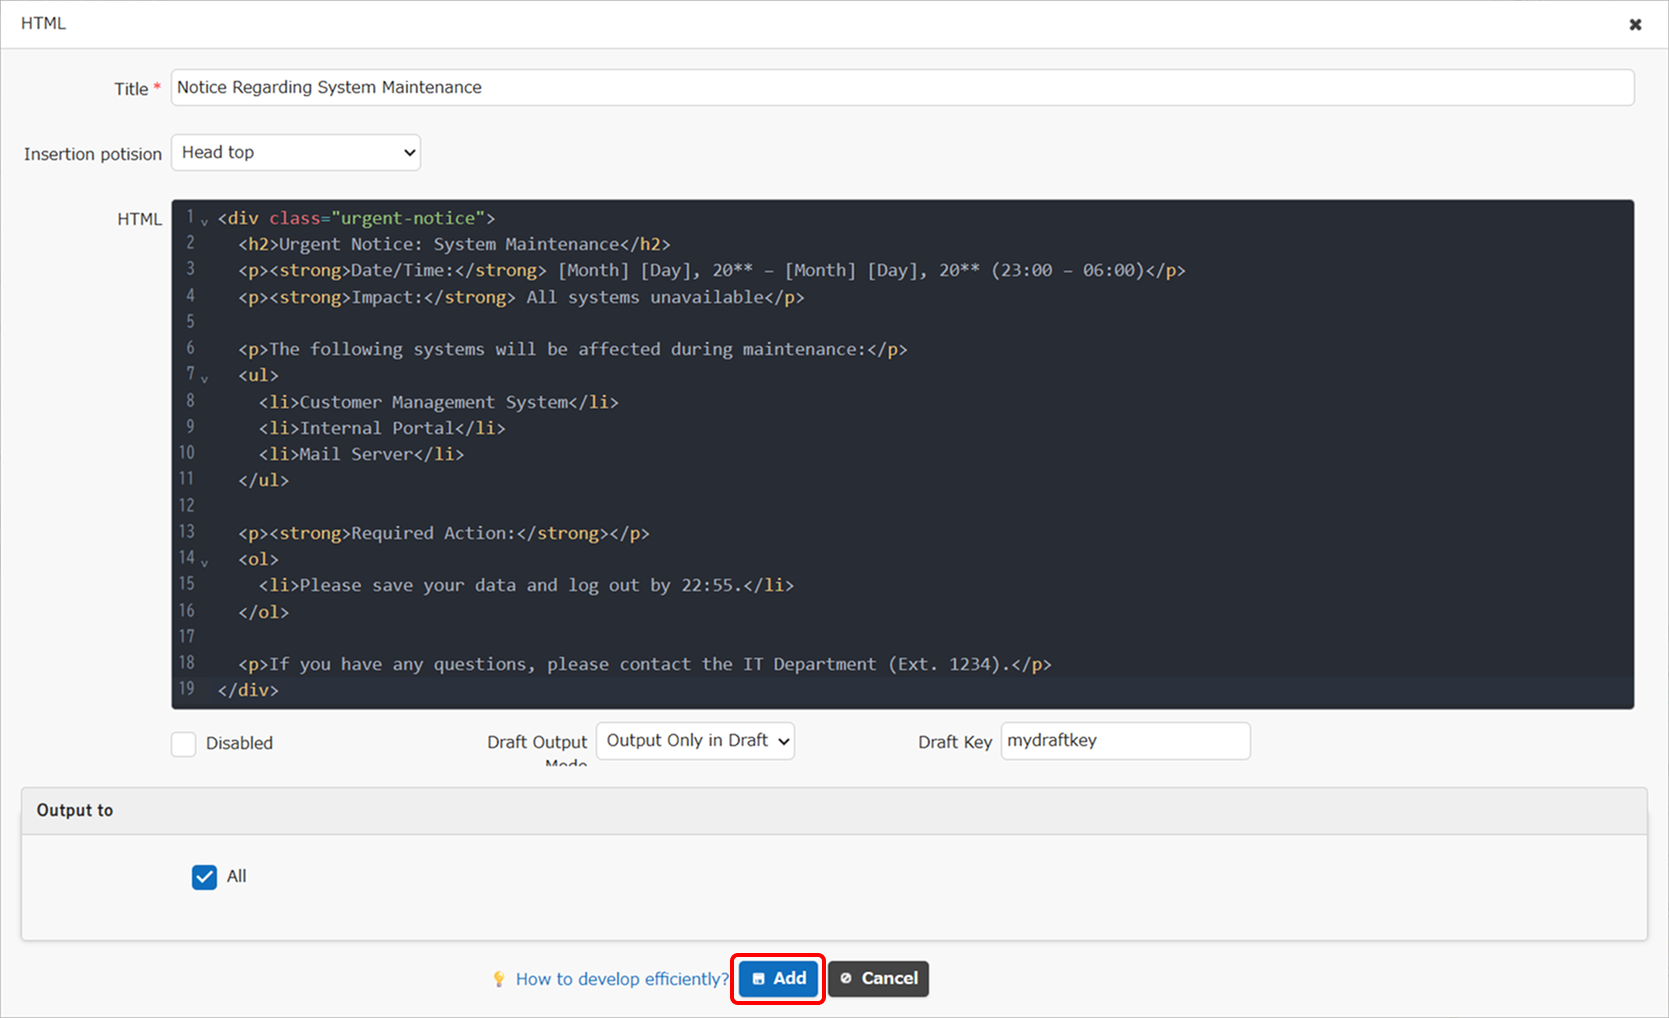
Click "New", or click a registered item in the HTML list. The edit dialog is displayed. Use the "Draft Output Mode" and "Draft Key" items.

-
After entering the HTML, select the output timing in "Draft Output Mode". The available options are as follows.
Option Description Always Output The setting is always output, regardless of whether the draft view is in use. (default) Output Only in Draft The setting is output only while the draft view is in use, that is, when the ?Draft=parameter is added to the URL and its value matches the draft key.Hide in Draft The setting is not output while the draft view is in use, and is output in all other cases, that is, in the normal view. Select "Output Only in Draft" here, so that you can check how the draft view behaves.
-
Enter any string to identify the draft view in "Draft Key", for example
mydraftkey. If you leave it blank, the default value "1" is used.
-
Click the Add button at the bottom of the dialog. When you edit an item that has already been registered, click the Change button instead.
-
Click the "Update" button.
-
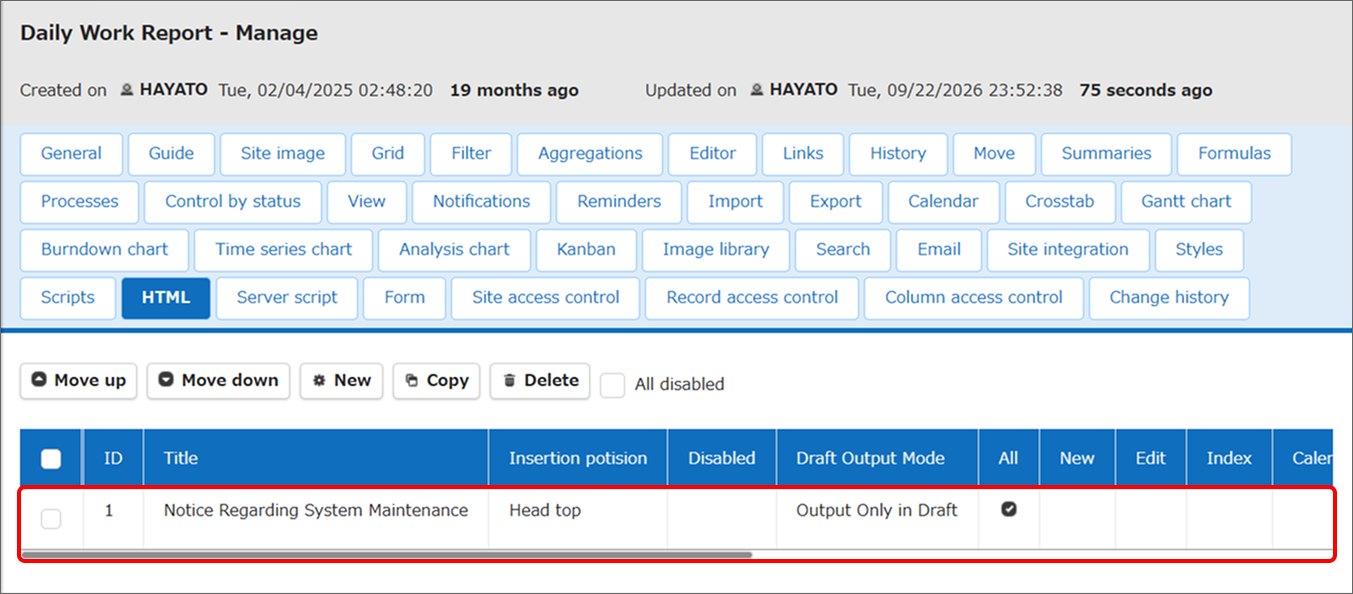
The HTML you created is saved.
Checking the display
How each setting behaves
| Setting | Normal view | Draft view (?Draft= added) |
|---|---|---|
| Output Only in Draft | Not output | Output |
| Hide in Draft | Output | Not output |
Checking the display (grid screen)
-
Check the display of the table grid. First, confirm that the HTML is not displayed in the normal view, which has no draft key.

-
Check the display of the table grid in draft mode. Open the grid screen with the URL that has the draft key added.
-
The draft view is enabled on the grid screen, so the HTML is displayed.

Configuring with the API
This feature can also be configured with the API (update site settings). For details, see Update Site Settings (Partial Add/Update/Delete).
Supported Versions
| Supported Versions | Body |
|---|---|
| 1.5.7.0 and later | New feature |