Tab
Overview
This function allows you to add "Tab". By combining it with "Headings" and "Link Settings", you can organize the layout of the "Editor".
Limitations
- The "General" tab cannot be deleted. However, its name can be changed.
- Additional tabs cannot be displayed to the left of the "General" tab. The "General" tab will always remain on the far left.
- Additional tabs cannot be displayed to the right of the "Change history list" and "Record access control" tabs.
- A single column cannot be displayed on multiple tabs.
- If comments are enabled in one tab, they will be displayed on all tabs.
Prerequisites
- "Site Administration" Permission are required to configure this setting.
Operation Procedure
1. Add a Tab
- Open the target table.
- Click "Manage table" from the "Manage" menu.
- Open the "Editor" tab.
- In "Tab settings", click the "New" button.

- Enter the desired tab name in the "Name displayed" field of the dialog box, and click the "Add" button.

- Click the "Update" button in the "Command button area".
- Open the "Editor" screen, and the newly added tab will appear to the right of the "General" tab.

2. Modify a Tab
- Open the target table.
- Click "Manage table" from the "Manage" menu.
- Open the "Editor" tab.
- In "Tab settings", select the tab you want to modify and click the "Advanced settings" button.

- Enter the new name in the "Name displayed" field of the dialog box, and click the "Change" button.

- Click the "Update" button in the "Command button area".
3. Delete a Tab
- Open the target table.
- Click "Manage table" from the "Manage" menu.
- Open the "Editor" tab.
- In "Tab settings", select the tab you want to delete and click the "Delete" button. Note: The "General" tab cannot be deleted.

- Click the "Update" button in the "Command button area".
4. Move a Tab
- Open the target table.
- Click "Manage table" from the "Manage" menu.
- Open the "Editor" tab.
- In "Tab settings", select the tab you want to move and use the "Move up" or "Move down" buttons to adjust its position. Note: The "General" tab cannot be moved, and additional tabs cannot be moved above the "General" tab.

- Click the "Update" button in the "Command button area".
5. Display Column in Added Tabs
- Open the target table.
- Click "Manage table" from the "Manage" menu.
- Open the "Editor" tab.
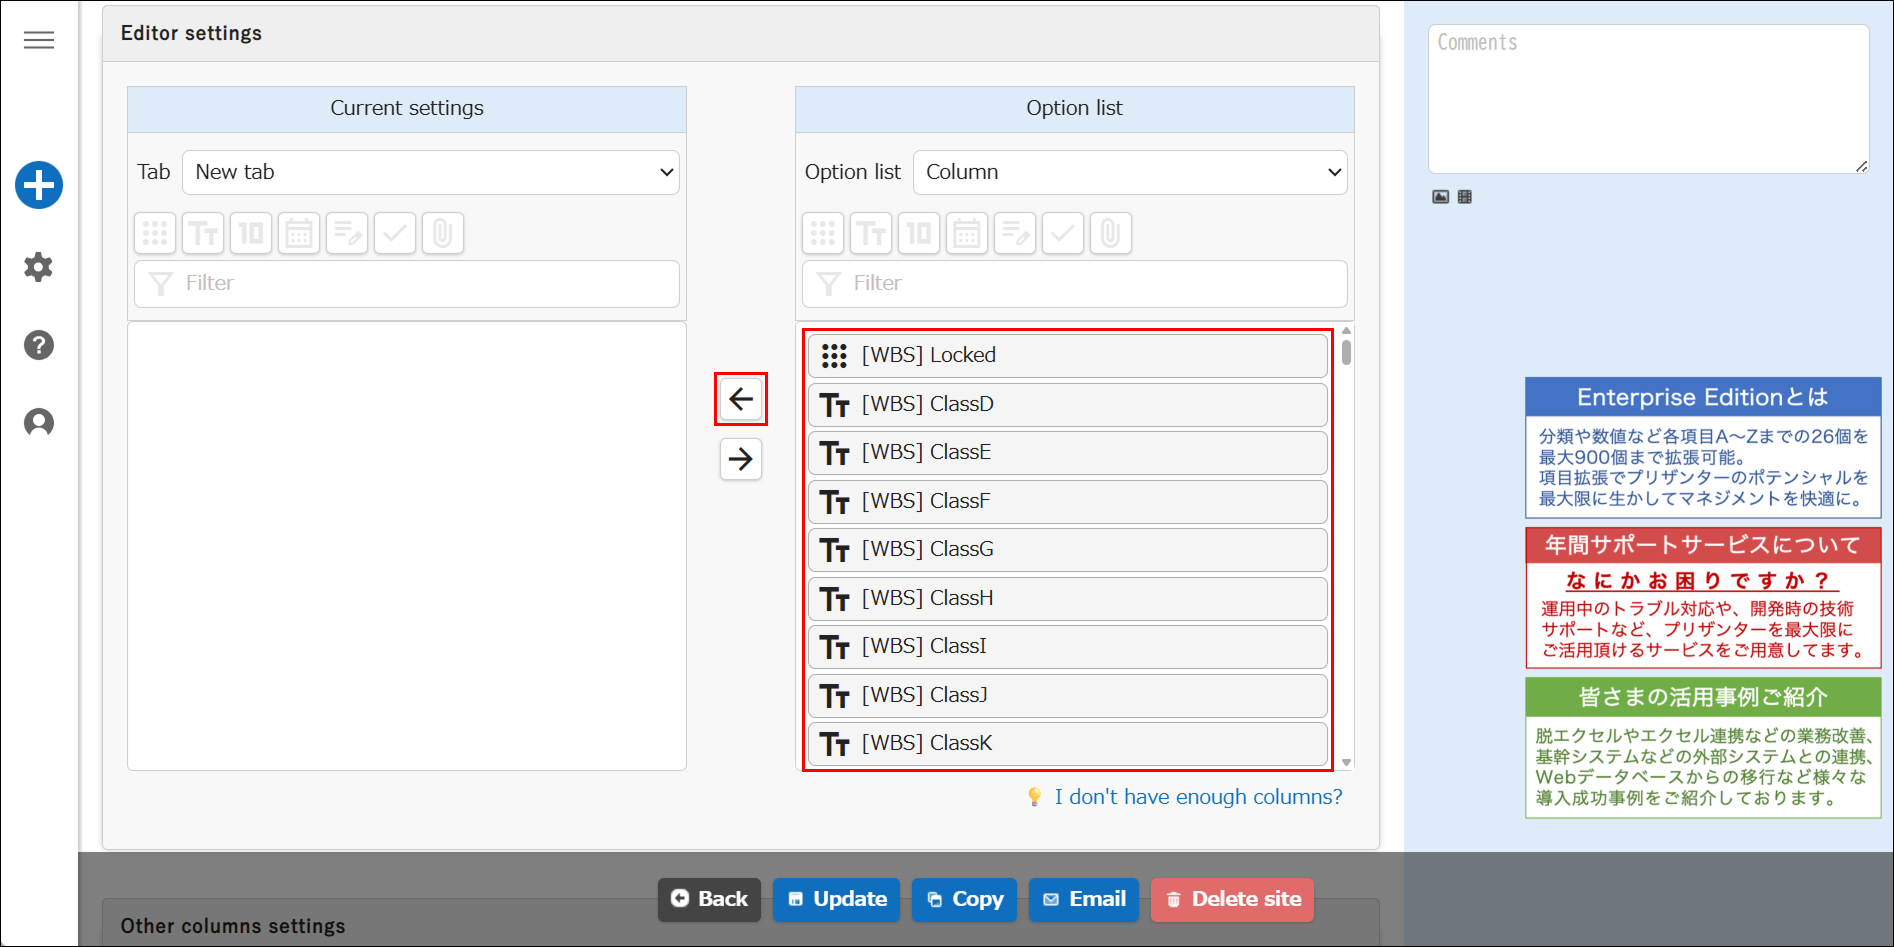
- From the "Current settings" dropdown list under "Editor settings", select the tab where you want to display column.

- Use the steps in "Editor Column Settings" to enable the items you want to display. A single column cannot be displayed on multiple tabs. Comments enabled in one tab will be displayed on all tabs.