Basic Settings
<< Explanation of the Form function | Settings for safer use >>
1. Enabling the Form Function
Set the value of the parameter "Enabled" of the configuration file Form.json to true.
Form.json
With this setting, the Form tab is added to the "Manage Table" screen.
2. Creating a Table to Publish
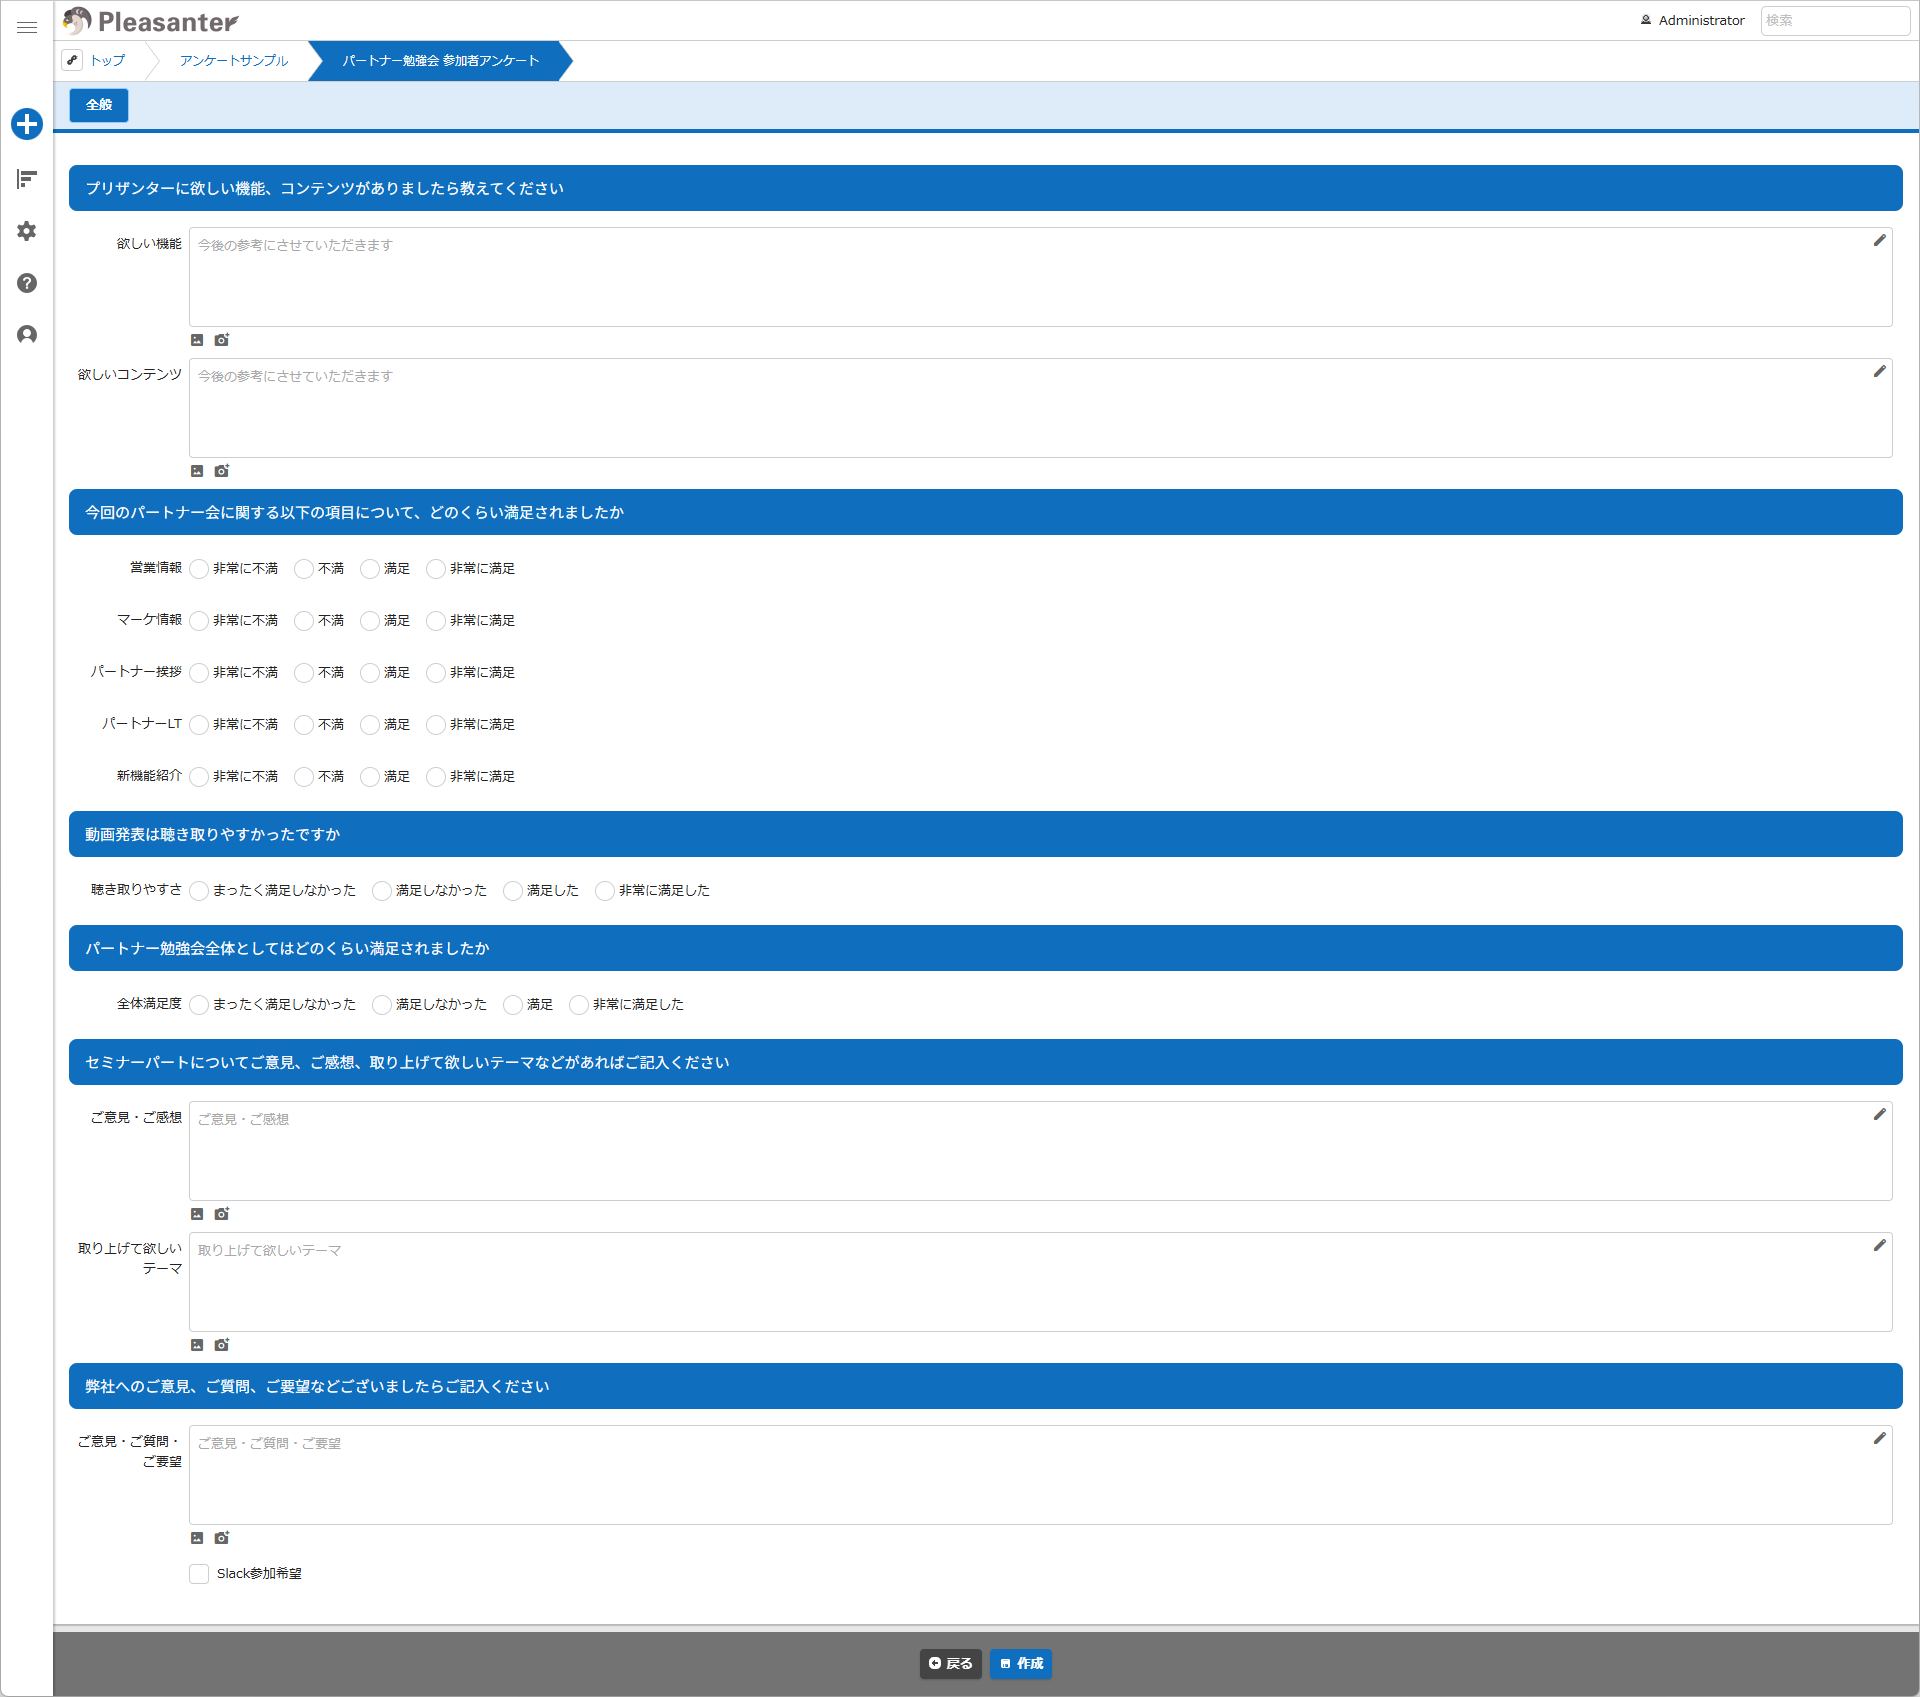
Create a table to publish, using the "Editor" and so on.
Example of creating a table to publish
3. Enabling the Publication Function of the Table
- Open the table you want to publish.
- Click "Administration" on the navigation menu.
- Click "Manage Table".
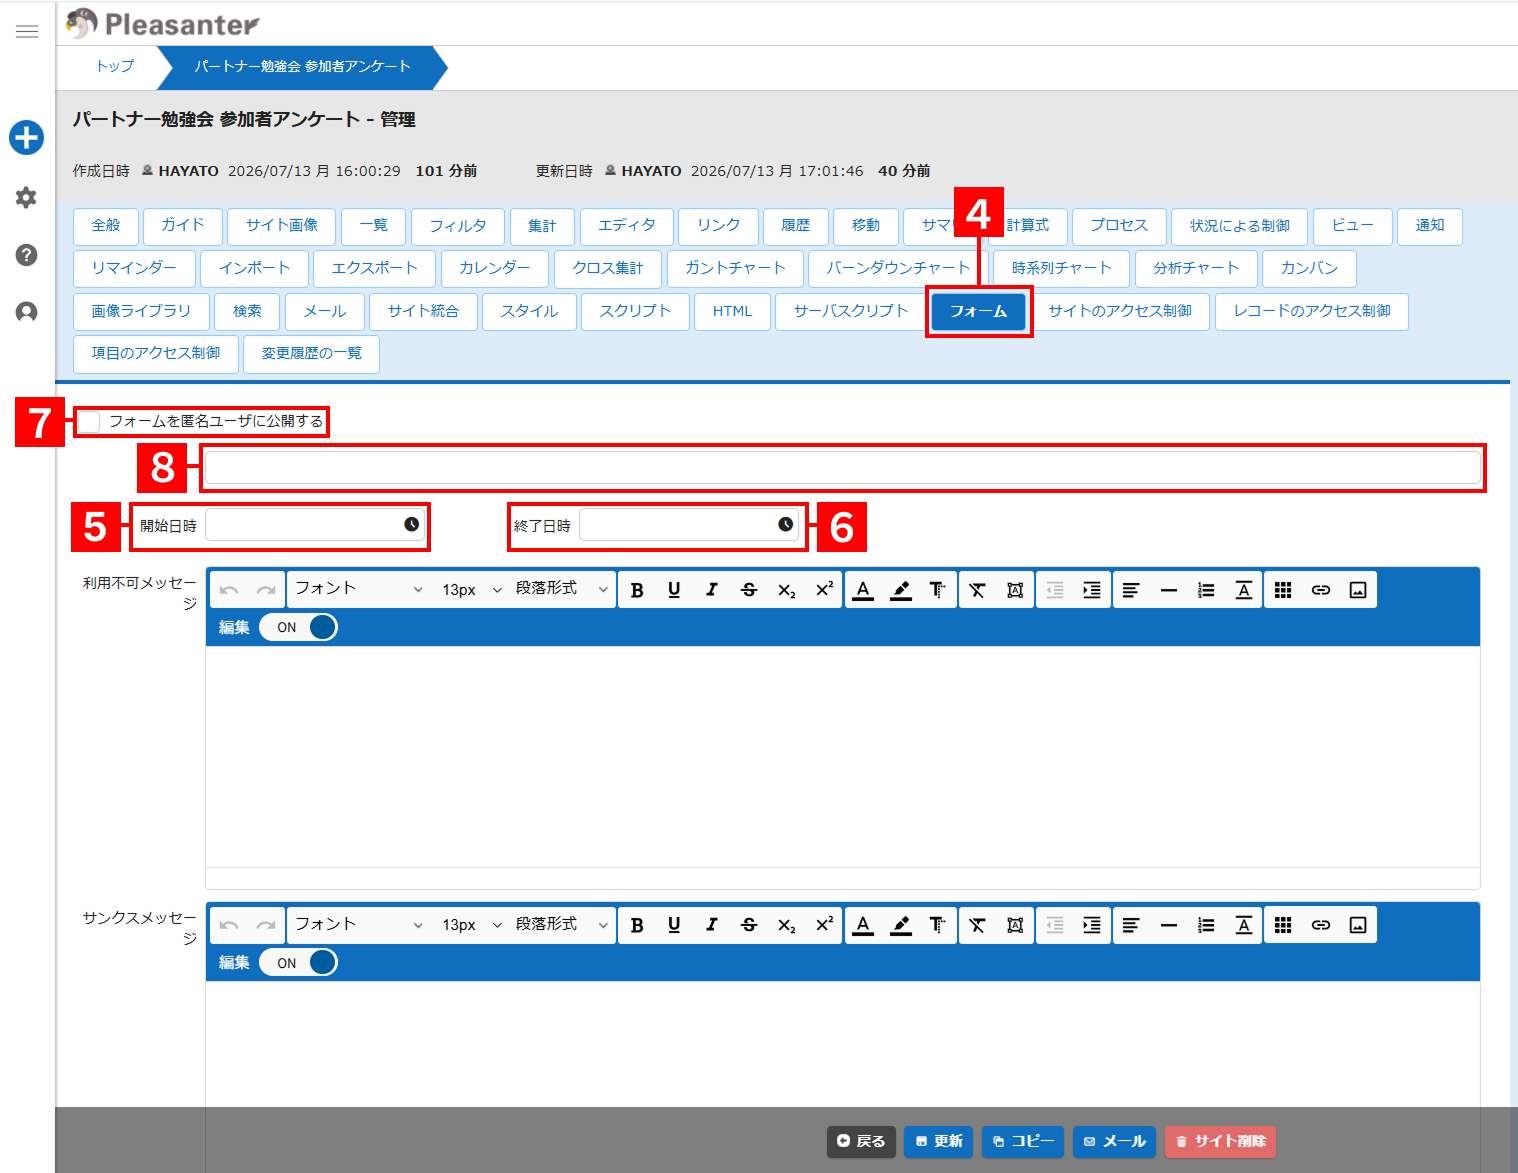
- Click the Form tab.
- Set the date and time at which the publication starts in "Start Date and Time", in UTC (9 hours before JST).
- Set the date and time at which the publication ends in "End Date and Time", in UTC (9 hours before JST).
- Click "Publish the form to anonymous users" to enable it.
- The published address is displayed under "Publish the form to anonymous users".
- Click the "Update" button in the command button area.
- Open a web browser and access the published address. Note that if you turn "Publish the form to anonymous users" off once and then on again, the published address is renewed.
About "Start Date and Time" and "End Date and Time"
You can also leave these columns empty (unset). You can also set only one of them.
| Start Date and Time | End Date and Time | Result |
|---|---|---|
| Empty (unset) | Empty (unset) | Published without a set period |
| A specific date and time | Empty (unset) | Published from that date and time onwards, without a set end |
| A specific date and time | A date and time in the past | Publication temporarily stopped |
4. Creating Custom Messages
4.1. Unavailable message
You can create a message to show to users who access outside the publication period. You can use the "rich text editor" to edit the message.
The following is an example of creating an "unavailable message".
When published, it is displayed as follows.
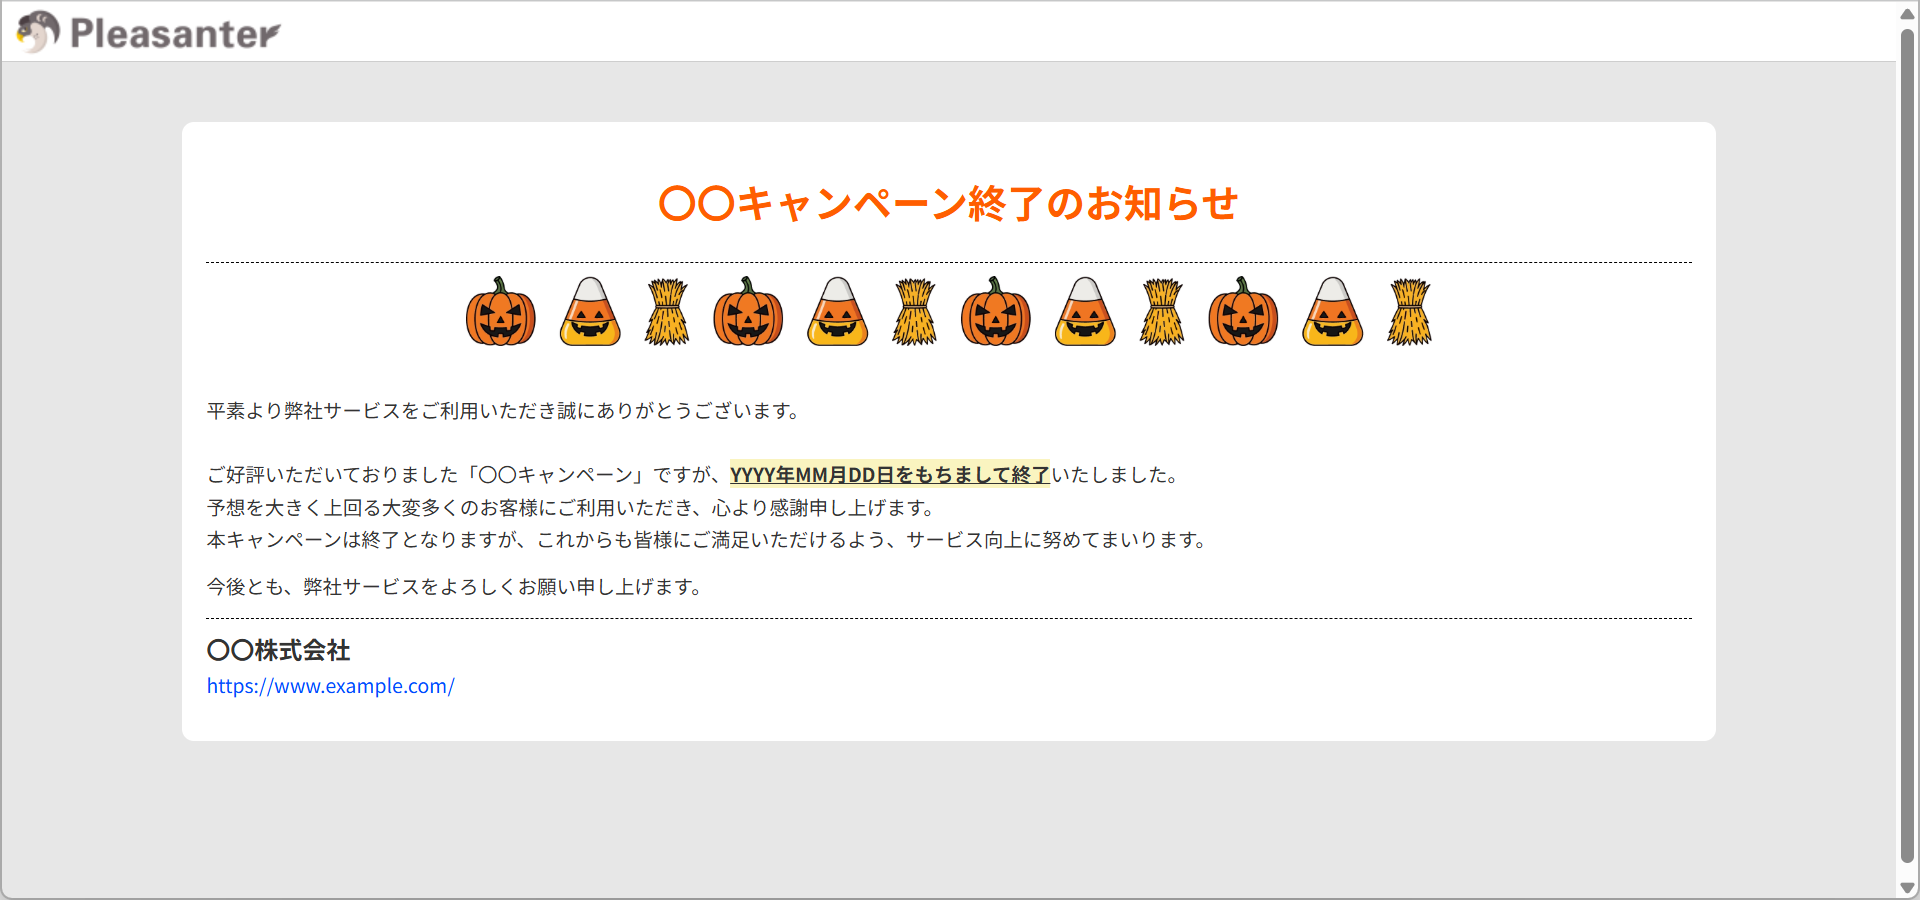
When the "unavailable message" is empty, the message defined in "App_Data\Displays\FormUnavailableMessageDefault.json" is displayed.
{
    "Id": "FormUnavailableMessageDefault",
    "Type": 110,
    "Languages": [
        {
            "Body": "Not available."
        },
        {
            "Language": "ja",
            "Body": "利用できません。"
        }
    ]
}
Because the "rich text editor" is used, tags can remain even when the field looks empty. In that case the unavailable message is not identified as empty, and a page that appears to show nothing is displayed. If nothing is shown when you click the "Show blocks" button of the "rich text editor", you have completely deleted the content of the input field.

4.2. Thanks message
You can create a message to show to users who created a record during the publication period. You can use the "rich text editor" to edit the message.
When published, it is displayed as follows.
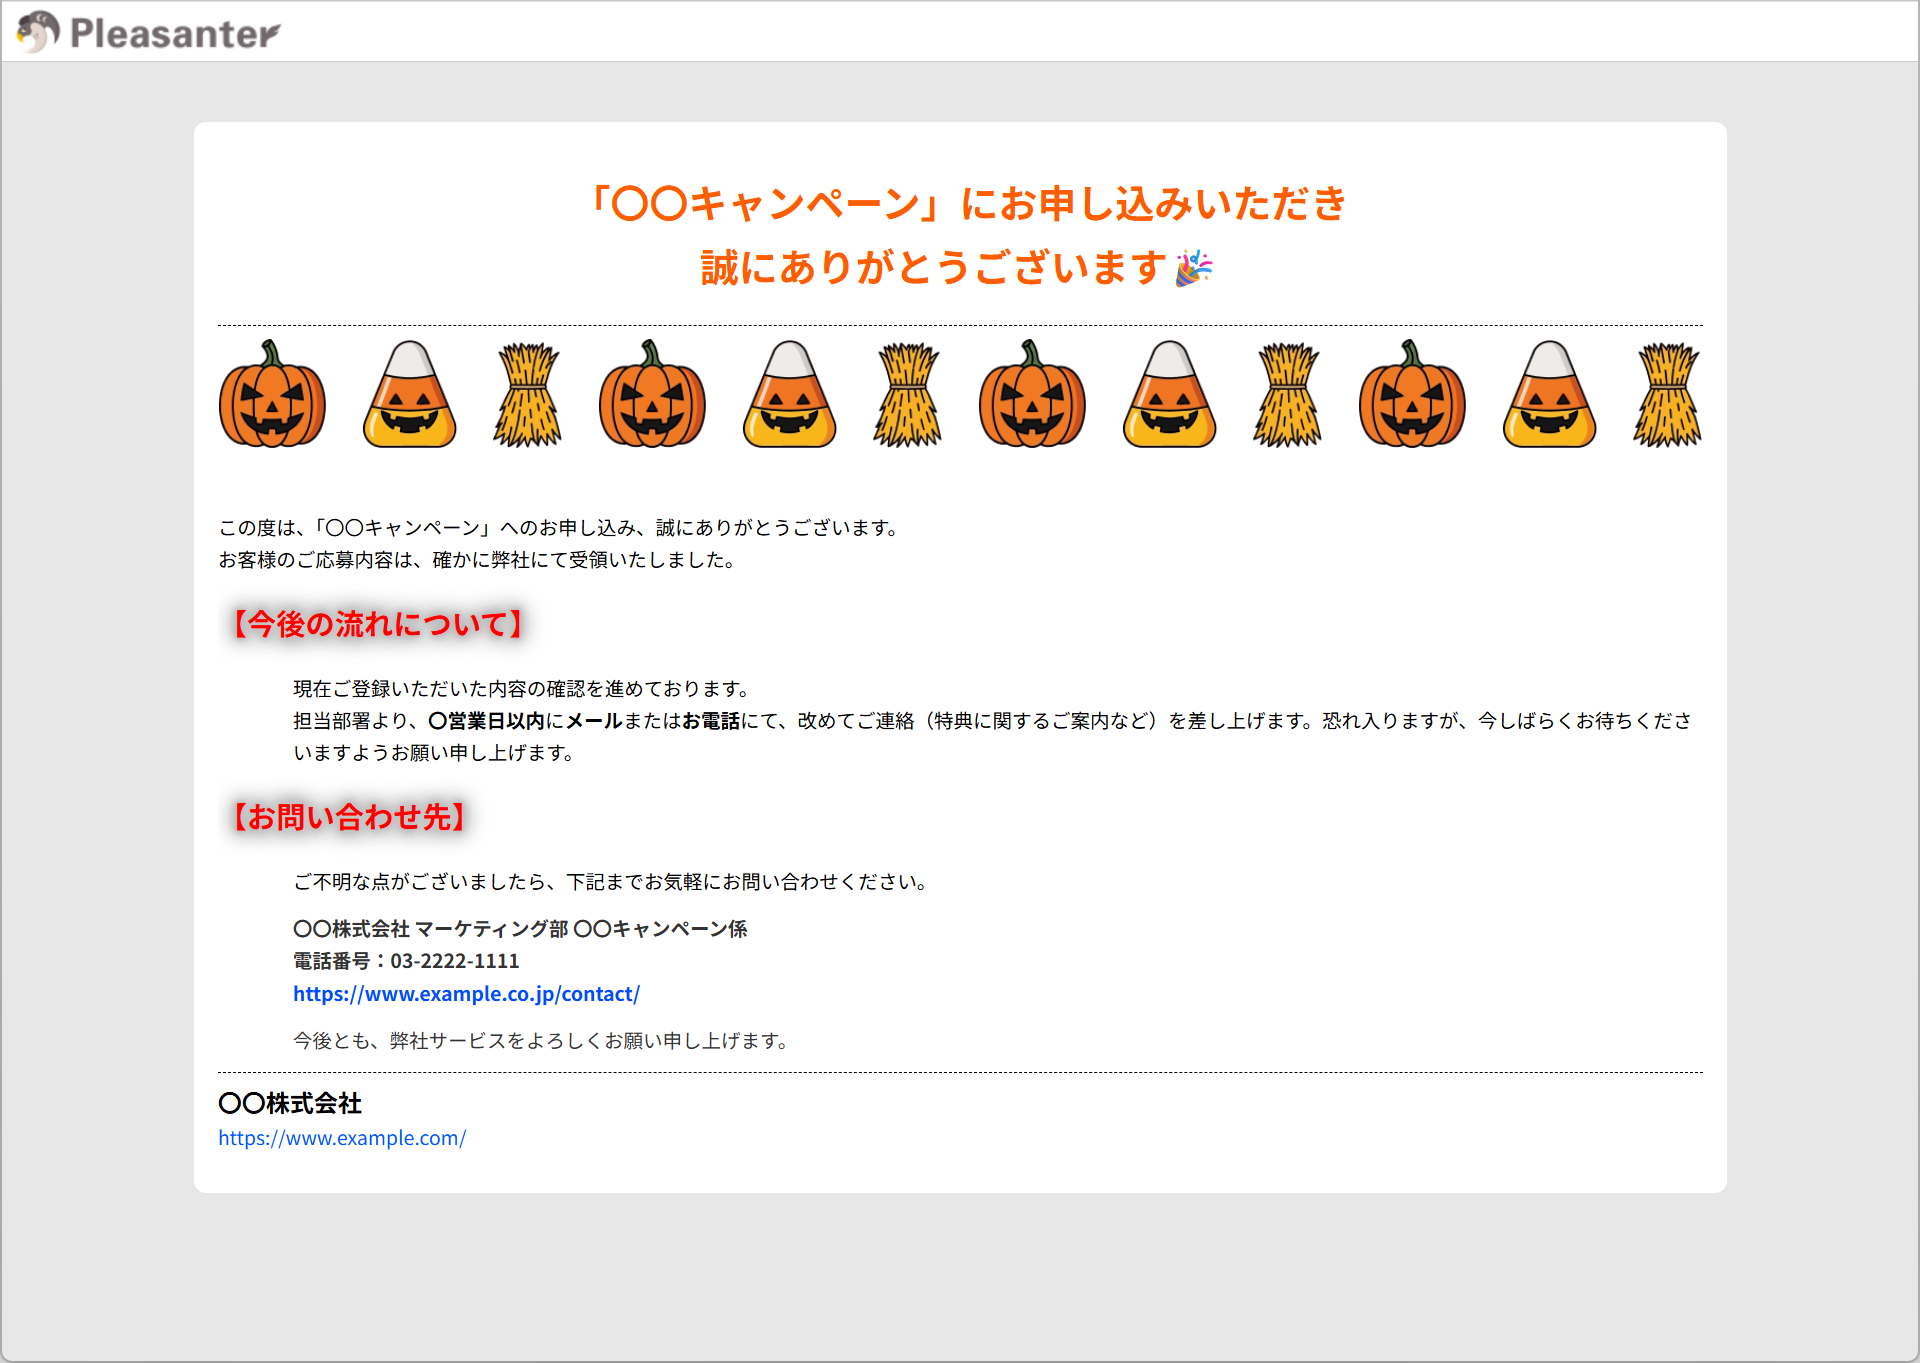
When the "thanks message" is empty, the message defined in "App_Data\Displays\FormThanksMessageDefault.json" is displayed.
{
    "Id": "FormThanksMessageDefault",
    "Type": 110,
    "Languages": [
        {
            "Body": "Thank you for your input."
        },
        {
            "Language": "ja",
            "Body": "ご入力ありがとうございました。"
        }
    ]
}
Because the rich text editor is used, tags can remain even when the field looks empty. In that case the unavailable message is not identified as empty, and a page that appears to show nothing is displayed, so take care.
<< Explanation of the Form function | Settings for safer use >>