Permissions Viewer Function
Overview
1.5.9.0
On the "Permissions viewer" tab of the user, department and group administration screens, you can check in a list which permissions the target has on which sites. Without opening "Site access control" of each site one by one, you can find the permissions to remove before a transfer or a resignation, and review permissions regularly. Besides the permissions granted directly to the target, the list also includes the following permissions.
- Permissions granted through the departments and groups the target belongs to
- Permissions inherited from a parent site
You can sort and filter the list, and export it to a CSV file.
Limitations
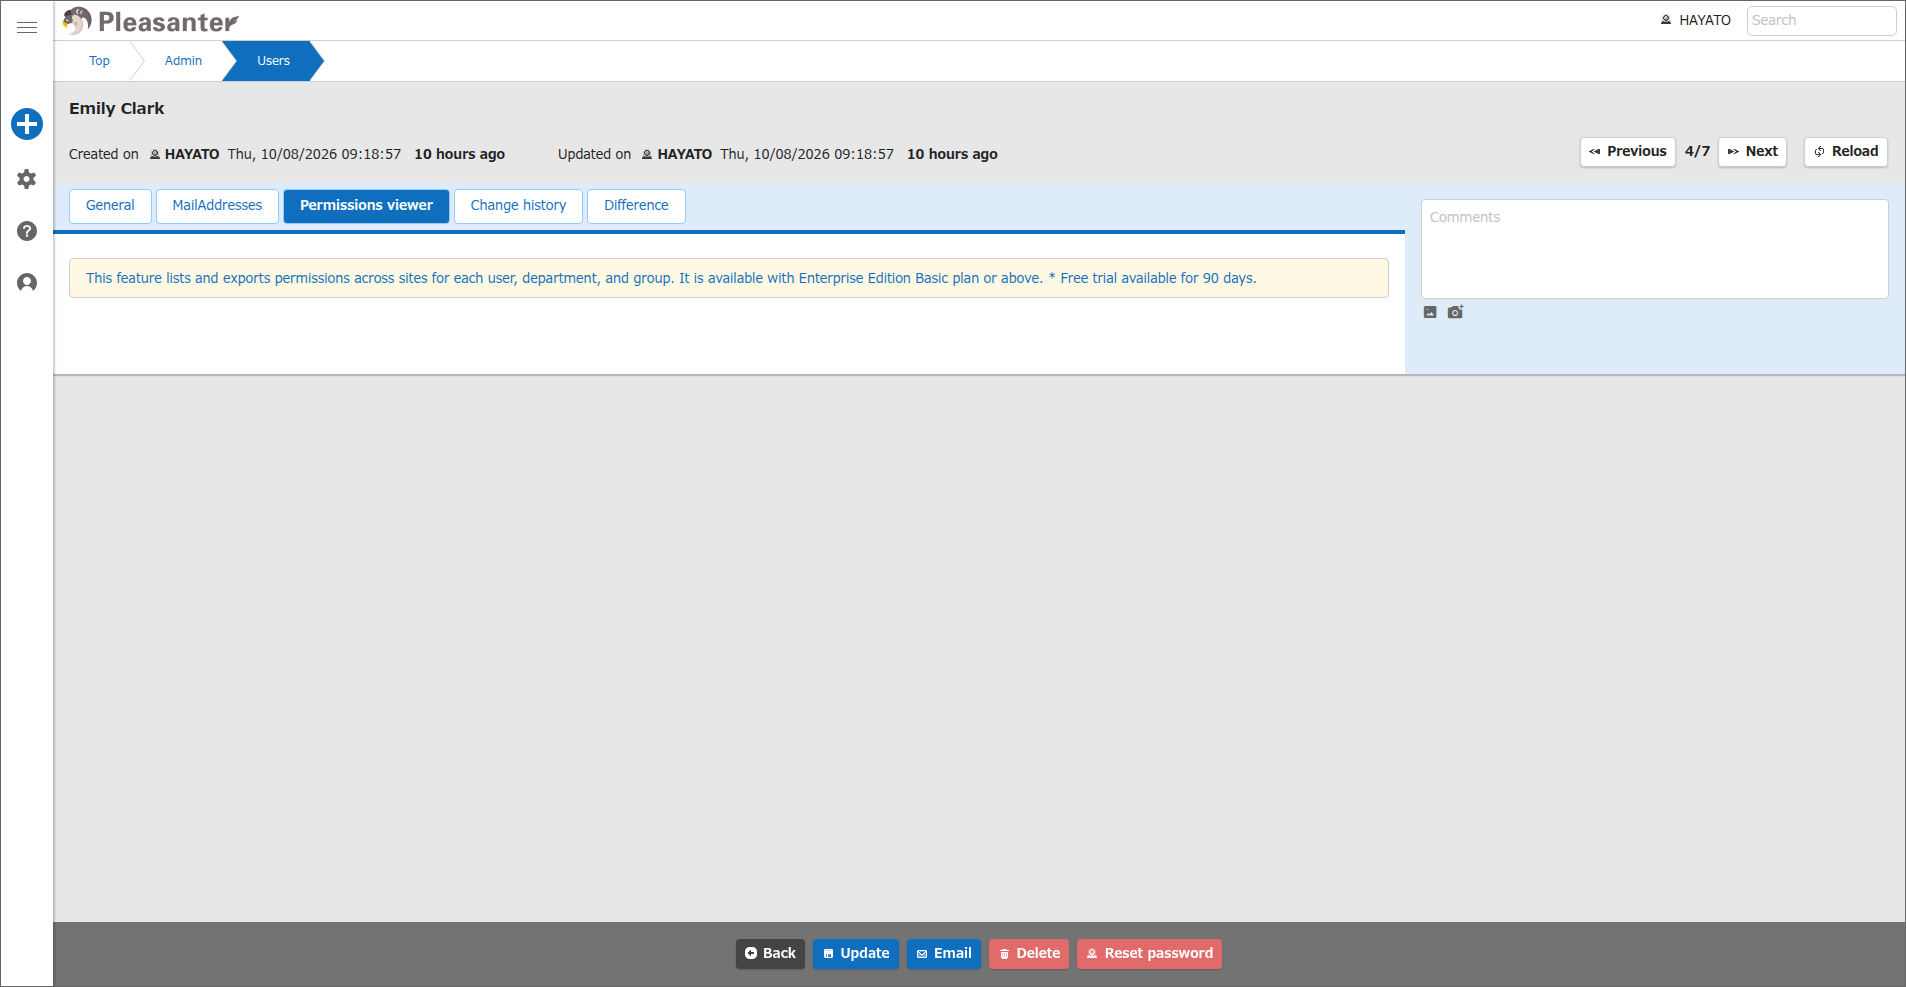
- This function is available with Enterprise Edition Basic plan or above. It is also available during the Pleasanter Extensions trial.
-
With Community Edition and the Entry plan of Enterprise Edition, the "Permissions viewer" tab shows an introduction to the function instead of the list. You cannot export either.
-
If you set PermissionsViewer in the General.json parameter to false, this function is not available. The "Permissions viewer" tab shows the same introduction as when there is no license. The default value is true.
Prerequisites
The users who can display the "Permissions viewer" tab differ by screen as follows.
| Screen | Users who can display the tab |
|---|---|
| User administration | Tenant manager, privileged user, any logged-in user (own user screen only) |
| Department administration | Tenant manager, privileged user |
| Group administration | Tenant manager, privileged user, administrators of the group |
Operation Procedure
Display the List of Permissions
When the logged-in user checks their own permissions, click "Edit profile" in the account menu, and start from step 4.
- Click "Manage" in the navigation menu.
- Click "User administration", "Department administration" or "Group administration".
- Click the target user, department or group in the list.
- Click the "Permissions viewer" tab.
-
The list of sites on which the target has permissions is displayed.
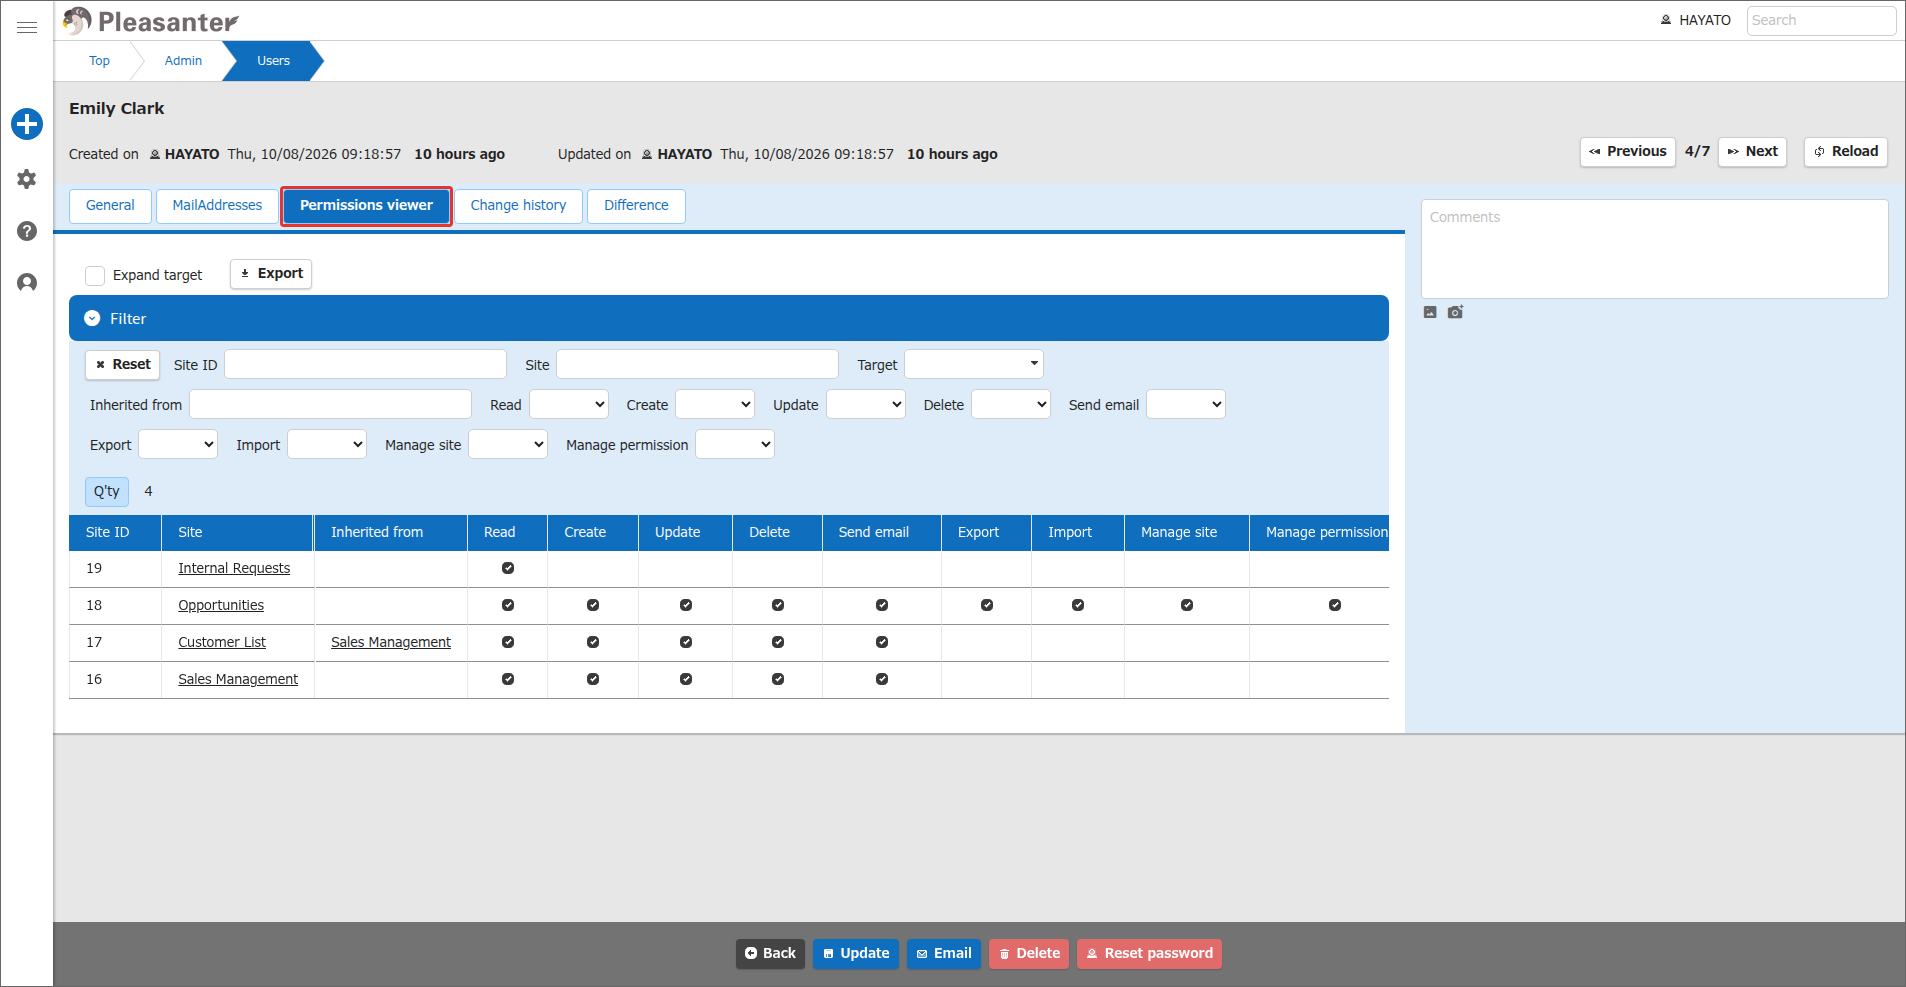
The columns of the list are as follows.
| Column name | Description |
|---|---|
| Site ID | The ID of the site on which the permission is set |
| Site | The title of the site. Click it to open the "Site access control" tab of the site's management screen in a new browser tab |
| Inherited from | The site from which the permission is inherited, when inherited from a parent site. Click it to open the "Site access control" tab of that site's management screen in a new browser tab |
| Target | The source of the permission. Shown only when "Expand target" is on |
| Read to Manage permission | The 9 types of permissions. A check icon is shown for the permissions the target has |
| Set time | The date and time the permission was set. It may differ from the updated time of the site |
The permission columns are in the same order as in Site access control: "Read", "Create", "Update", "Delete", "Send email", "Export", "Import", "Manage site" and "Manage permission".
The rows of the list are displayed a certain number at a time. To display more, click the "Load next 20 rows" button below the list (when GridPageSize is the default value). The number of rows loaded at a time follows GridPageSize in the General.json parameter.
Check the Site Hierarchy
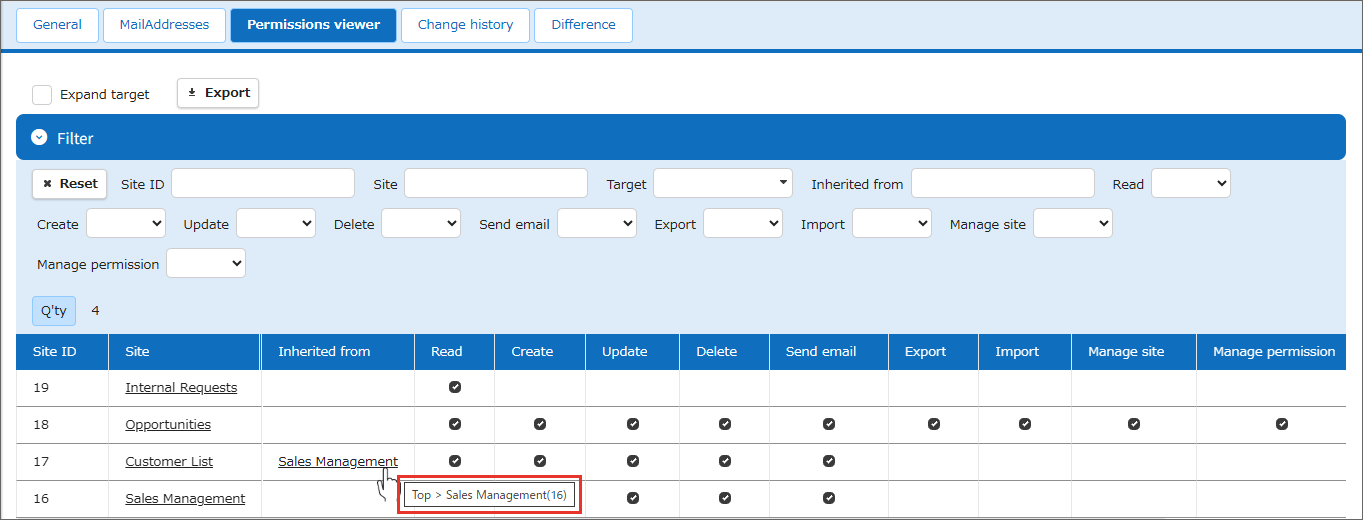
- Hover the mouse pointer over a site name in the "Site" column or the "Inherited from" column.
-
A breadcrumb with site IDs is displayed.
Display by Source (Expand Target)
By default, each site is shown in one row. Each permission column shows the permissions the target actually has, combining the permissions from all sources on that site. To show each source separately, do the following.
- Turn on "Expand target".
-
The "Target" column is added, and shows through which route each permission was granted.
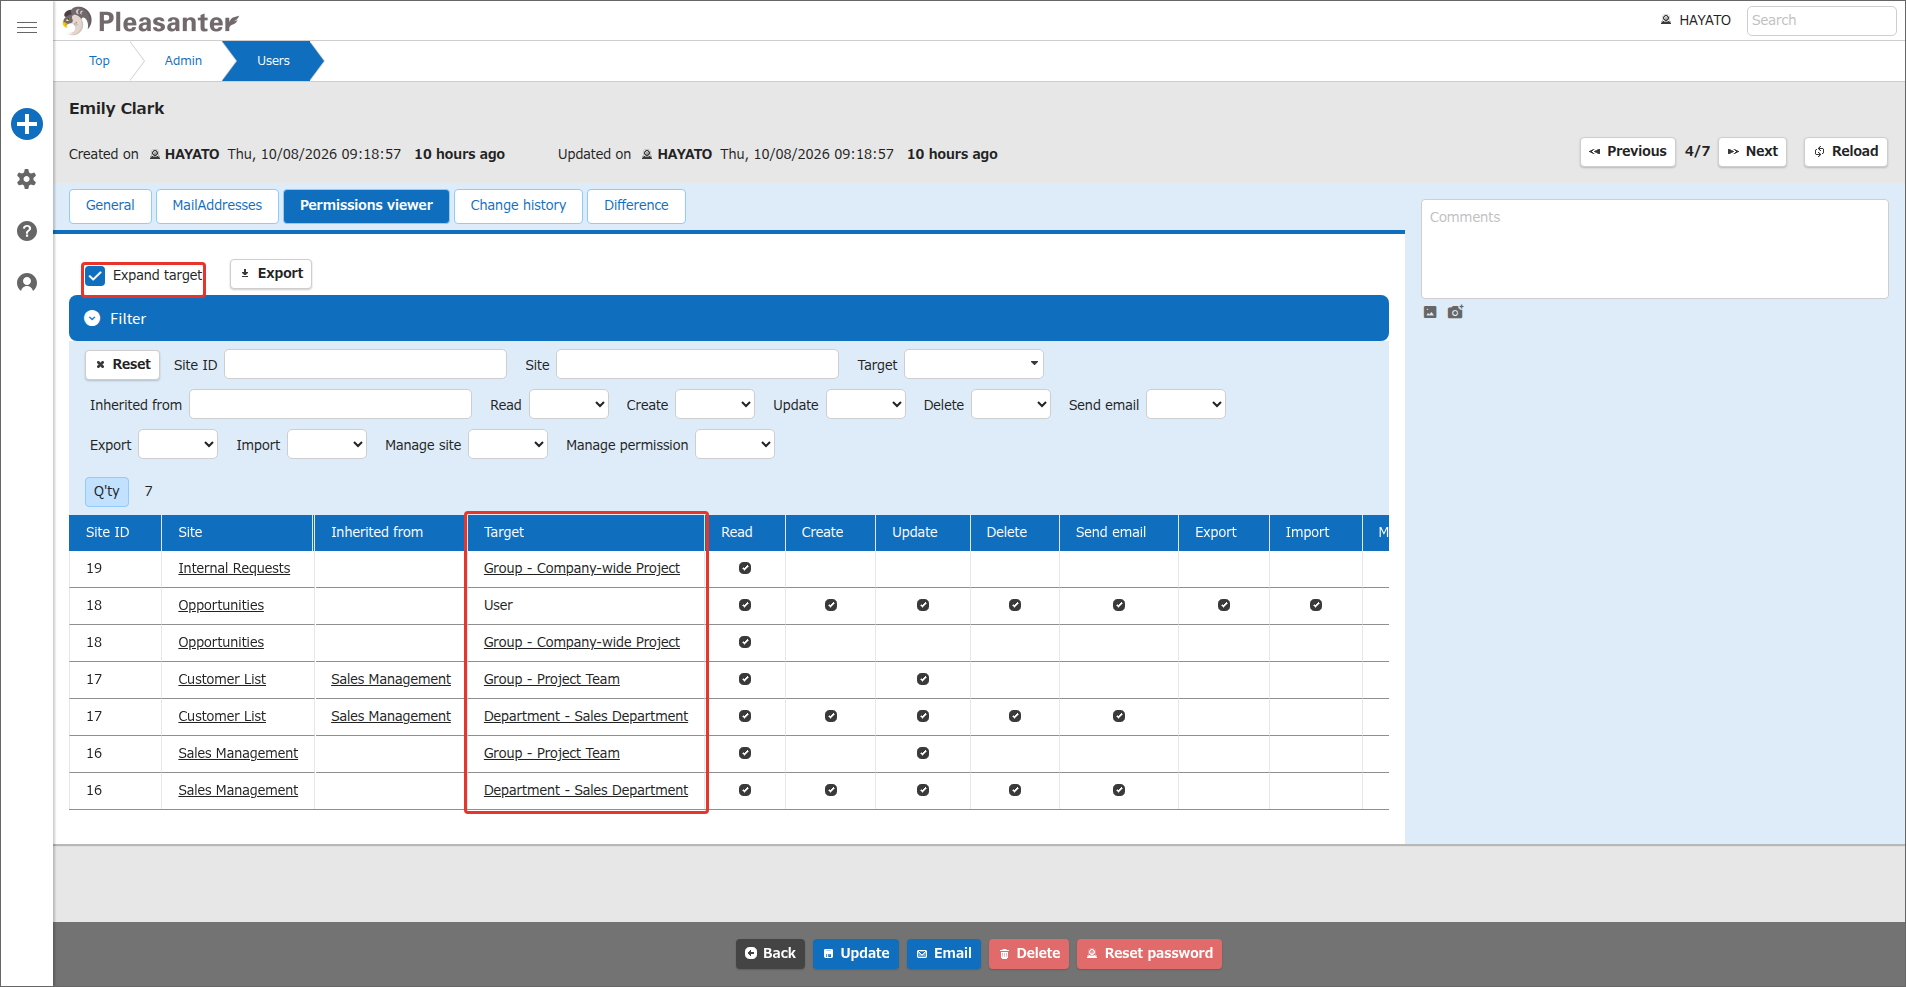
The "Target" column shows the following.
Source Shown in the "Target" column Link The target user, department or group The type only (e.g. "User") None Granted through a department Department - department name The "Department administration" screen of the department (opens in a new browser tab) Granted through a group Group - group name The "Group administration" screen of the group (opens in a new browser tab)
The sources shown on each screen are as follows.
| Screen | Sources |
|---|---|
| User administration | The user, the departments and the groups it belongs to |
| Department administration | The department, the groups it belongs to |
| Group administration | The group, its parent groups and its child groups |
The group administration screen also shows permissions granted to child groups. These permissions are held only by the members of the group who belong to the child group, not by all members of the group.
Sort
To sort by one column, click the column header. The list is sorted by that column. Each click switches between ascending, descending and released.
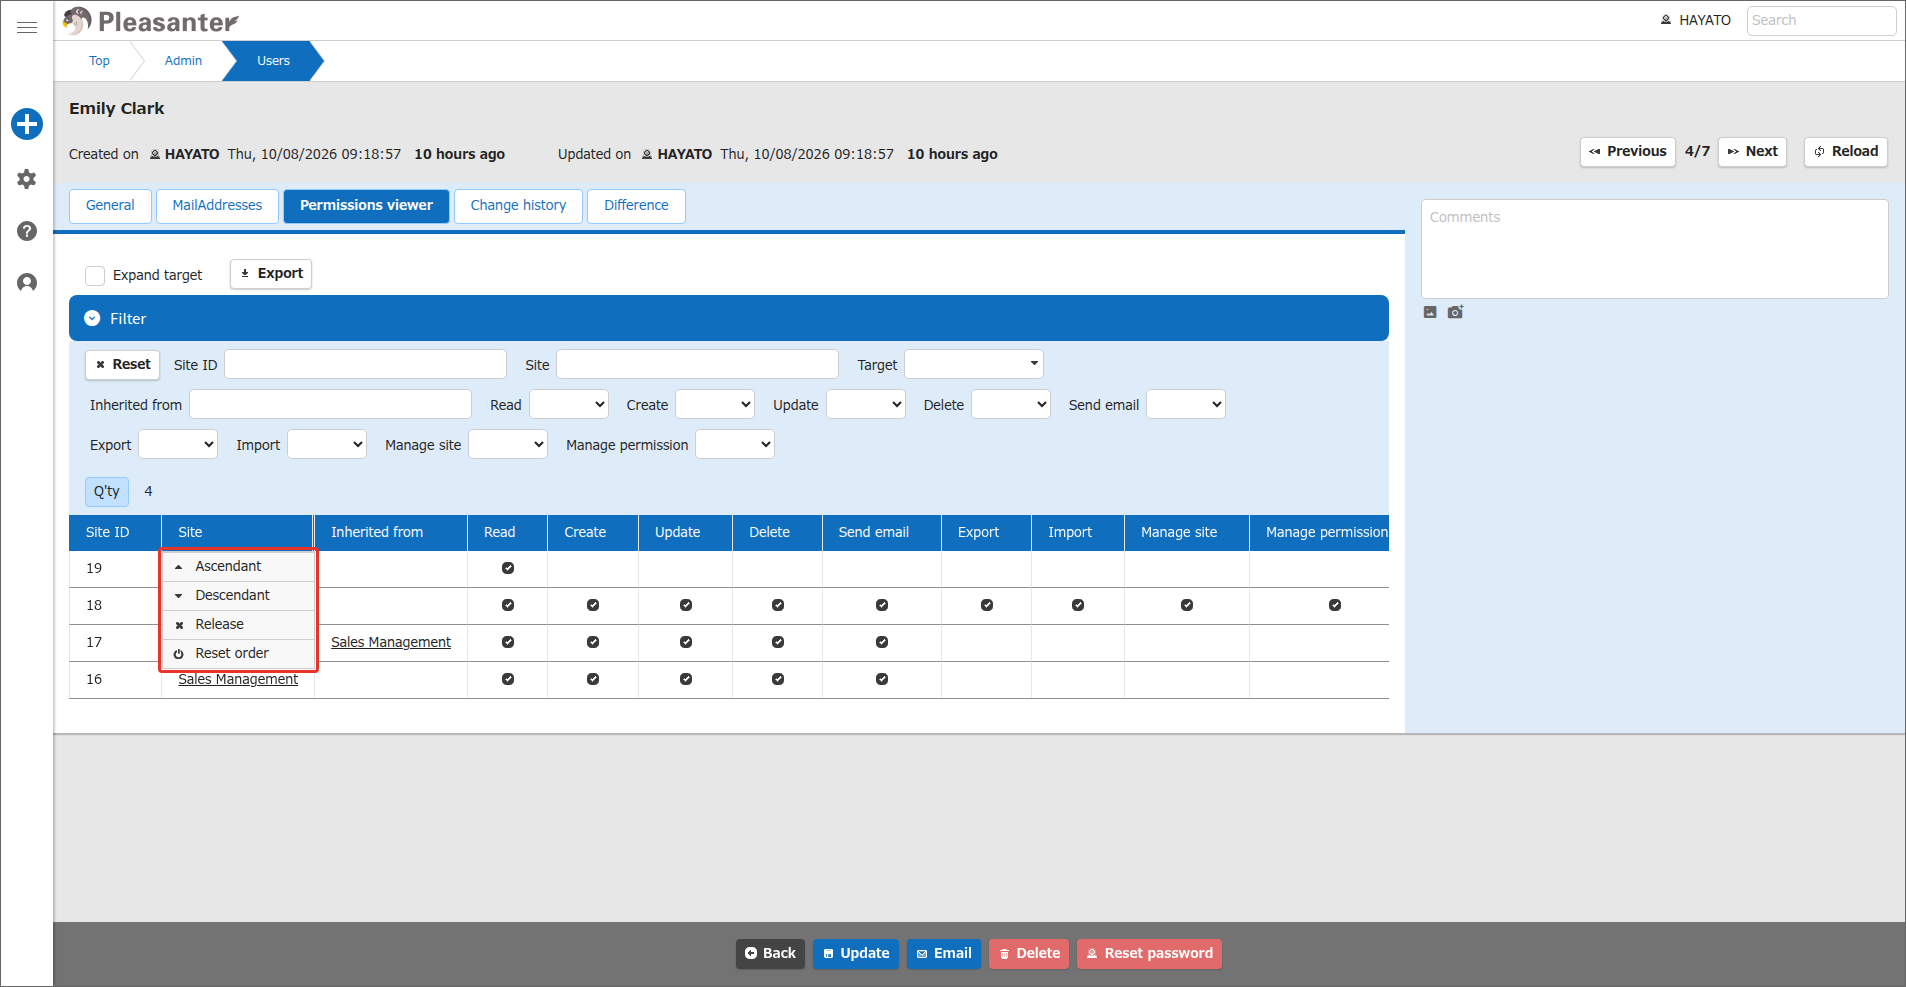
To sort by a combination of columns, use the menu of the column header. The operation is the same as Sort Records on the list screen of a table.
- Hover the mouse pointer over a column header.
- The menu is displayed.
-
Click "Ascendant" or "Descendant".
-
The condition of this column is added to the existing sort.
"Release" in the menu releases the sort of that column only, and "Reset order" releases the sort of all columns.
Filter
-
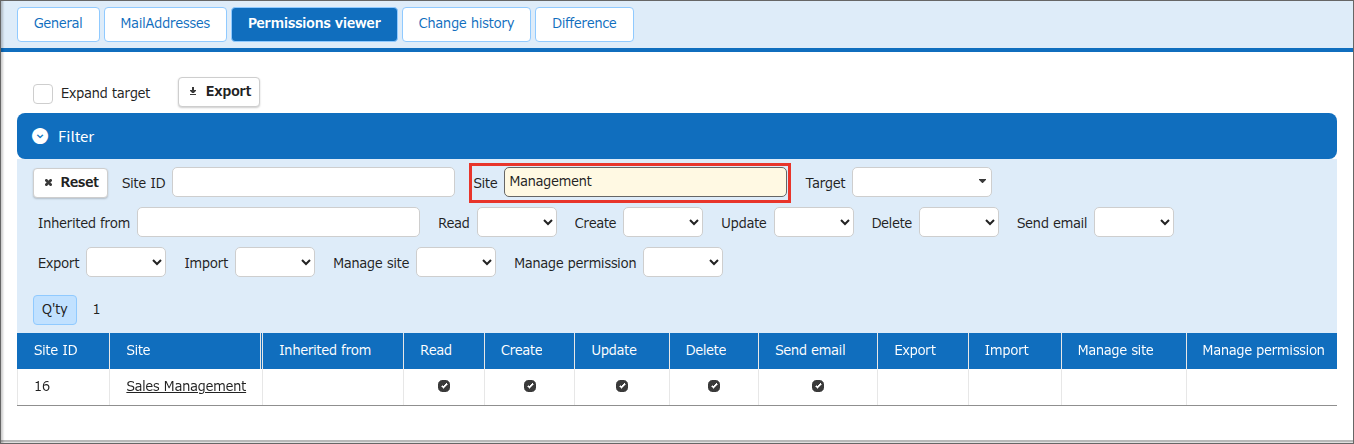
In the "Filter" area above the list, specify the site ID, the site, the target, the inherited-from site or whether each permission is present. The group administration screen has no "Target" field.
-
Only the rows that match the conditions are displayed.
To clear the filter, click the "Reset" button.
To collapse the filter area, click the "Filter" header. Click it again to open the filter area.
The sort, the filter, "Expand target", the character code of the export and whether the filter area is collapsed are kept for each target you display. While you are logged in, they are kept even when you open the screen again. They are reset when you log out.
Export
- Click the "Export" button.
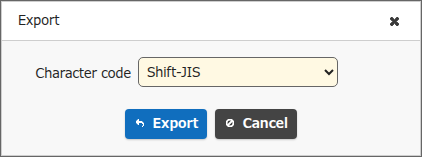
- The export dialog is displayed.
-
In "Character code", select "Shift-JIS" or "UTF-8". The default is "Shift-JIS".
-
Click the "Export" button in the dialog.
- The CSV file is downloaded.
Messages Shown Above the List
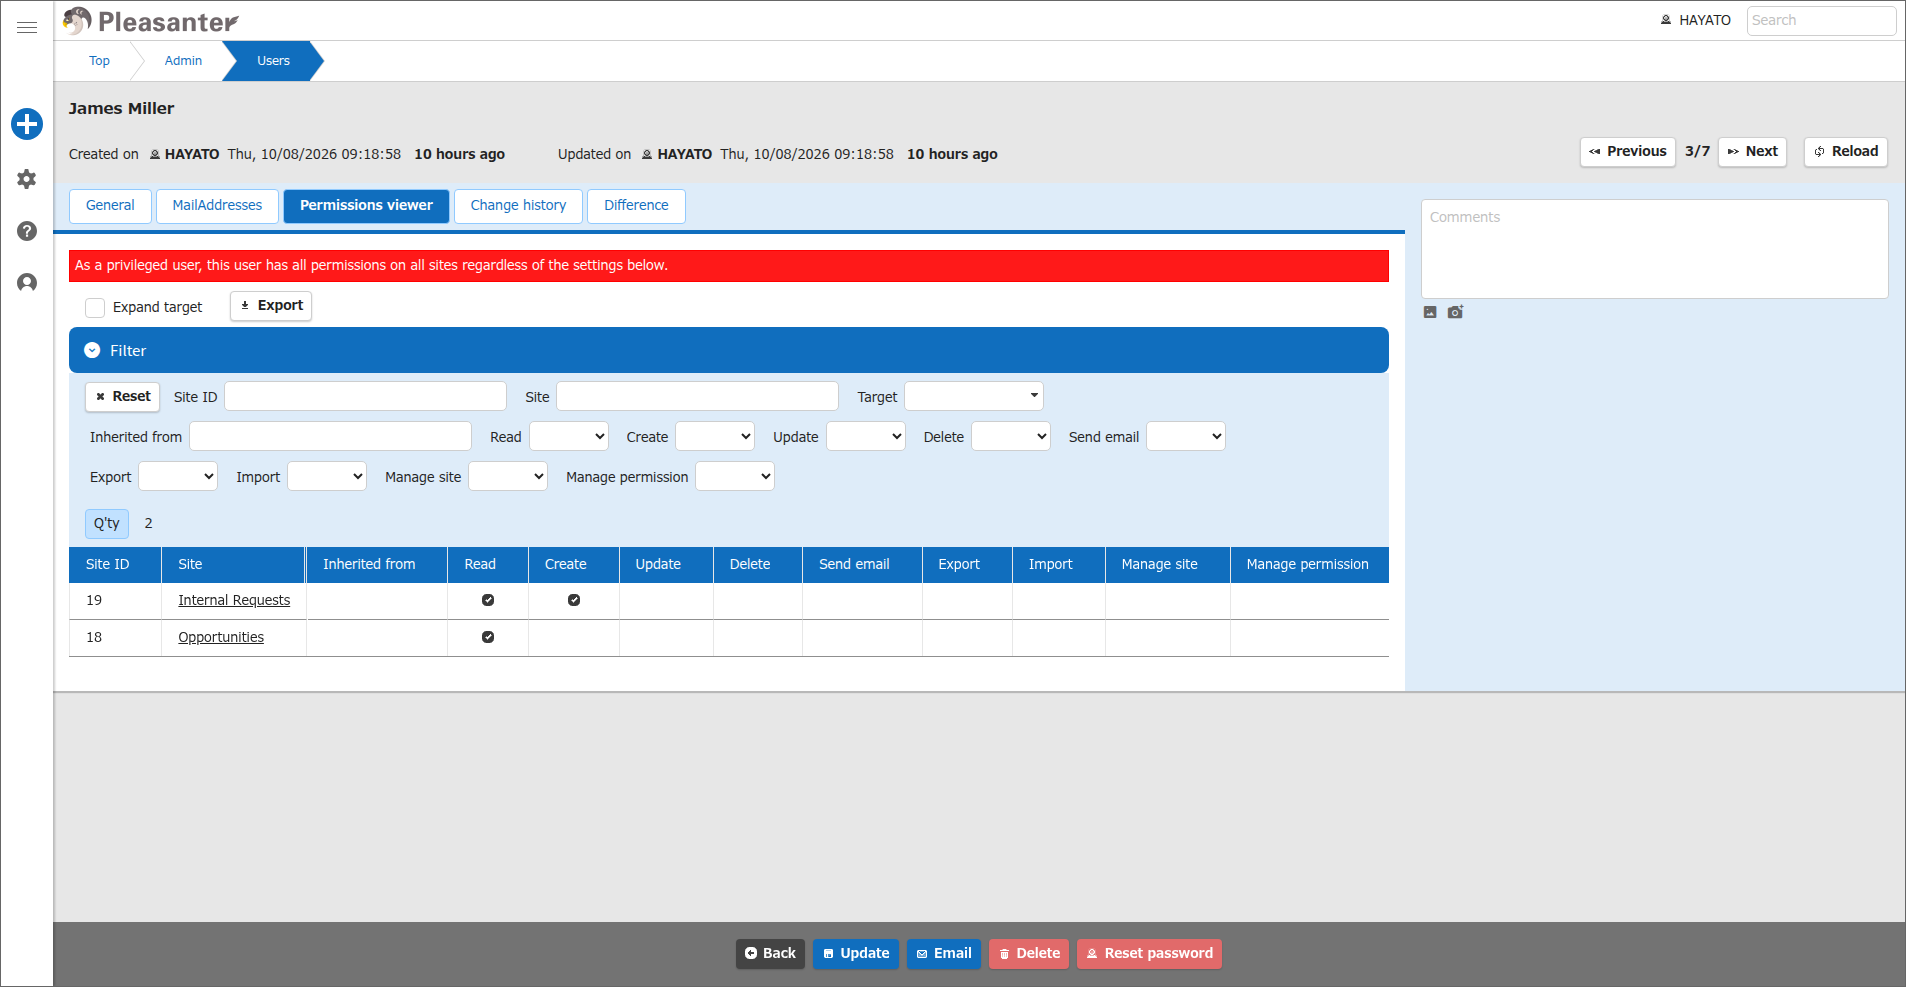
When the target is a privileged user, "As a privileged user, this user has all permissions on all sites regardless of the settings below." is shown above the list.
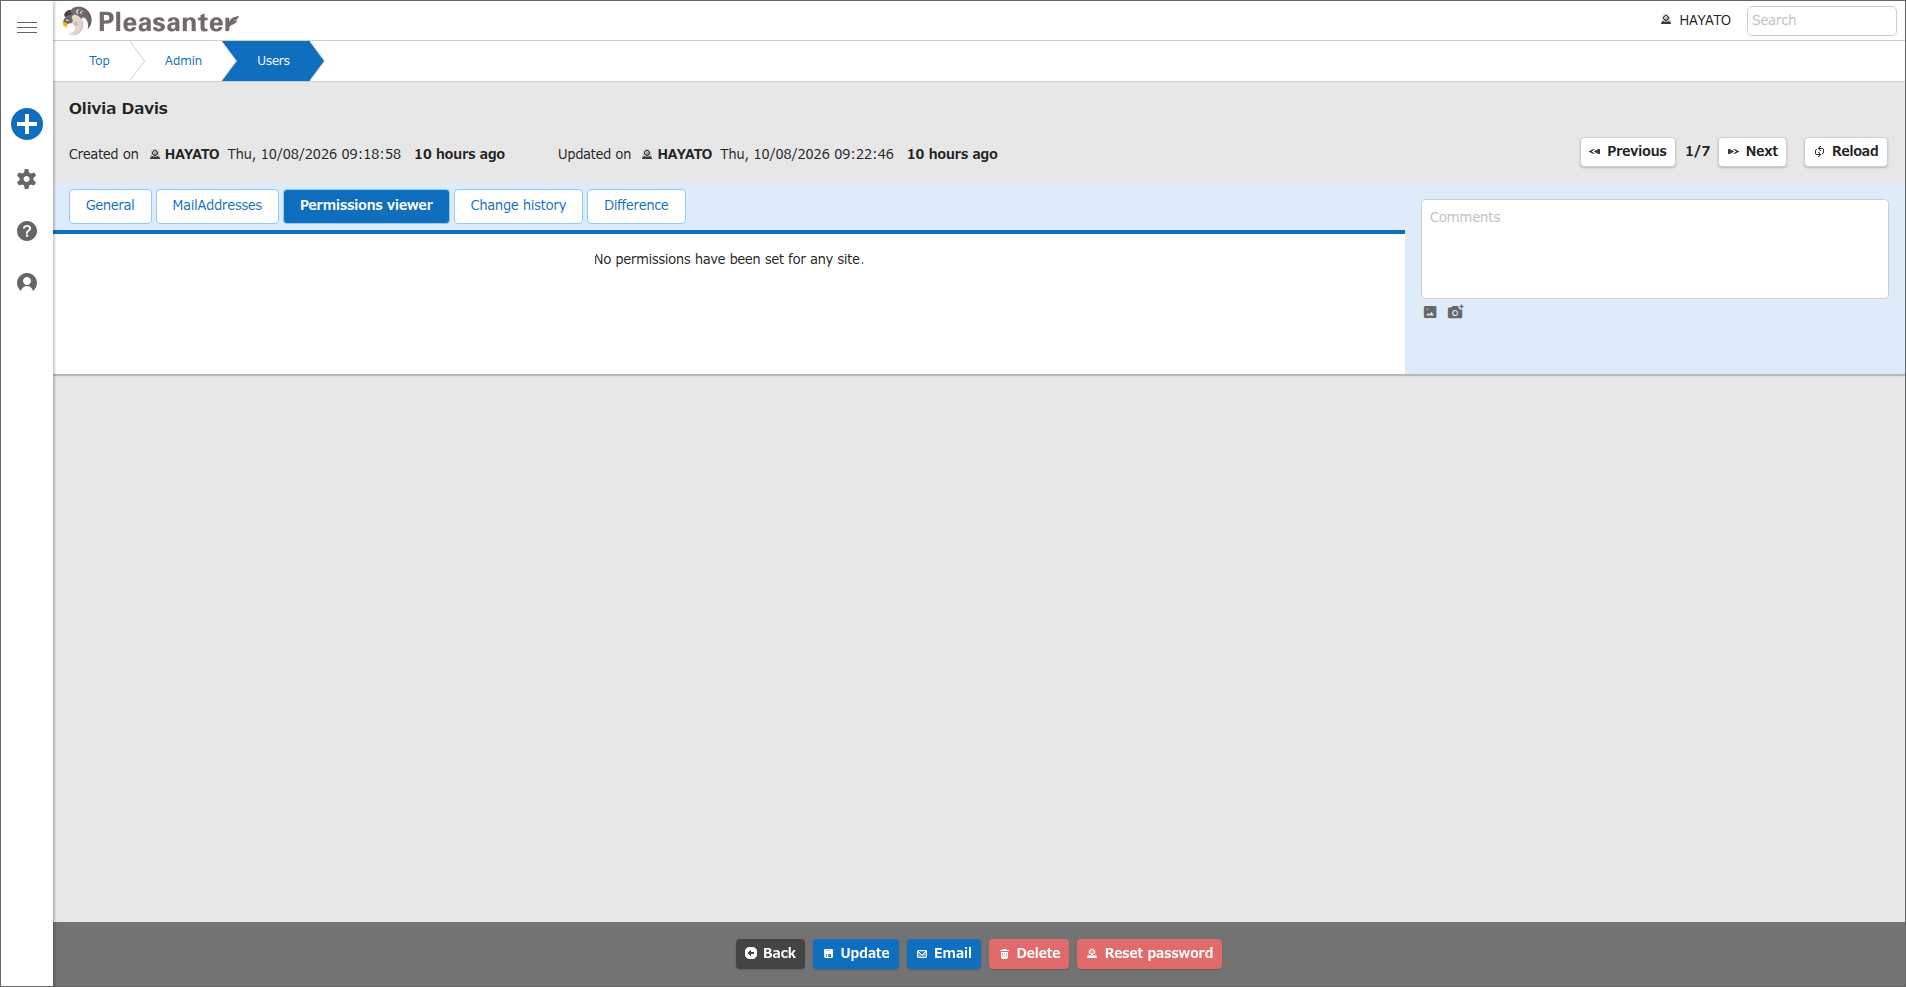
When the target has no permissions on any site, "No permissions have been set for any site." is shown.
Supported Versions
| Supported Version | Description |
|---|---|
| 1.5.9.0 and later | Function added |