Version Upgrade Procedure During the Pleasanter Extensions Trial (Windows)
Overview
These are the steps to upgrade the version of a Pleasanter that is running the Pleasanter Extensions Trial (hereafter the trial), using the installer of version 1.2.0 or later.
This procedure upgrades the version of Pleasanter using the installer. The installer automatically backs up the existing application, downloads the resources of the latest version, merges the parameters and so on.
You can also upgrade the version with the previous procedure, in which you back up, place the modules and merge the parameters by hand. For the manual version upgrade procedure, refer to the following.
Pleasanter Version Upgrade Procedure (Windows)
Precautions
- When you use the update and merge functions of the installer with ver.1.4.17.0 and later, check Precautions When Using the Merge Function in ver.1.4.17.0 and Later.
Limitations
- The version you upgrade from must be 1.4.0.0 or later.
- For a version upgrade using the installer, the version you upgrade from must be Ver1.4.0.0 or later. When you upgrade from Ver1.3.50.2 or earlier, refer to the manual version upgrade procedure.
Pleasanter Version Upgrade Procedure (Windows) - The version you upgrade to must be 1.4.8.0 or later.
- The /e option cannot be used.
Steps
The version upgrade steps are as follows.
- Stopping Pleasanter
- Backing up the database
- Installing the installer
- Running the installer
- Checking that Pleasanter starts
1. Stopping Pleasanter
-
Open the "Tools (T)" menu of "Server Manager" and start "Internet Information Services (IIS) Manager".
-
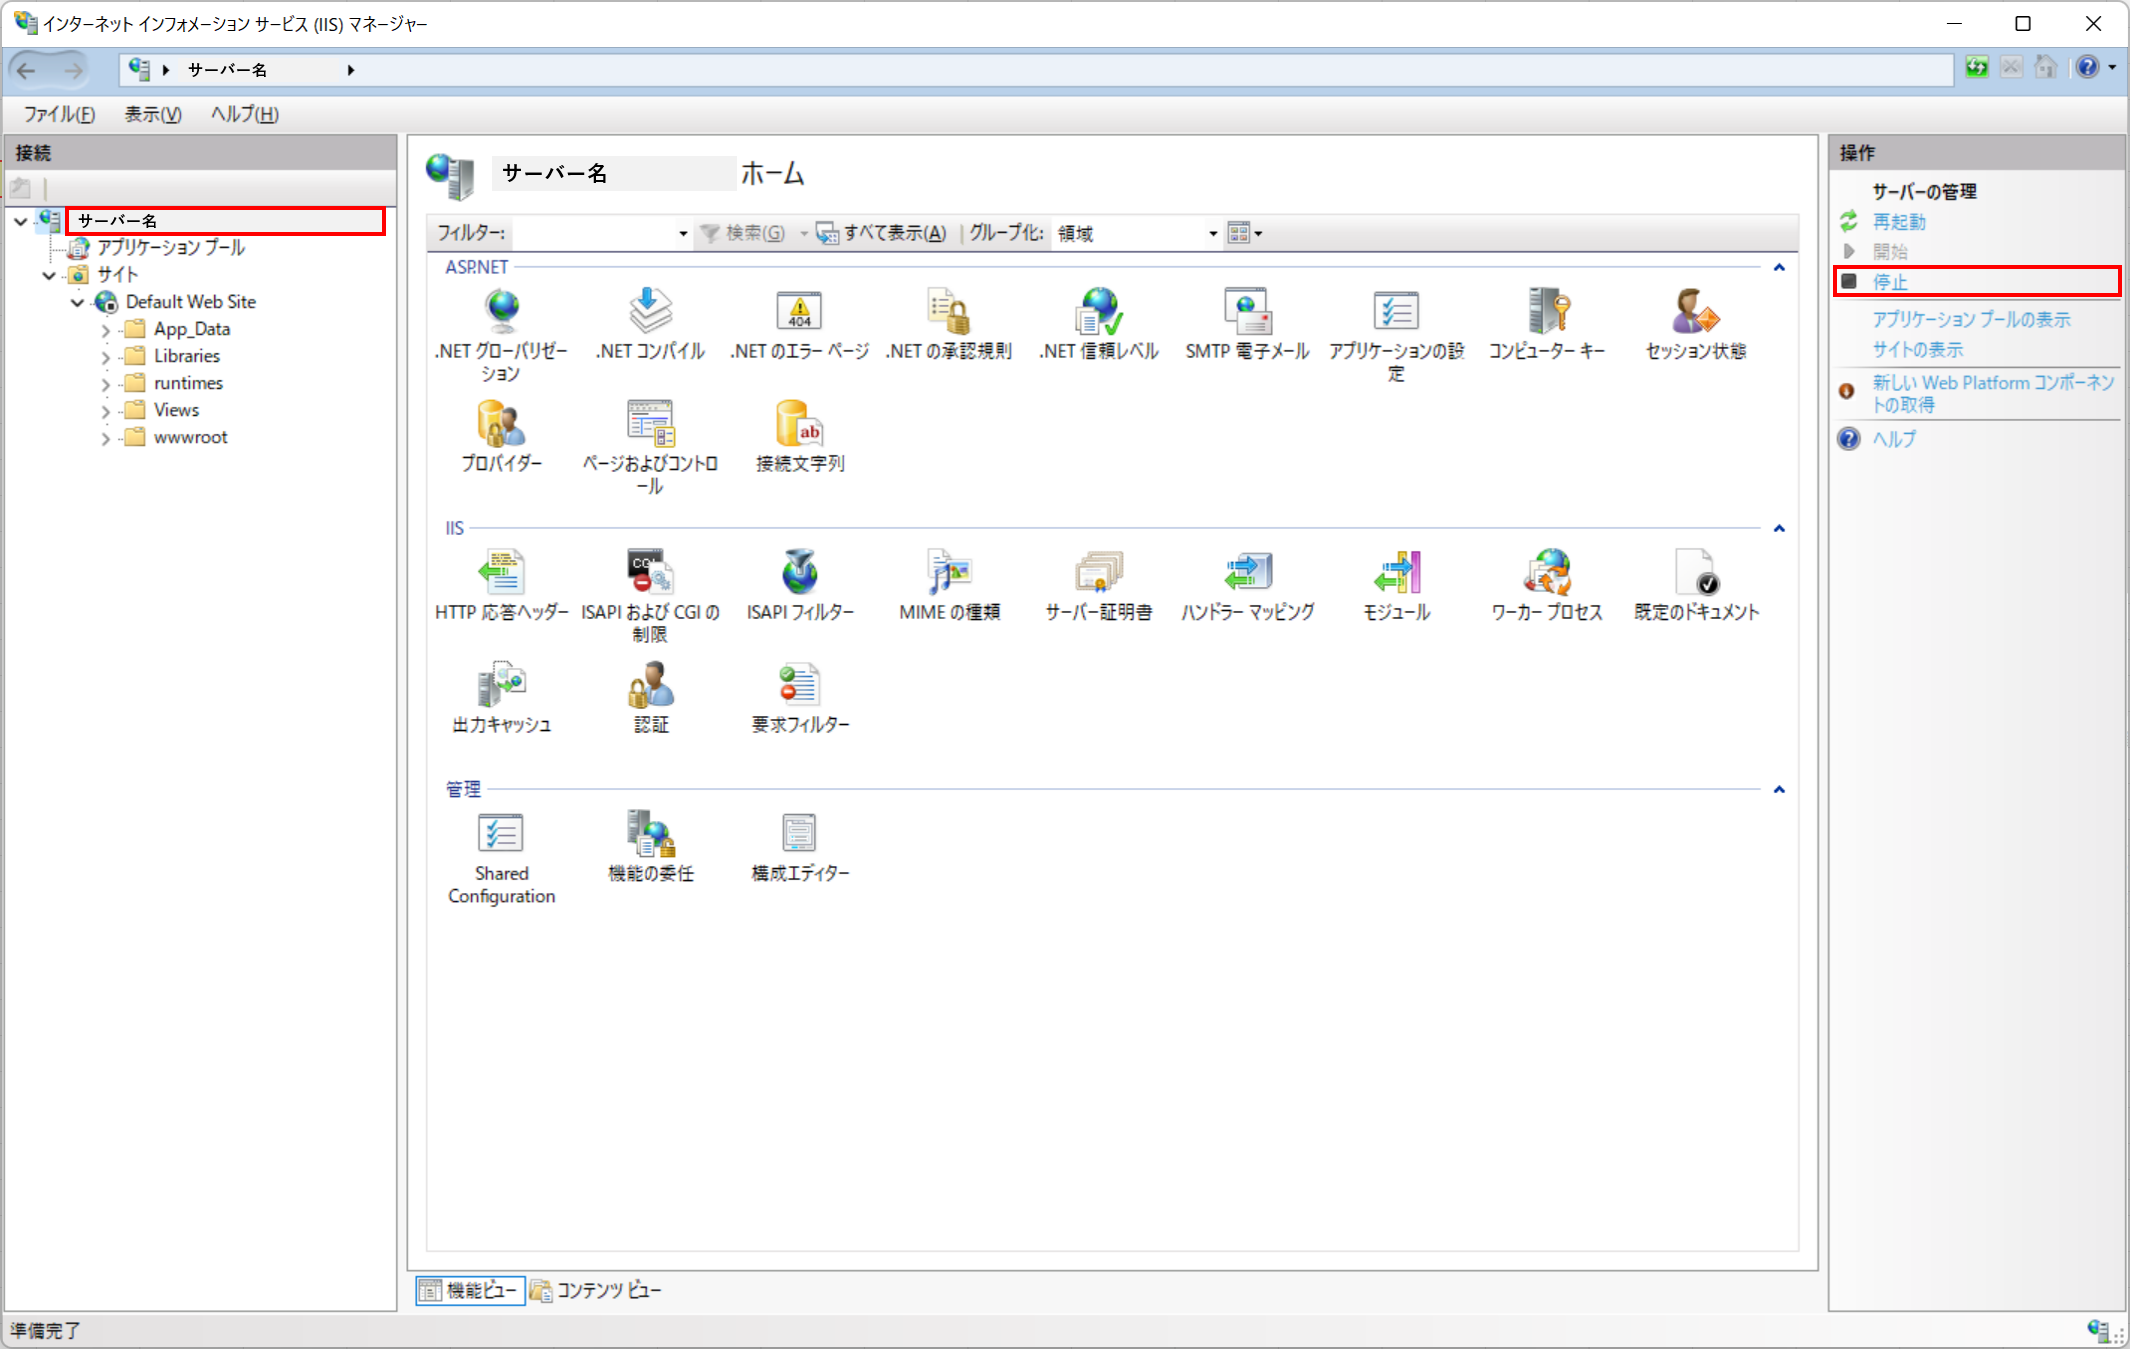
Select the "server name" in the left pane. Click "Stop" in the right pane to stop IIS.
2. Backing Up the Database
Back up the database. For the backup steps, refer to the following.
FAQ: How to backup and restore Pleasanter's DB data
3. Installing / Updating the Installer
Run this even if it is already installed. If the installer has been upgraded, it is updated.
Run the command below to install the installer.
If you are not connected to a network environment, install it with the steps below.
(Click here to open and close the details)
- Run the command below to create any folder in which to place the .nupkg file.
- These steps assume that you create C:\dotnet-tools.
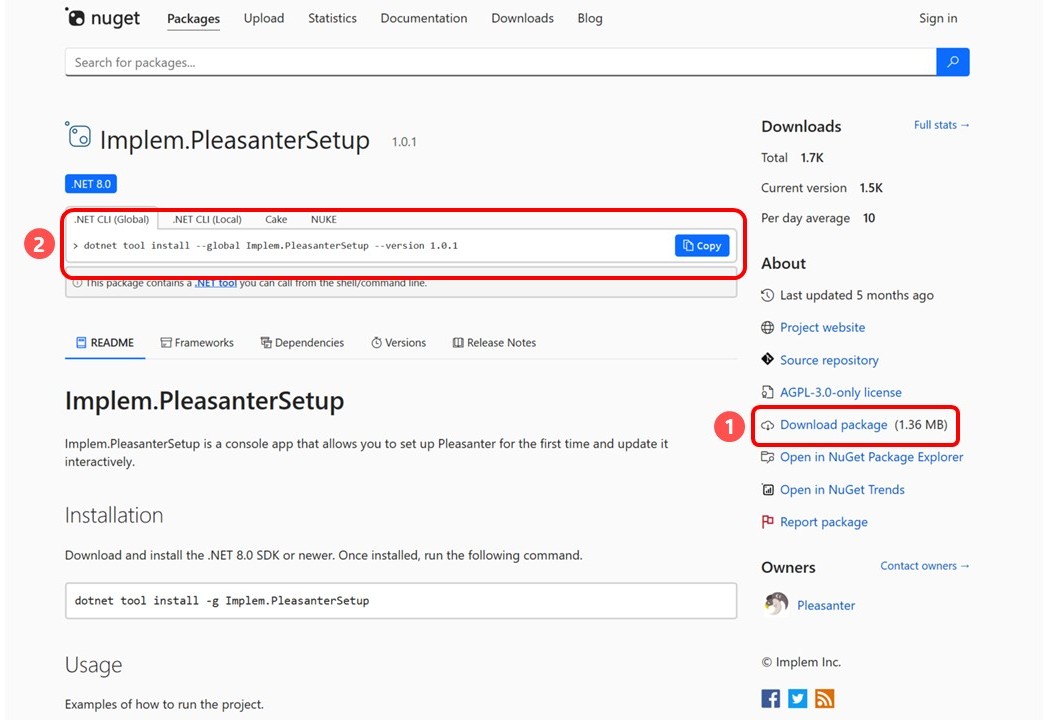
- Open the NuGet Gallery of Implem.PleasanterSetup from here and download the .nupkg file from (1) "Download package" in the image.
- Place the .nupkg file you downloaded in step 2.2 in C:\dotnet-tools.
- Copy the command at (2) in the image.
- Run the command below.
Example: when the Version of Implem.PleasanterSetup is 1.0.1
4. Running the Installer
-
The resources of the latest version and ParametersPatch.zip are downloaded and the version upgrade is run.
-
Run the command below to run the installer.
If you are not connected to a network environment, follow the steps below.
(Click here to open and close the details)
1. Download the latest version of Pleasanter from the [download centre](https://pleasanter.org/dlcenter) and place it in "C:\web\". 1. Download the ParametersPatch.zip for the same version as the one you placed, from the [GitHub releases page](https://github.com/Implem/Implem.Pleasanter/releases), and place it in "C:\web\". 1. Run the command below. Confirm that the structure under the **C:\web\** directory is as follows. C:\web\Pleasanter_1.4.x.x.zip C:\web\ParametersPatch.zip ``` pleasanter-setup -r C:\web\Pleasanter_1.4.x.x.zip -patch C:\web\ParametersPatch.zip ``` -
Enter the directory in which Pleasanter is installed.
If it is installed in "C:\web\pleasanter", leave it blank and press the Enter key.

-
The summary screen is displayed.
Check the content, enter y after "Shall I install Pleasanter with this content? Please enter 'y(yes)' or 'n(no)'. : " and press the Enter key to run it. -
Passwords are masked.

-
When "Type "y" (yes) if the license is correct, otherwise type "n" (no)." is displayed, enter y and run it.
-
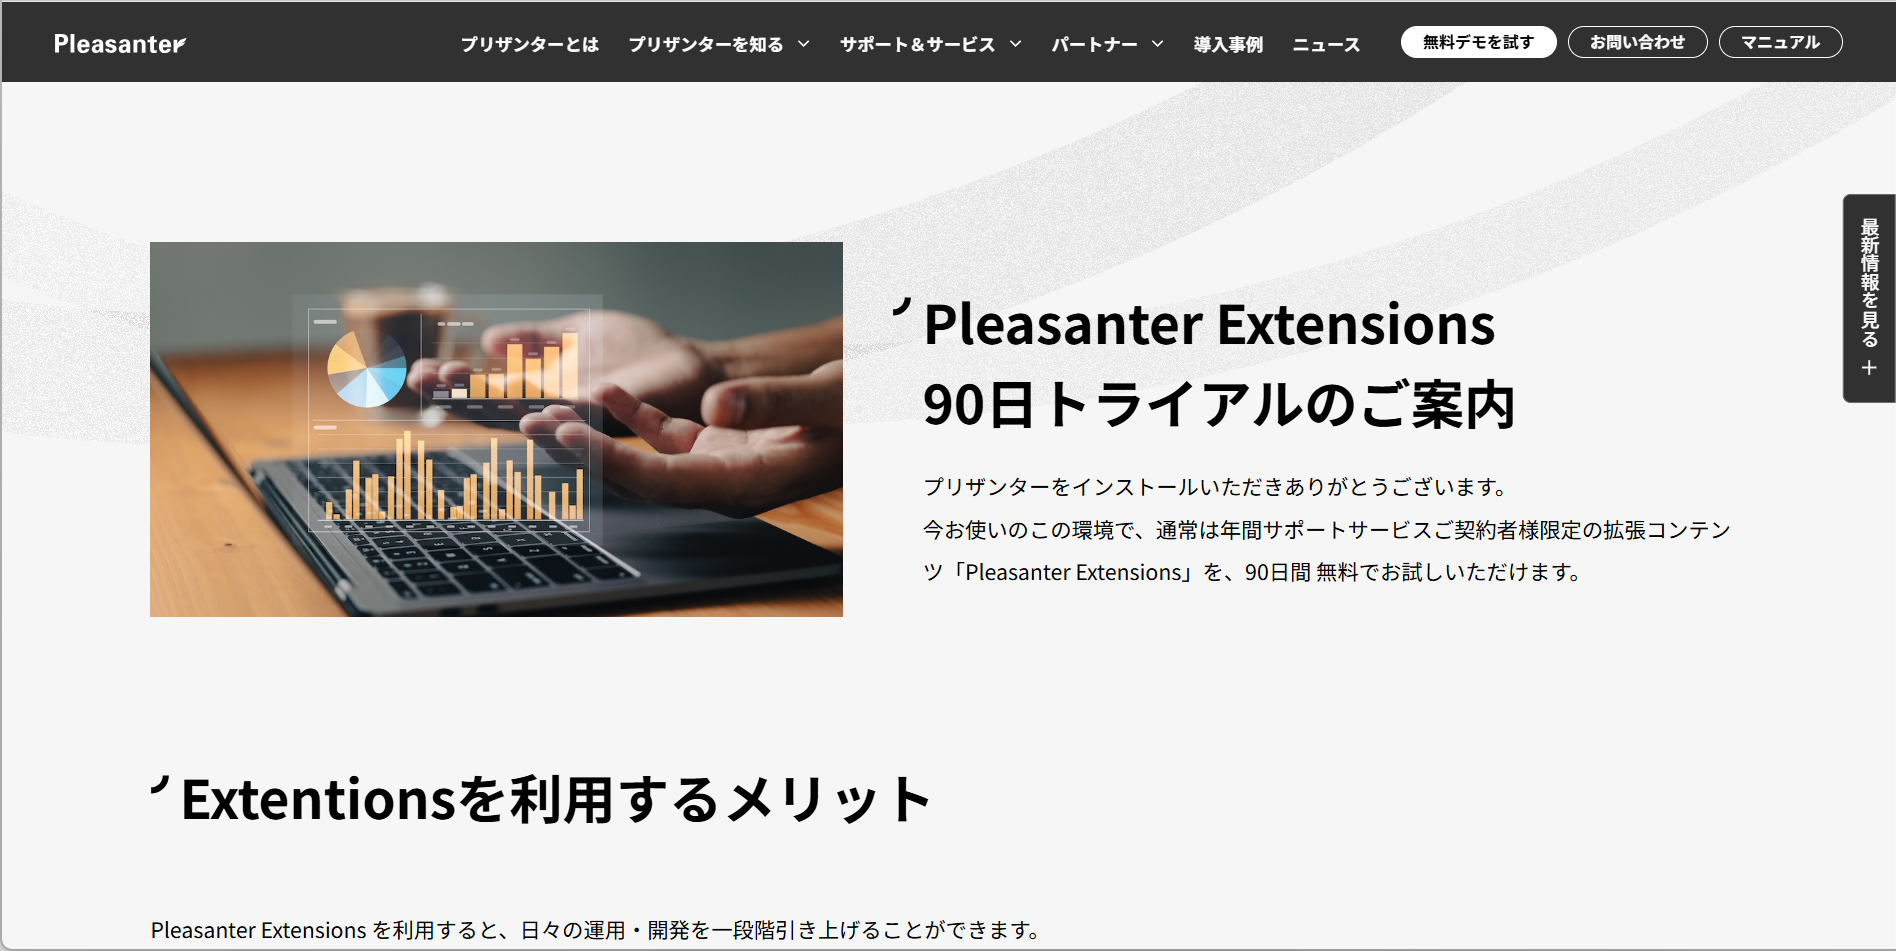
With an installer of version 1.1.2 (Implem.PleasanterSetup.1.1.2.nupkg) or later, when the setup finishes a web browser starts and the Pleasanter Extensions Trial information page is displayed.
5. Checking That Pleasanter Starts
-
Open the "Tools (T)" menu of "Server Manager" and start "Internet Information Services (IIS) Manager".
-
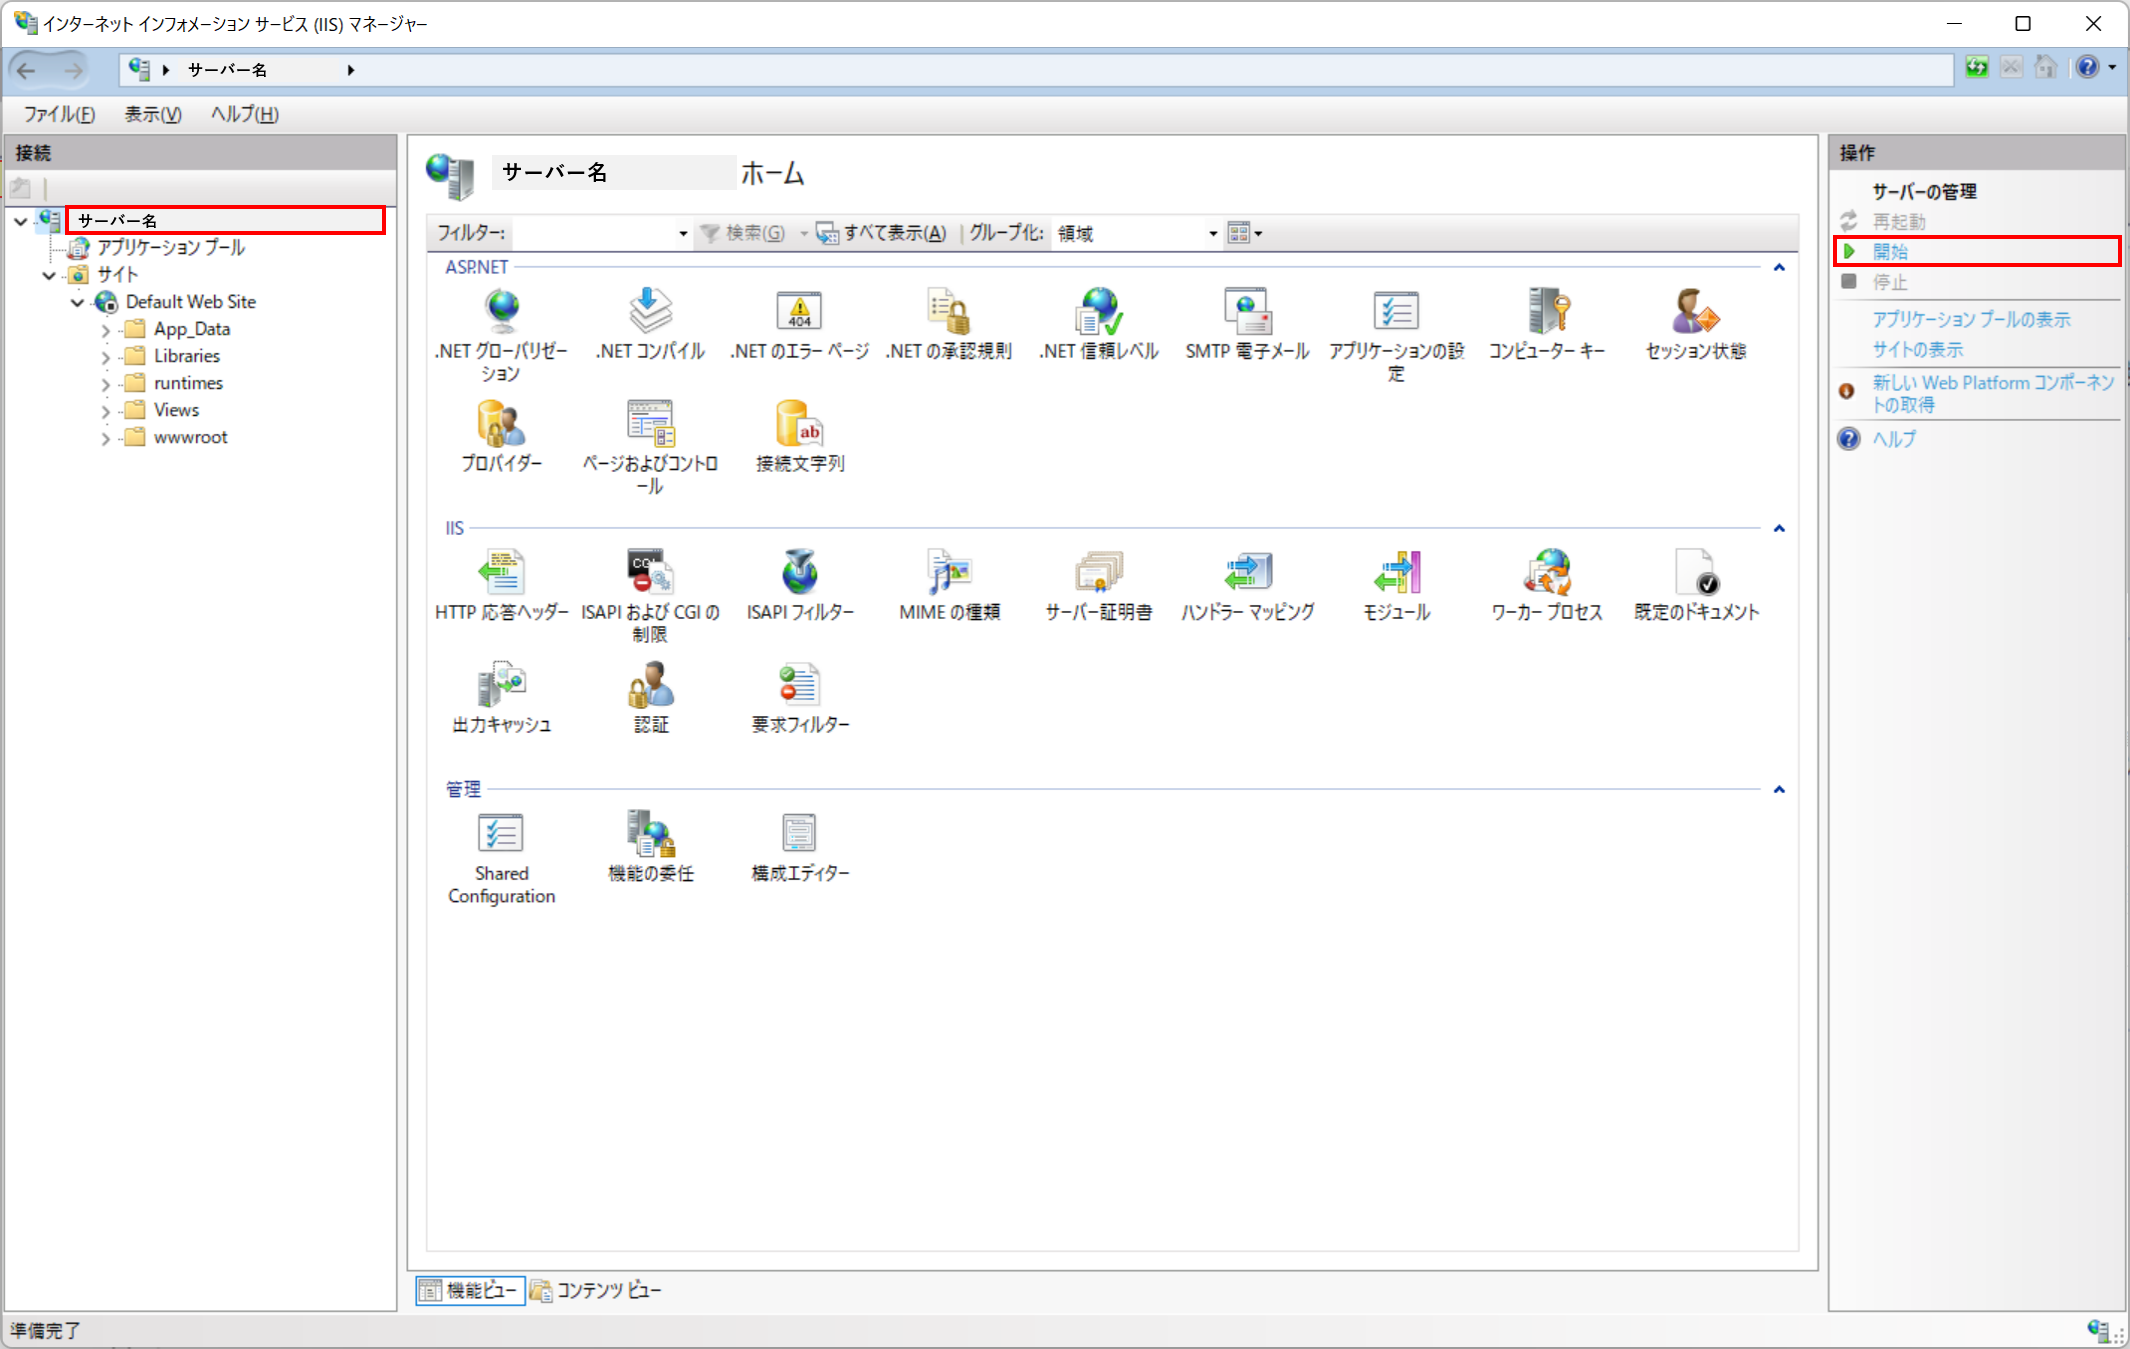
Select the "server name" in the left pane. Click "Start" in the right pane to start IIS.
-
After it starts, select "Sites" - "Default Web Site" in the left pane, click "Browse *.80 (http)" in the right pane, and start Pleasanter.

-
After you log in, click "Help" - "Version" on the navigation menu and confirm that the version is correct.
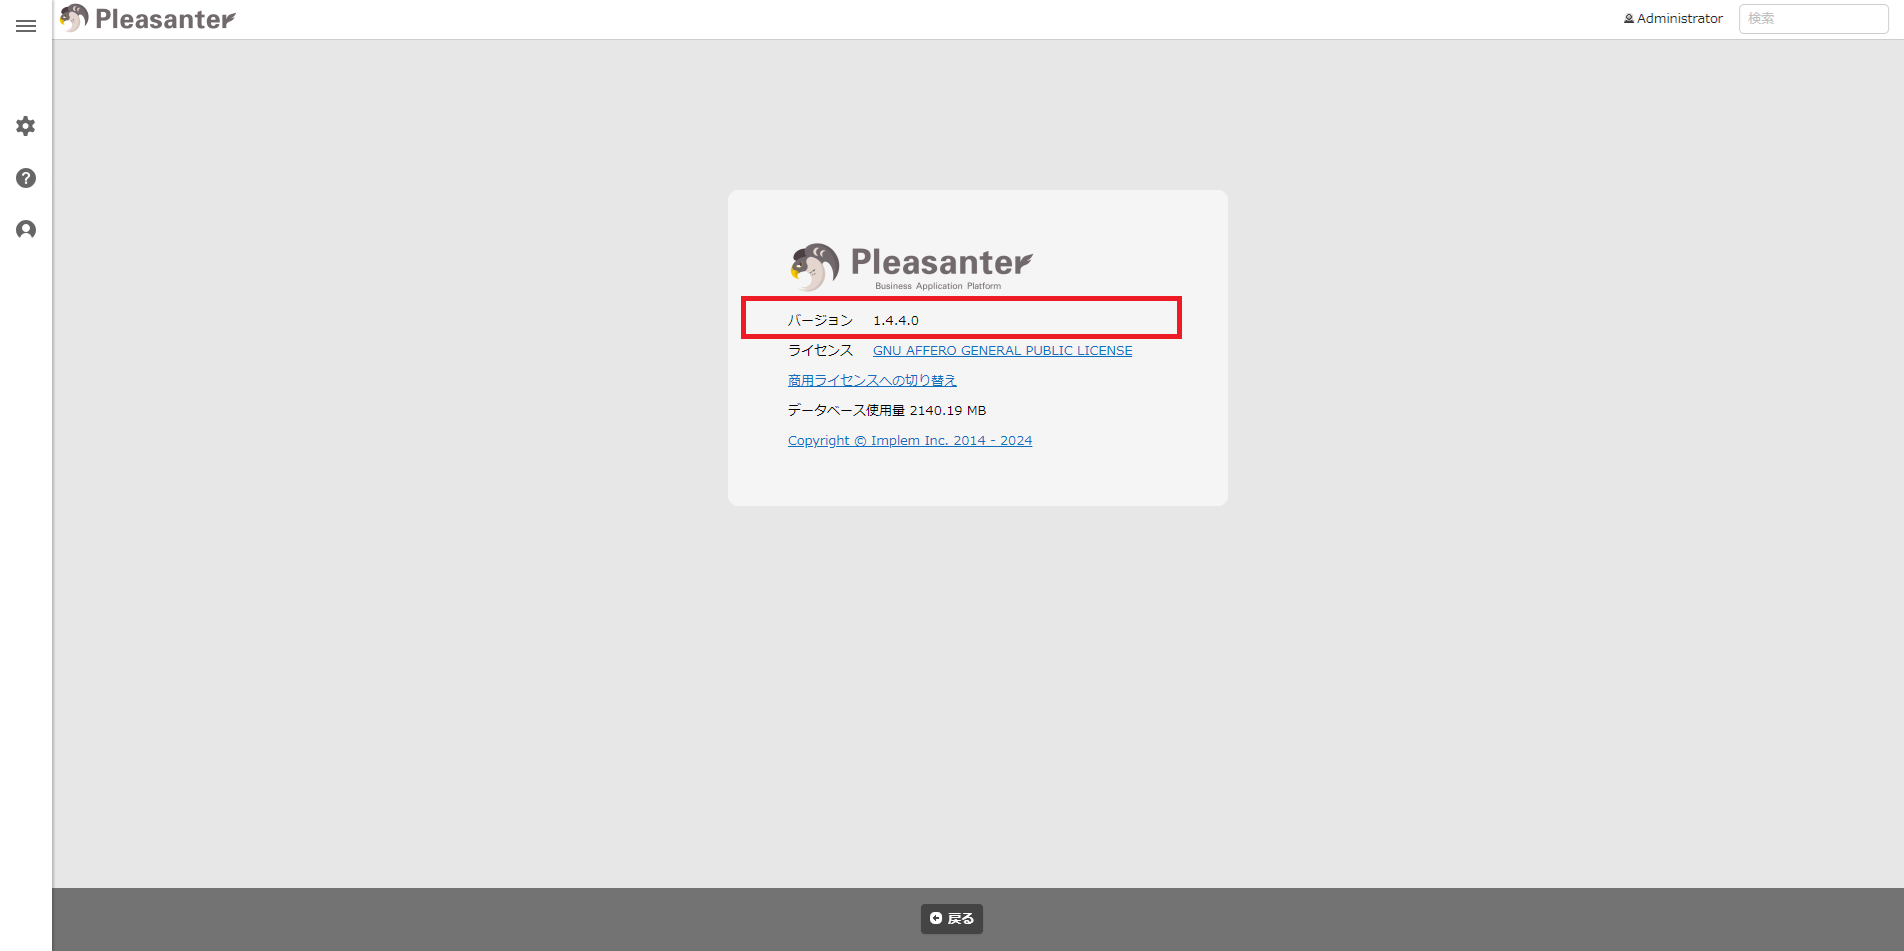
-
Delete C:\web\pleasanter_yyyyMMdd_HHmmss, backed up by the installer, if you do not need it. If you keep it, move it to a different folder.