Setup
Overview
This page explains the setup and start-up steps of Operations Tools.
Limitations
-
The compatibility level of SQL Server needs to be 130 or higher.
What is the compatibility level?
For the compatibility level, refer to the official page below.
https://learn.microsoft.com/sql/t-sql/statements/alter-database-transact-sql-compatibility-level
Operation Steps
 When you upgrade from ver.1.0.0
Note
If you are doing a new setup rather than an upgrade, go to "2. Placing the executable files".
In ver.1.0.0, an index was added to the Syslogs table to improve the performance of this software. In ver.1.1.0 the displayed data is held in an intermediate table, which improves the performance and makes the index unnecessary. This section therefore explains how to remove the index added in ver.1.0.0.
Warning
We recommend that you take a backup of the database before you start. If you run CodeDefiner when upgrading the version of Pleasanter after the work below, be sure to set DisableIndexChangeDetection in Set Parameter: Rds.json to true (the default value). If it is false, the Syslogs table is recreated (Migrate) and, when there are many records, the processing of CodeDefiner can take a long time.
Connect to the database as a user with dbowner permission (refer to Set Parameter: Rds.json) and remove the indexes.
 Placing the executable files
- Confirm that "ExtendedLibraries" and "wwwroot" are present in the "OperationsTools_x.x.x.zip" you downloaded from the Releases page of Operations Tools.
- Stop the Pleasanter service.
-
In the environment where Pleasanter runs, move to the directory below.
-
Place "ExtendedLibraries" and "wwwroot" from "OperationsTools_x.x.x.zip" with the GUI or with a command. In a Windows environment the result is as follows.
C:\web\pleasanter\Implem.Pleasanter\
 ├ App_Data\
 └ ExtendedLibraries\ * placed
  └ OperationsTools\
 ├ Libraries\
 ├ runtimes\
 ├ Views\
 └ wwwroot\
  ├ bundles\
  ├ content\
  ├ images\
  ├ operations-tools\ * placed
  ├ scripts\
  └ styles\
Note
For a Linux or Azure environment, do the work with reference to the supplementary sections below.
-
Open the General.json in the directory below with any editor. There is a file with the same name among the Pleasanter parameter settings files. Take care not to confuse them.
-
Specify the login IDs of the users who can use Operations Tools in Login.Users, in array format.
General.json: before the change -
Place the parameter JSON files from before the change, for the version of Pleasanter you use, under the DefaultParameters folder.
Example of where to place themC:\web\pleasanter\Implem.Pleasanter\ExtendedLibraries\OperationsTools\App_Data\ └ DefaultParameters\ ├ Api.json * placed ├ Authentication.json * placed ├ ...Note
By placing them under the DefaultParameters folder, you can compare the differences on the parameter list screen described later.
If you do not have the parameter JSON files from before the change to hand, download them from the releases page on GitHub.
https://github.com/Implem/Implem.Pleasanter/releases -
Start the Pleasanter service.
Note
When you upgrade Operations Tools, stop the Pleasanter service, delete "ExtendedLibraries" and "wwwroot/operations-tools", and then follow steps 1 to 8 above.
About the parameter General.json
These are the parameters for the common settings. Each parameter is explained below.
| Parameter Name | Value | Description |
|---|---|---|
| SetupPassword | operations-tools | Specifies the password entered at setup. |
| Login.Users | [ "Administrator" ] | Specifies the login IDs of the users who can use Operations Tools, in array format. |
| PageSize | 50 | Specifies the default value for paging. |
| SQLCommandTimeout | 240 | Specifies the timeout of SQL commands, in seconds. |
| DefaultParametersDir | DefaultParameters | Specifies the directory where the parameters from before the change are placed. (For the parameter list screen) |
About the parameter BackgroundService.json
These are the parameters for the processing that synchronises the intermediate table used to display the data, in the background. Each parameter is explained below.
| Parameter Name | Value | Description |
|---|---|---|
| IntermediateTableSynchronize.Enable | true | Specifies whether the background processing is enabled or disabled, with true or false. |
| IntermediateTableSynchronize.RunTime | [ "00:00", "12:00" ] | Specifies the times at which the background processing runs, in array format. |
Supplement: for a Linux environment
For a Linux environment, use the steps below as a reference. (They assume that you work from a local Windows environment.)
-
Stop the Pleasanter service with the command below.
-
Compress the executable files "ExtendedLibraries" and "wwwroot" into zip files.
- Upload them in binary mode to "/web/pleasanter/Implem.Pleasanter" with a tool such as WinSCP.
-
Move to the directory with the command below.
-
Extract the zip file "ExtendedLibraries.zip" with the command below.
-
Extract the zip file "wwwroot.zip" with the command below.
-
Change the owner under the directory "ExtendedLibraries".
-
Change the owner under the directory "wwwroot/operations-tools".
-
Start the Pleasanter service with the command below.
Supplement: for an Azure environment
For an Azure environment, use the steps below as a reference.
- Stop the App Service.
- Compress the executable files "ExtendedLibraries" and "wwwroot" into zip files.
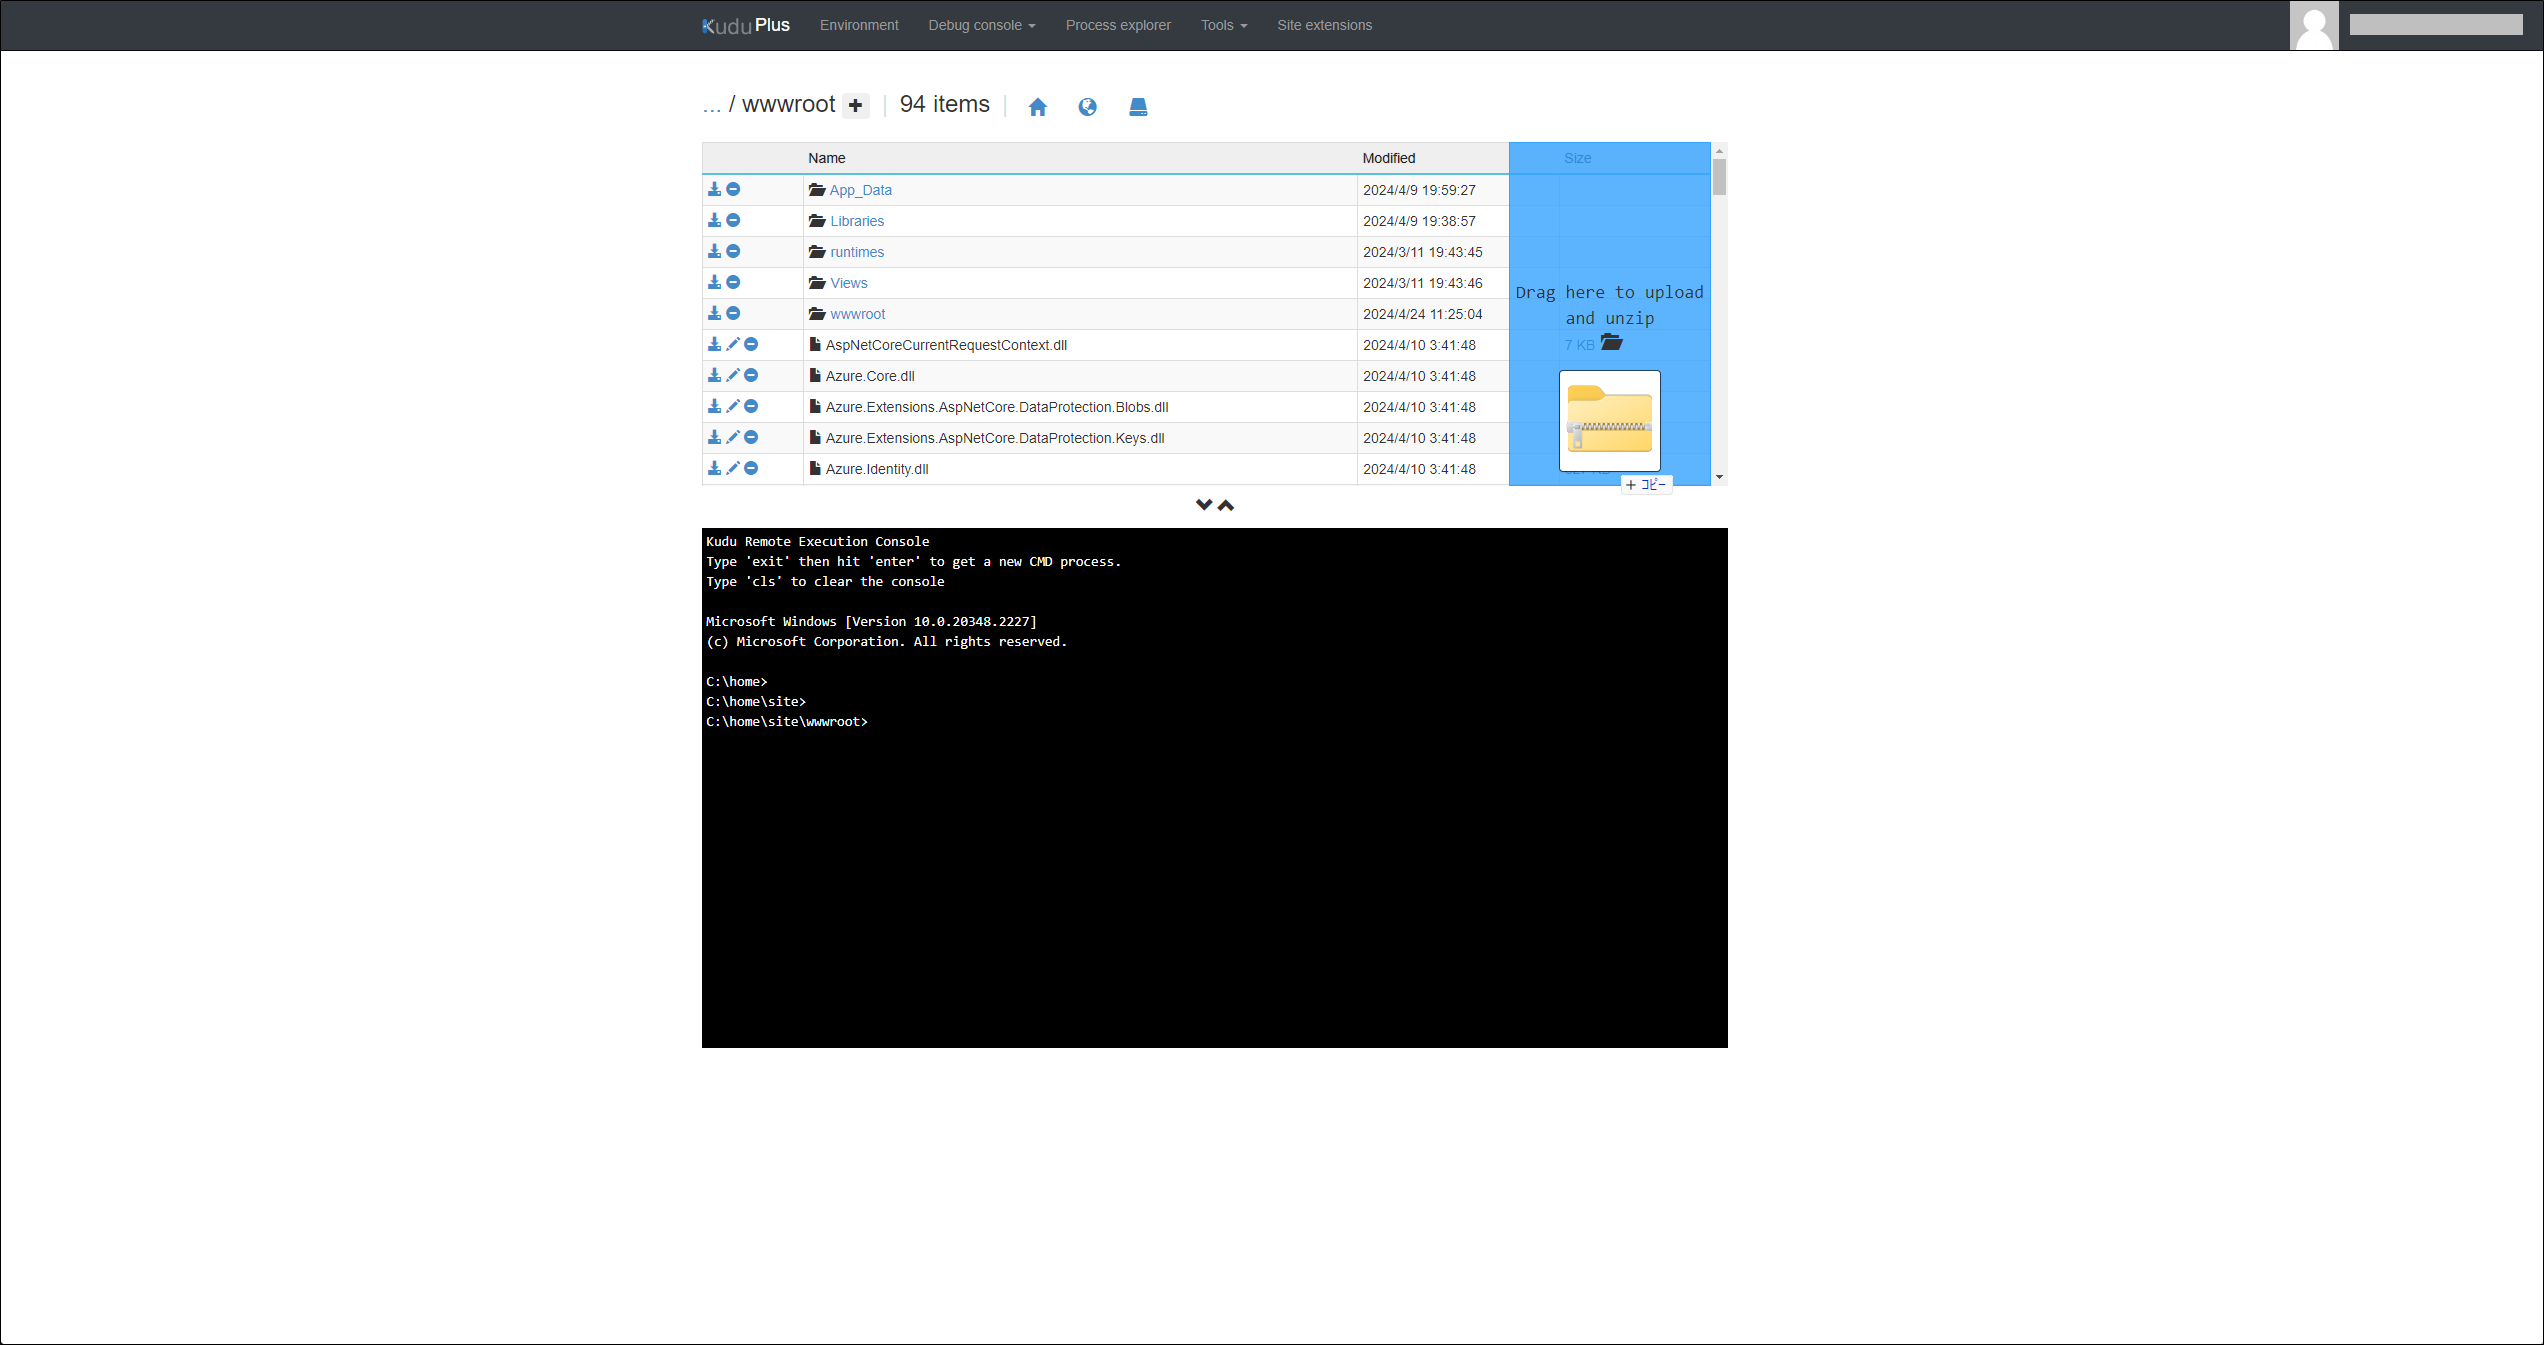
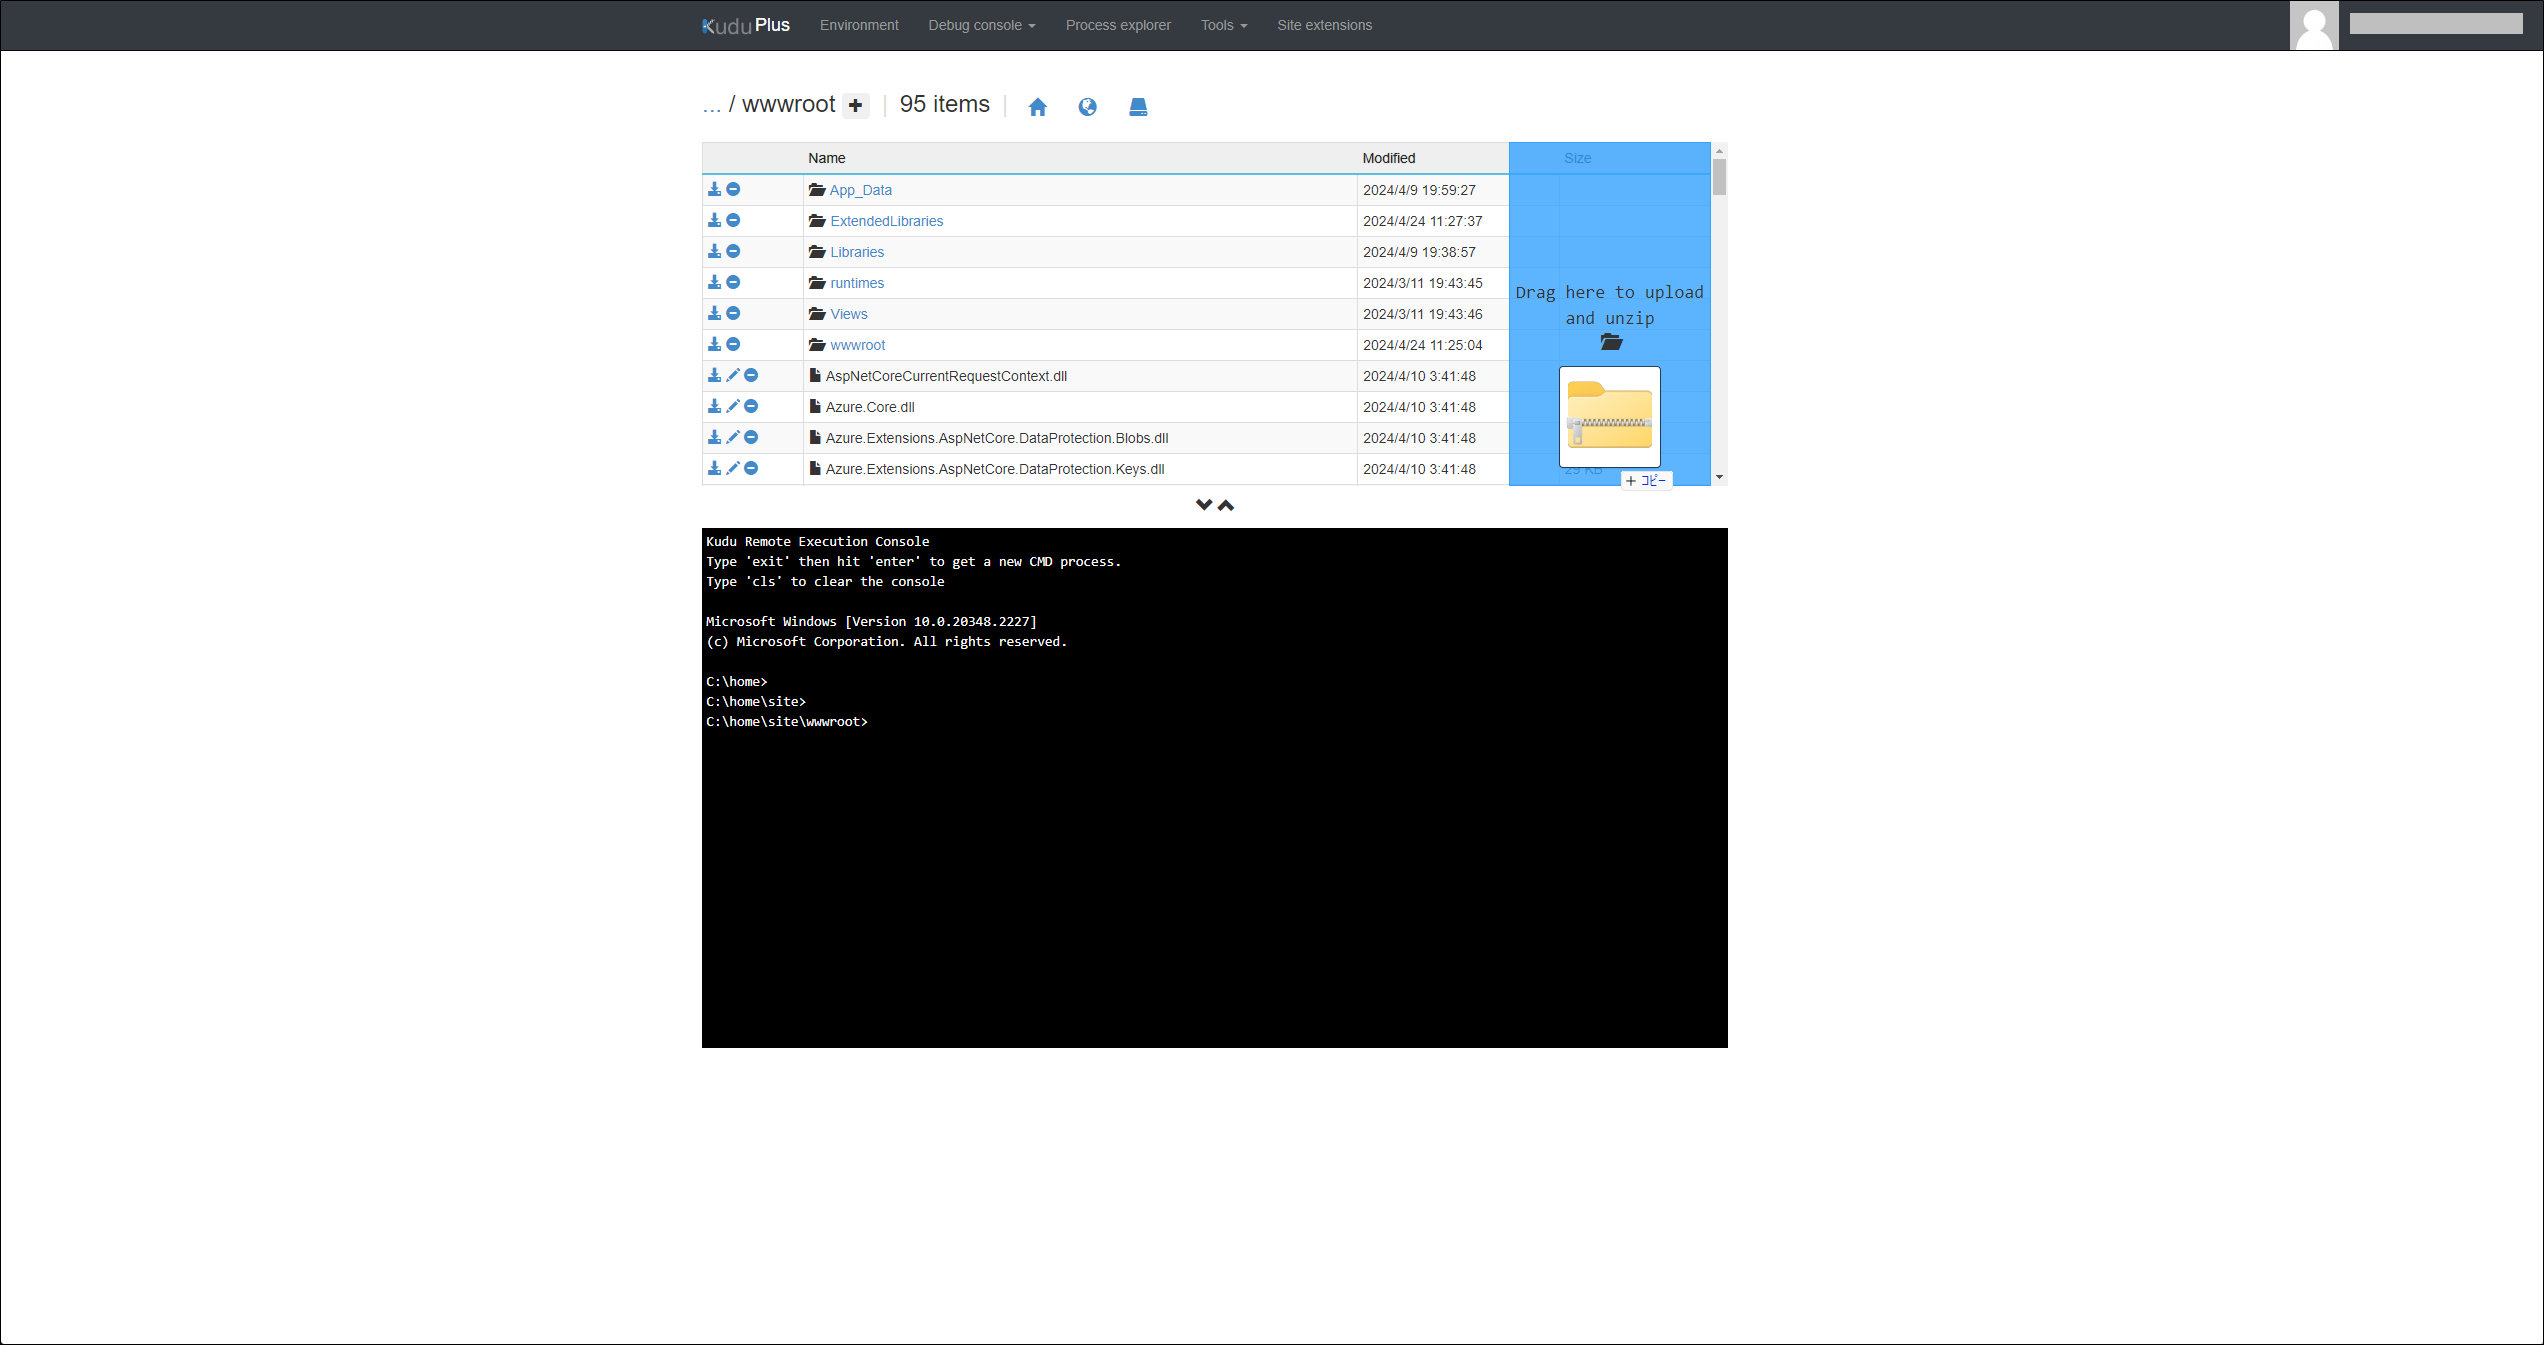
- Open Kudu on Azure and move to "C:\home\site\wwwroot>".
-
Upload the zip file "ExtendedLibraries.zip" by dragging and dropping it.
-
Upload the zip file "wwwroot.zip" by dragging and dropping it.
-
Start the App Service to start Pleasanter.
 Running the setup
-
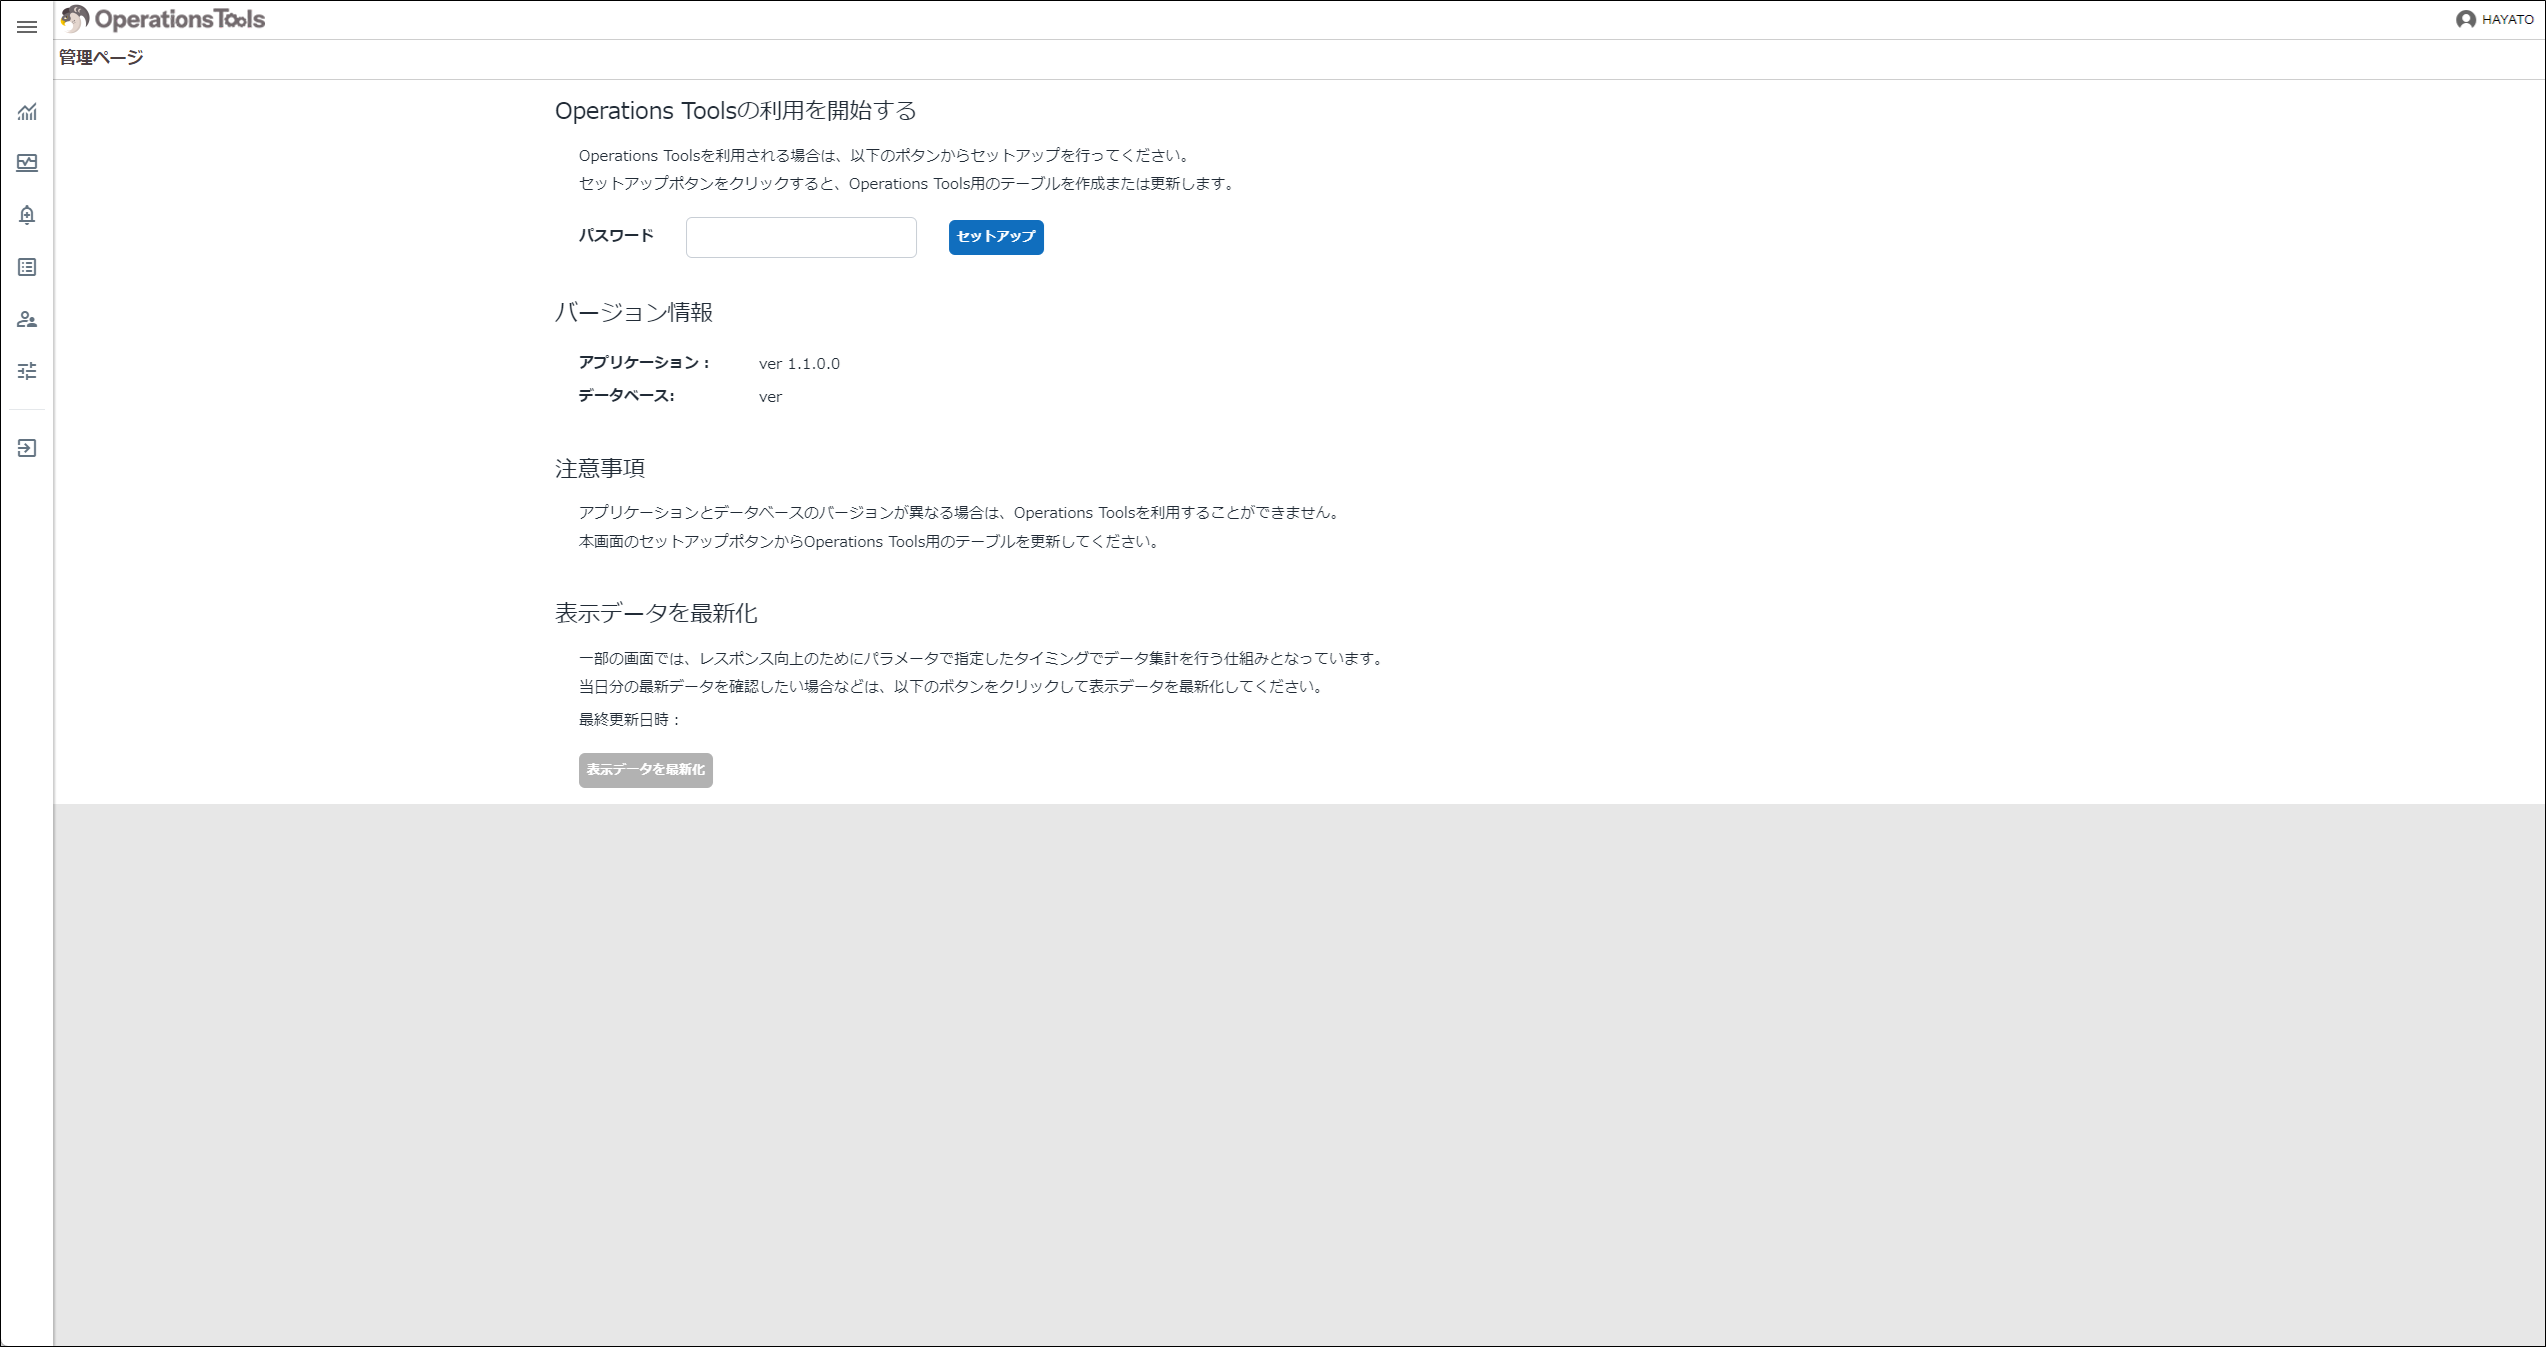
Access the URL below.
-
Enter the password and click the setup button.
Note
The password is the value of SetupPassword set in General.json (the initial value is "operations-tools").
-
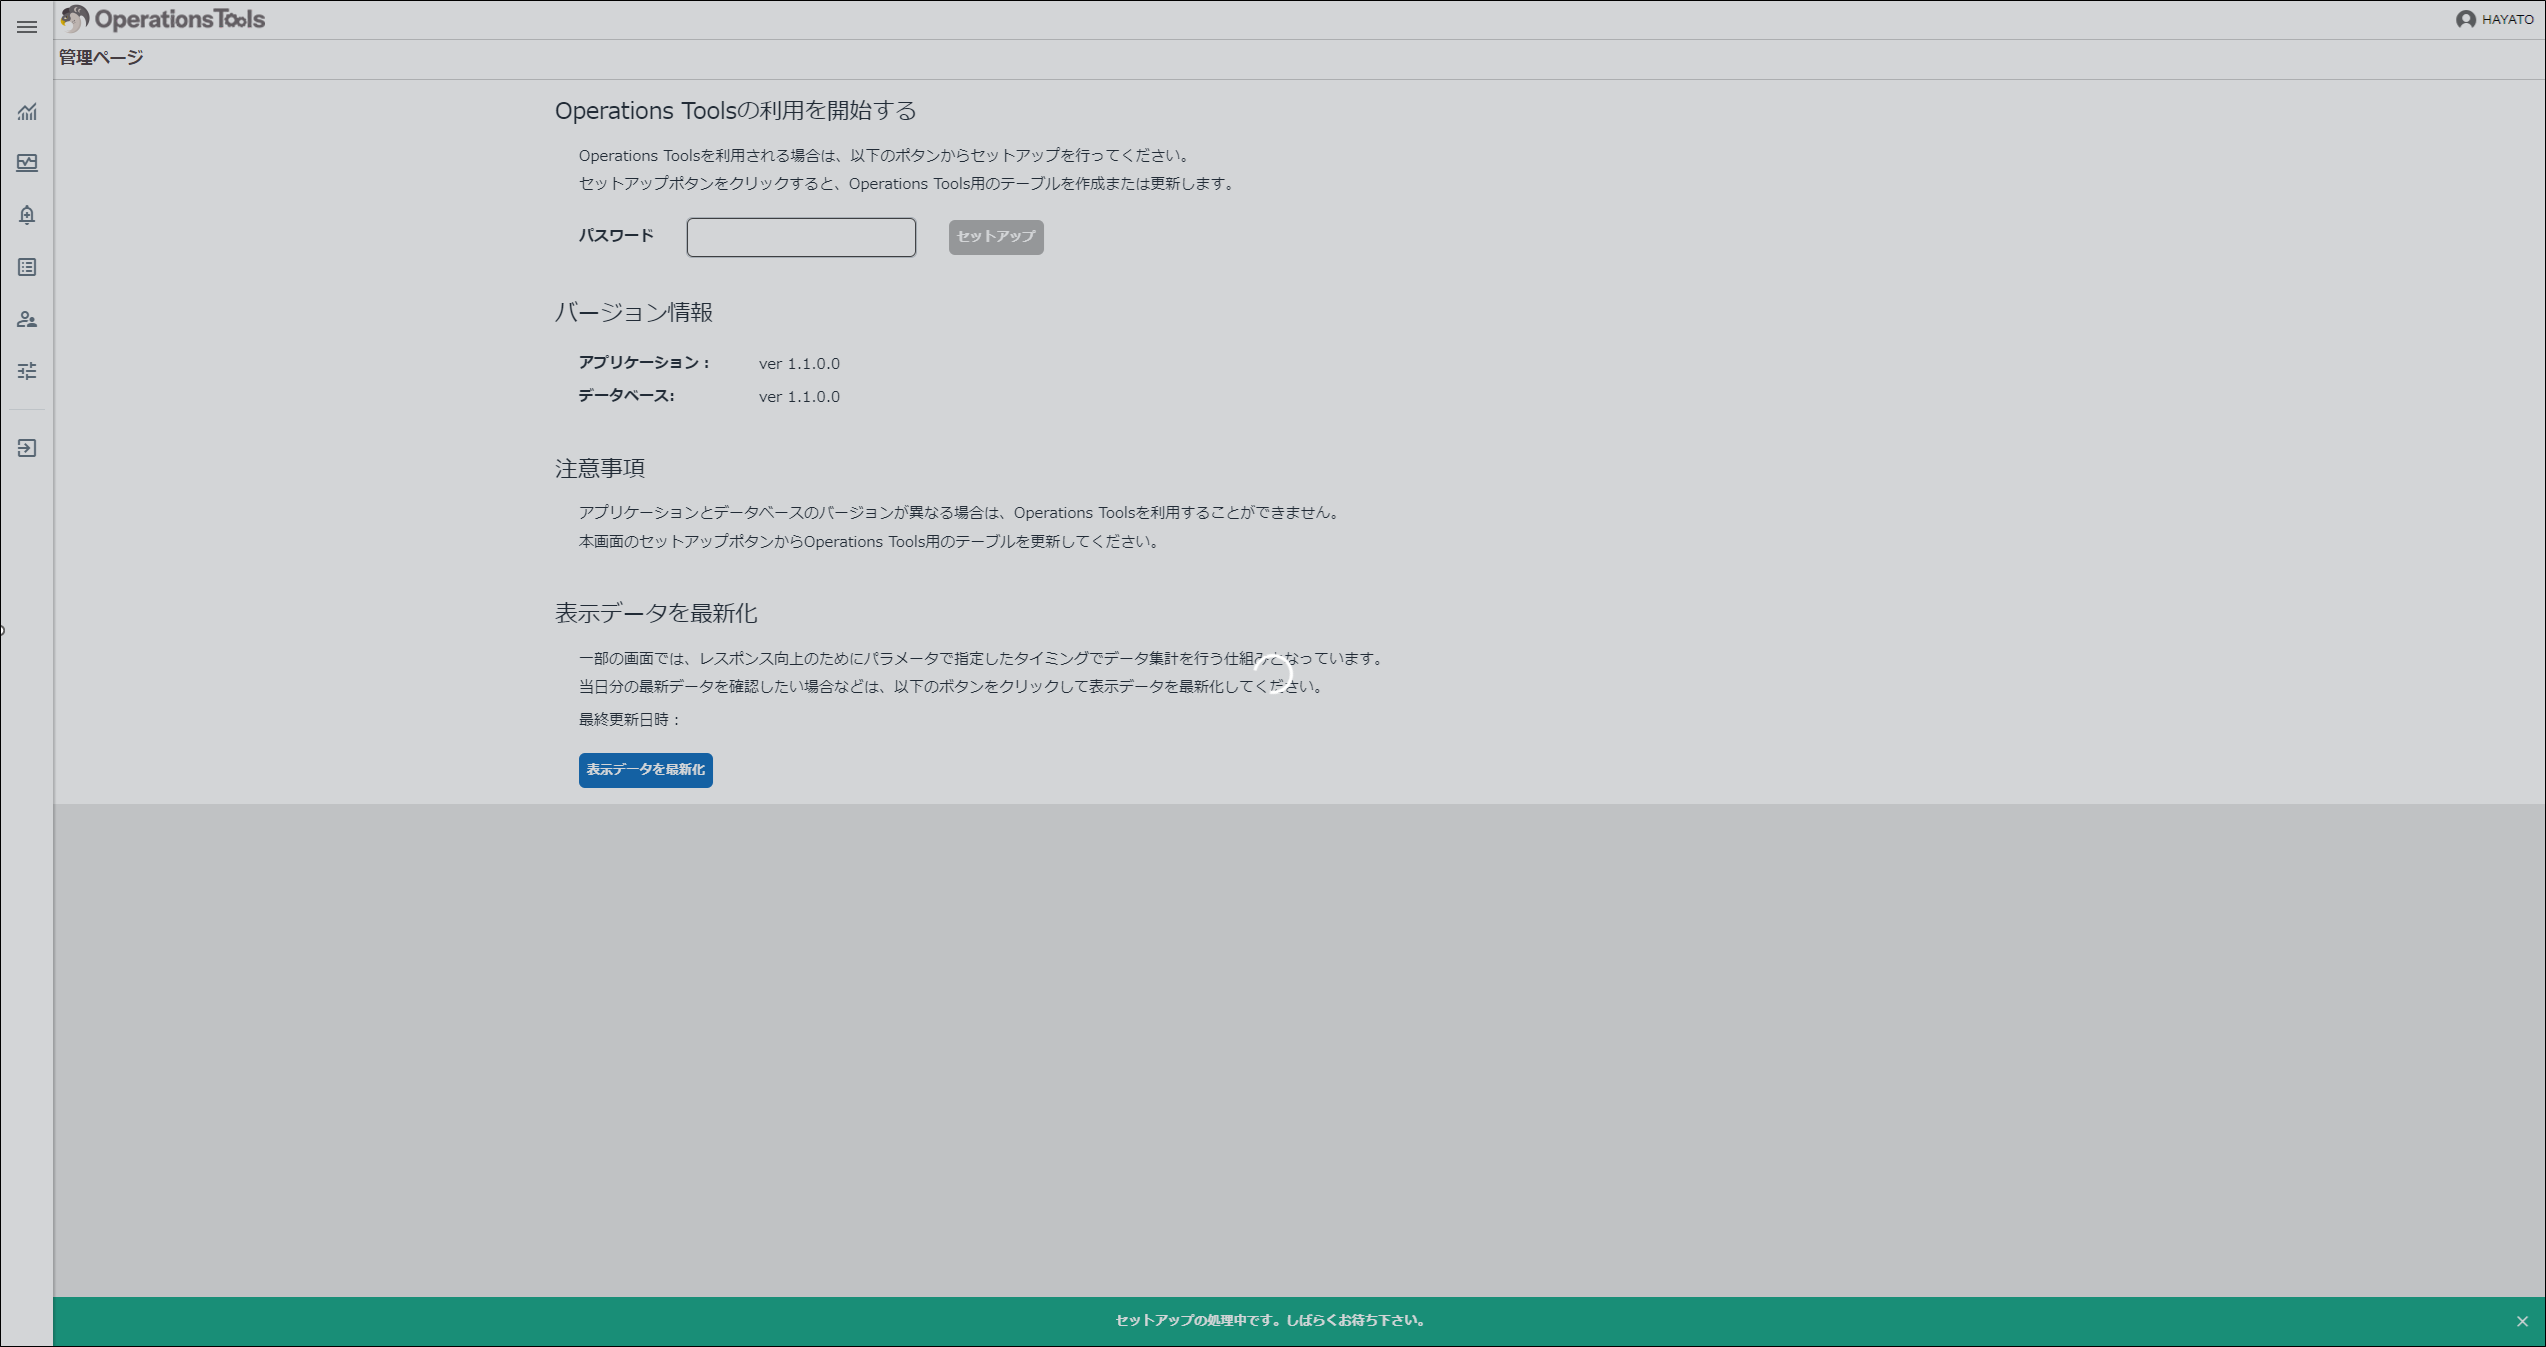
The message "Setup is in progress. Please wait a moment." is displayed.
-
When the message "Setup is complete." is displayed, the setup is complete.
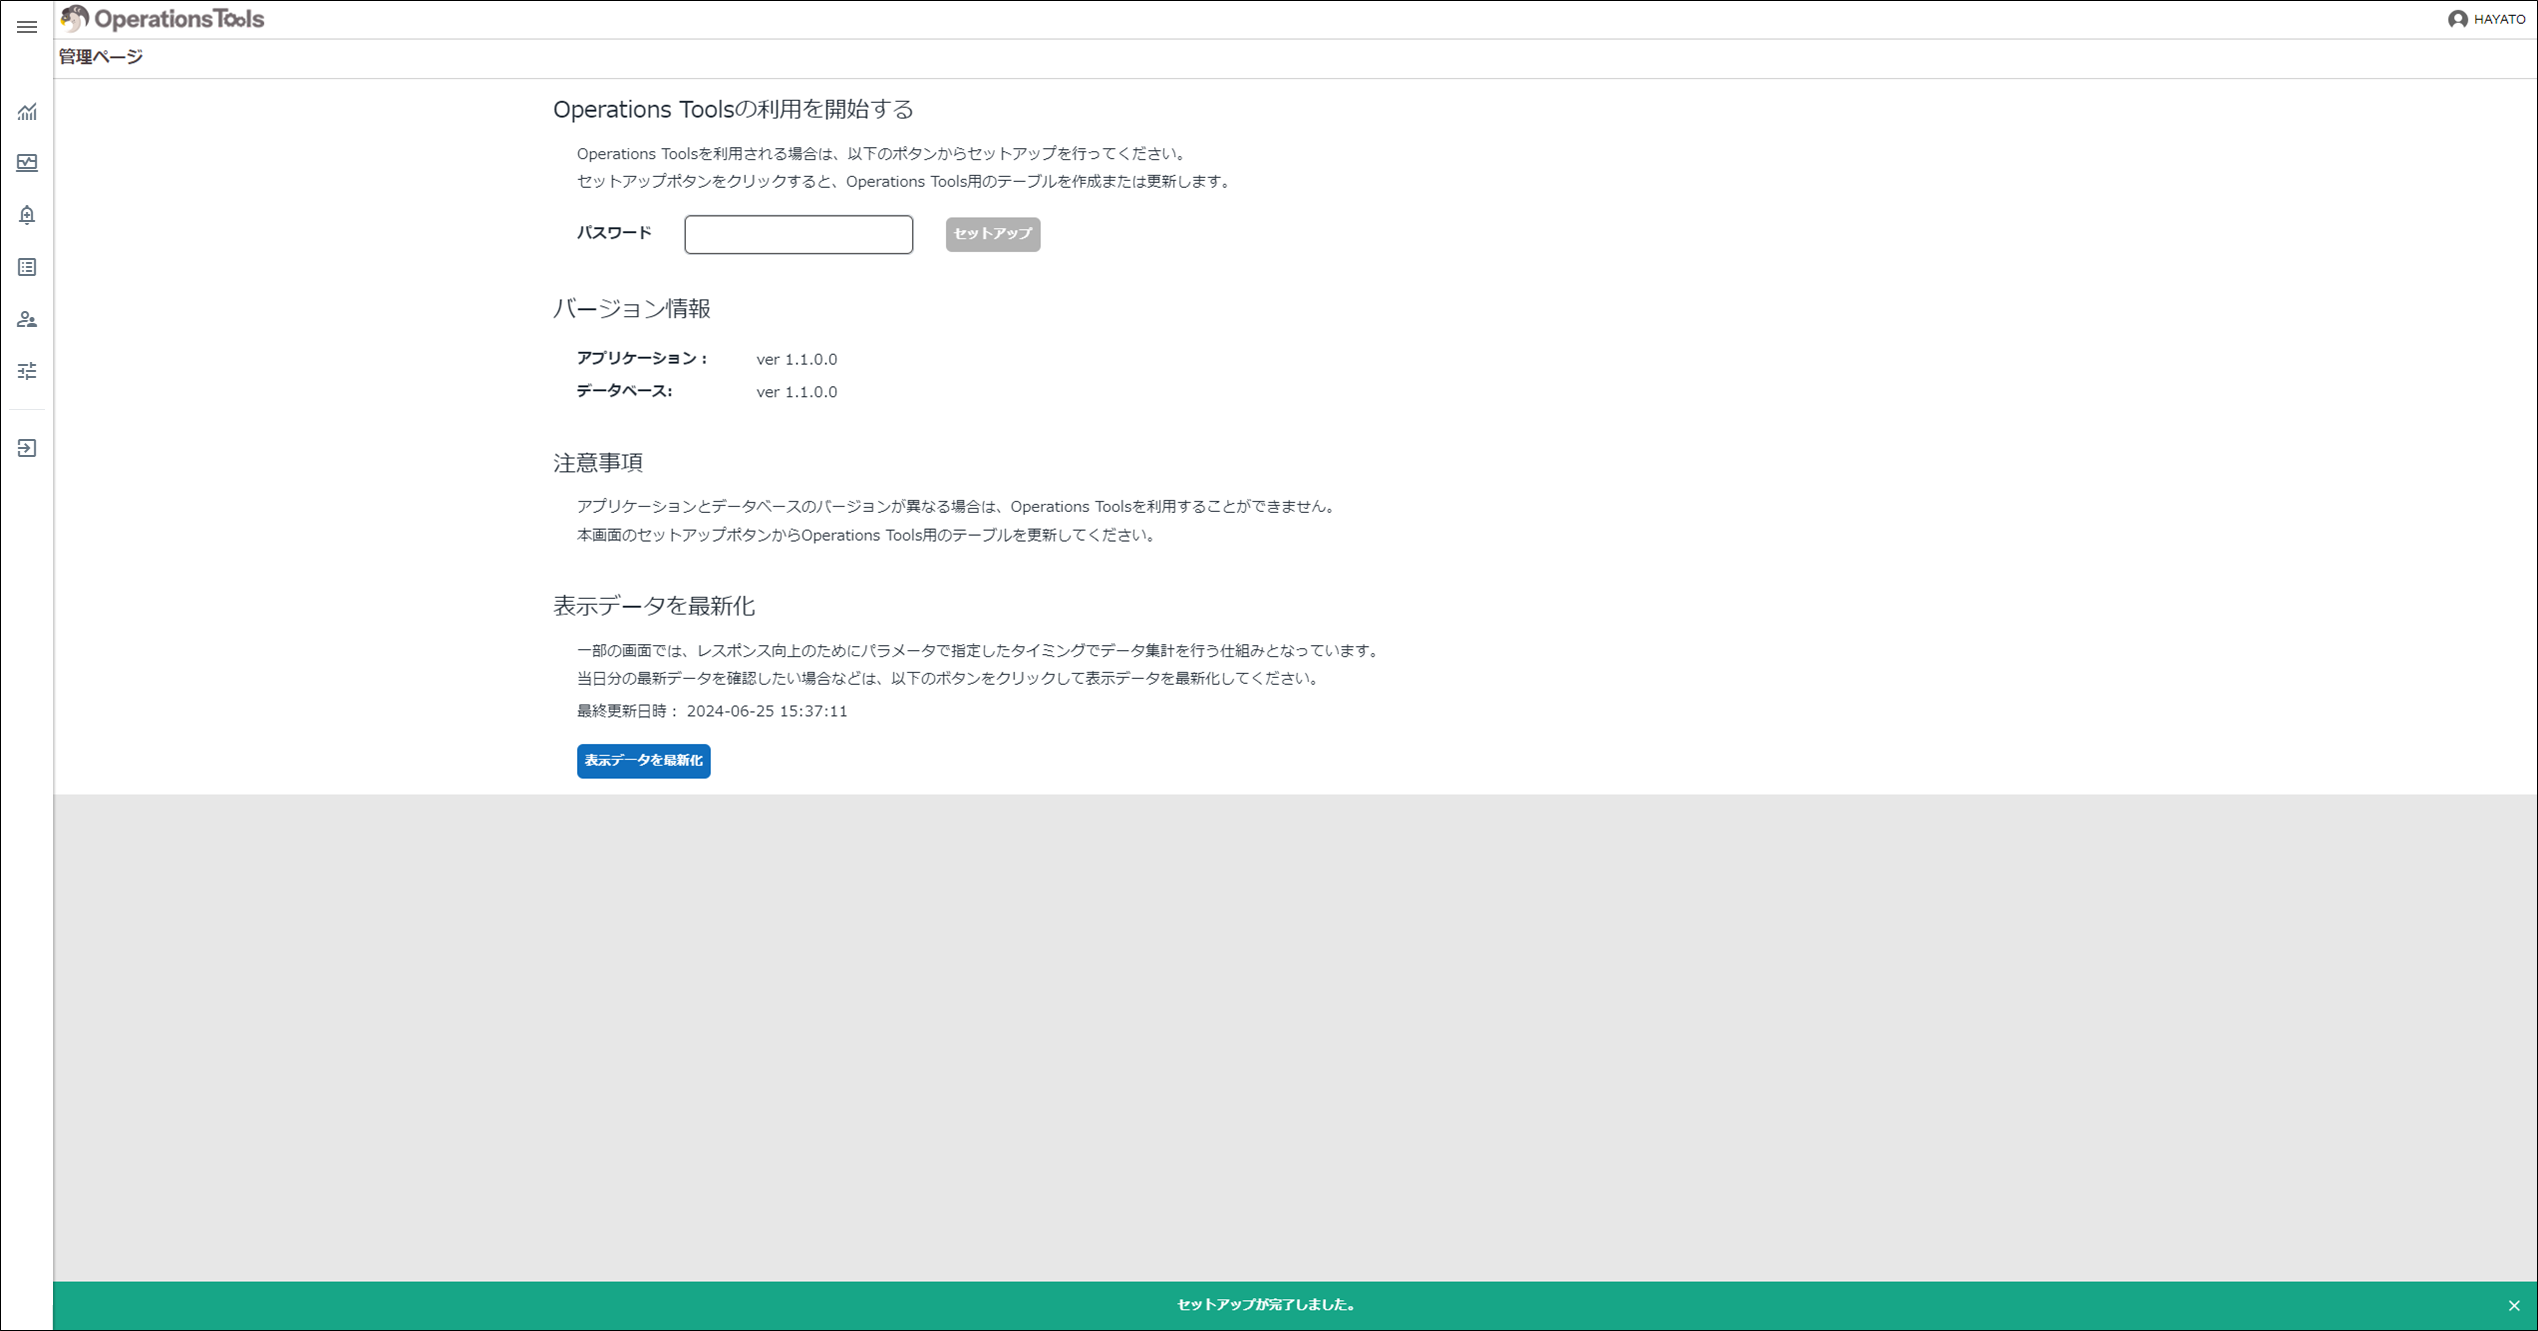
Note
The operation above creates the set of tables for Operations Tools (the tables with the prefix "_eot").
Note
The data displayed on some screens is created in the intermediate table at the moment you run the setup, and is synchronised in the background at the times specified in IntermediateTableSynchronize.RunTime in the Operations Tools parameter BackgroundService.json. When you want to see the most recent data, press the "Refresh the displayed data" button to synchronise the data manually.
Troubleshooting
Q1. When I access the administration page, the message "The license file is not set correctly, or the license file is invalid." is displayed as follows.
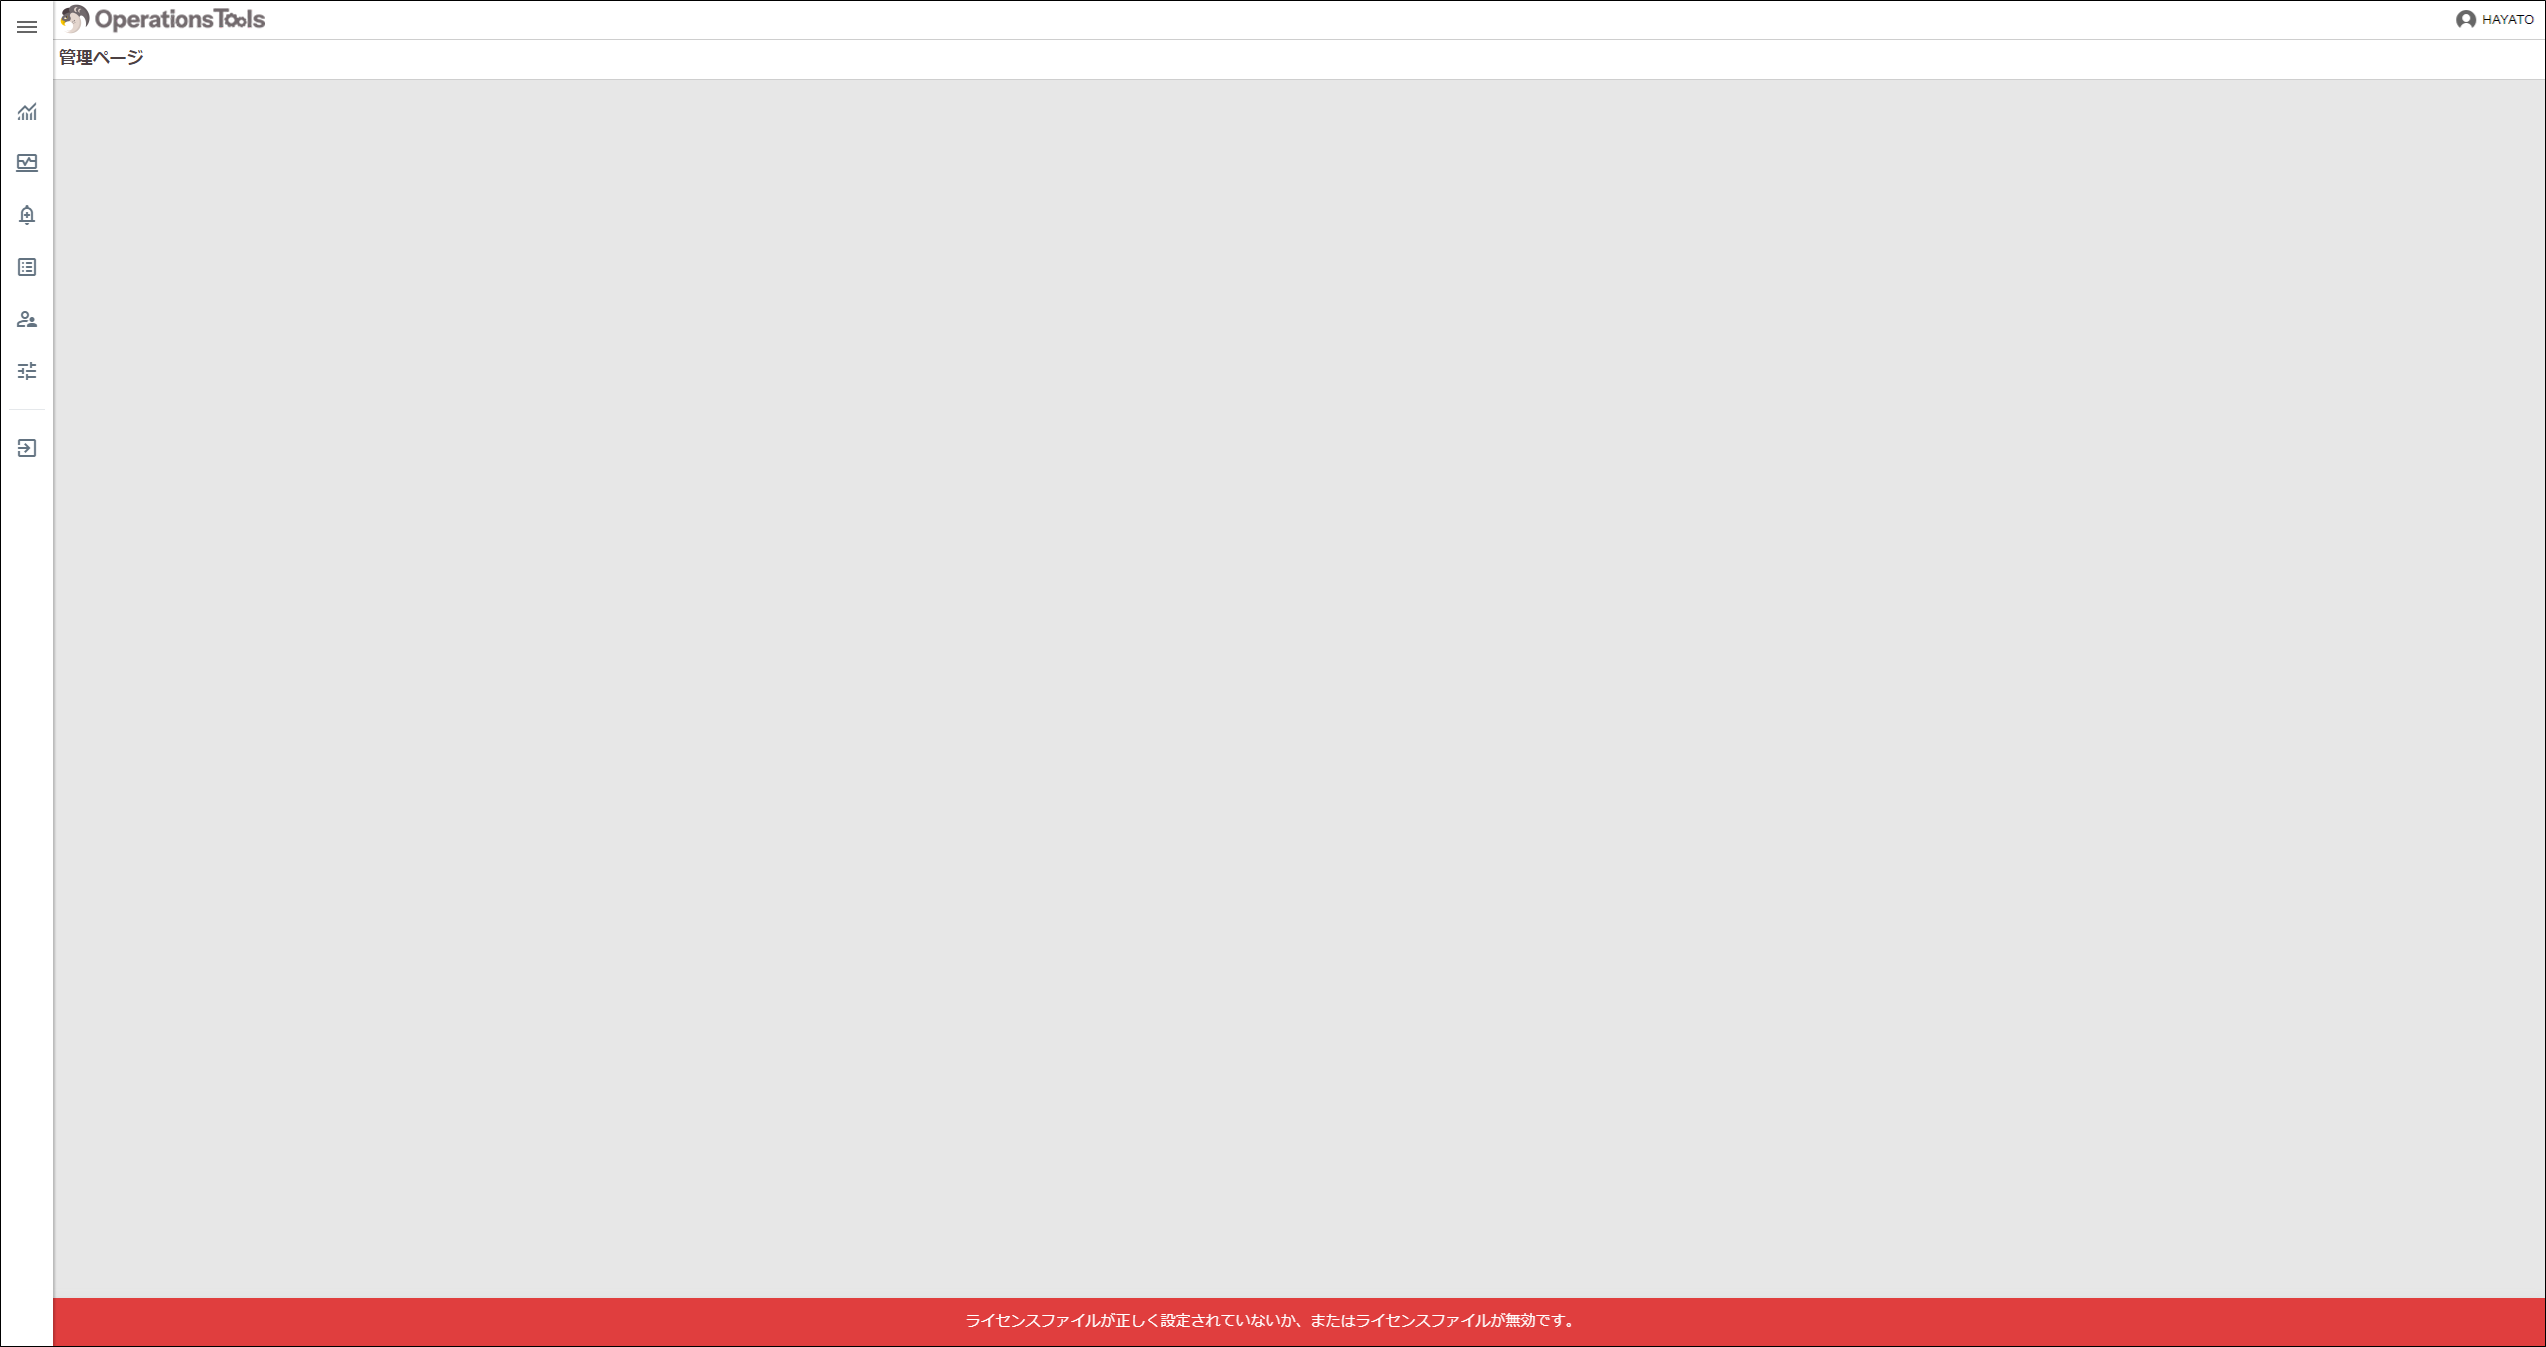
A1. Confirm that a valid license file is placed in Pleasanter itself.
Q2. On some screens, results such as the detail information are not displayed.
A2. Depending on the volume of data in the target environment, the setup processing can be interrupted by a timeout, in which case the results on some screens are not displayed. In that case, try the following steps.
-
Adjust the value of "SQLCommandTimeout" in the Operations Tools parameter file General.json.
-
Restart Pleasanter.
- Click the "Refresh the displayed data" button on the administration page of Operations Tools.
- Check the log in the [_eot_JobHistory] table and check the content of Status, ErrMessage and ErrStackTrace.
(It has succeeded if Status is 'Success' and ErrMessage and ErrStackTrace are blank.)