Use Passkey Authentication
Review Checklist
- Should this be enabled for Pleasanter.net (dedicated environment)?
- Should we purchase a security key for operational verification?
Limitations
- Passkey authentication is only available in HTTPS contexts.
- If a password manager extension is installed in the browser, it may take priority over Windows Security. To use Windows Security authentication, cancel the extension's process.
- If a certain amount of time passes during the authentication process, it will time out and the user will be notified. The same applies if the user cancels the authentication. Please repeat the procedure as necessary.
- Passkey authentication is supported on Windows 11 and later, macOS 13.0 (Ventura) and later, iOS 16.0 and later, iPad OS and later, and Android 9.0 and later.
- Please keep your web browser updated to the latest version.
- Use the standard camera app of each OS to read QR codes.
- If you cannot read QR codes with the camera app on Android, please use Google Lens.
Overview
To use passkey authentication, the following configuration is required.
Server-side Configuration
Configure each parameter under PasskeyParameters in "Authentication.json".
{
    ...
    "PasskeyParameters": {
        "Enabled": true,
        "ServerName": "Pleasanter",
        "ServerDomain": "localhost",
        "Origins": [ "https://localhost:44331" ]
    },
    ...
}
PasskeyParameters Parameter List
| Parameter Name | Example | Description |
|---|---|---|
| Enabled | true | Enable or disable passkey authentication. Default value is false. |
| ServerName | "Pleasanter" | Specifies the server name. |
| ServerDomain | "localhost" | This is an identifier that indicates the name of this service. It is used to link the passkey with the service. Please set only the domain name, such as pleasanter.net. |
| Origins | ["https://localhost:443"] | This setting is used to verify that the URL the user accesses in their browser completely matches the registered URL. Login attempts from unregistered URLs will be rejected. Register the entire URL displayed in the browser's address bar. If the port number is different, it will be treated as a separate URL. |
Client-side Configuration
On the client side, you need to create and save a passkey. The procedure differs depending on where you save the passkey.
📱 Save to Smartphone
This section explains how to create a passkey and save it to your smartphone. Please turn on Bluetooth in your smartphone's settings app beforehand.
- Log in to Pleasanter with the account for which you want to create a passkey. Use an authentication method other than passkey authentication for this login.
- Click "User" in the navigation menu.
- Click "Edit profile".
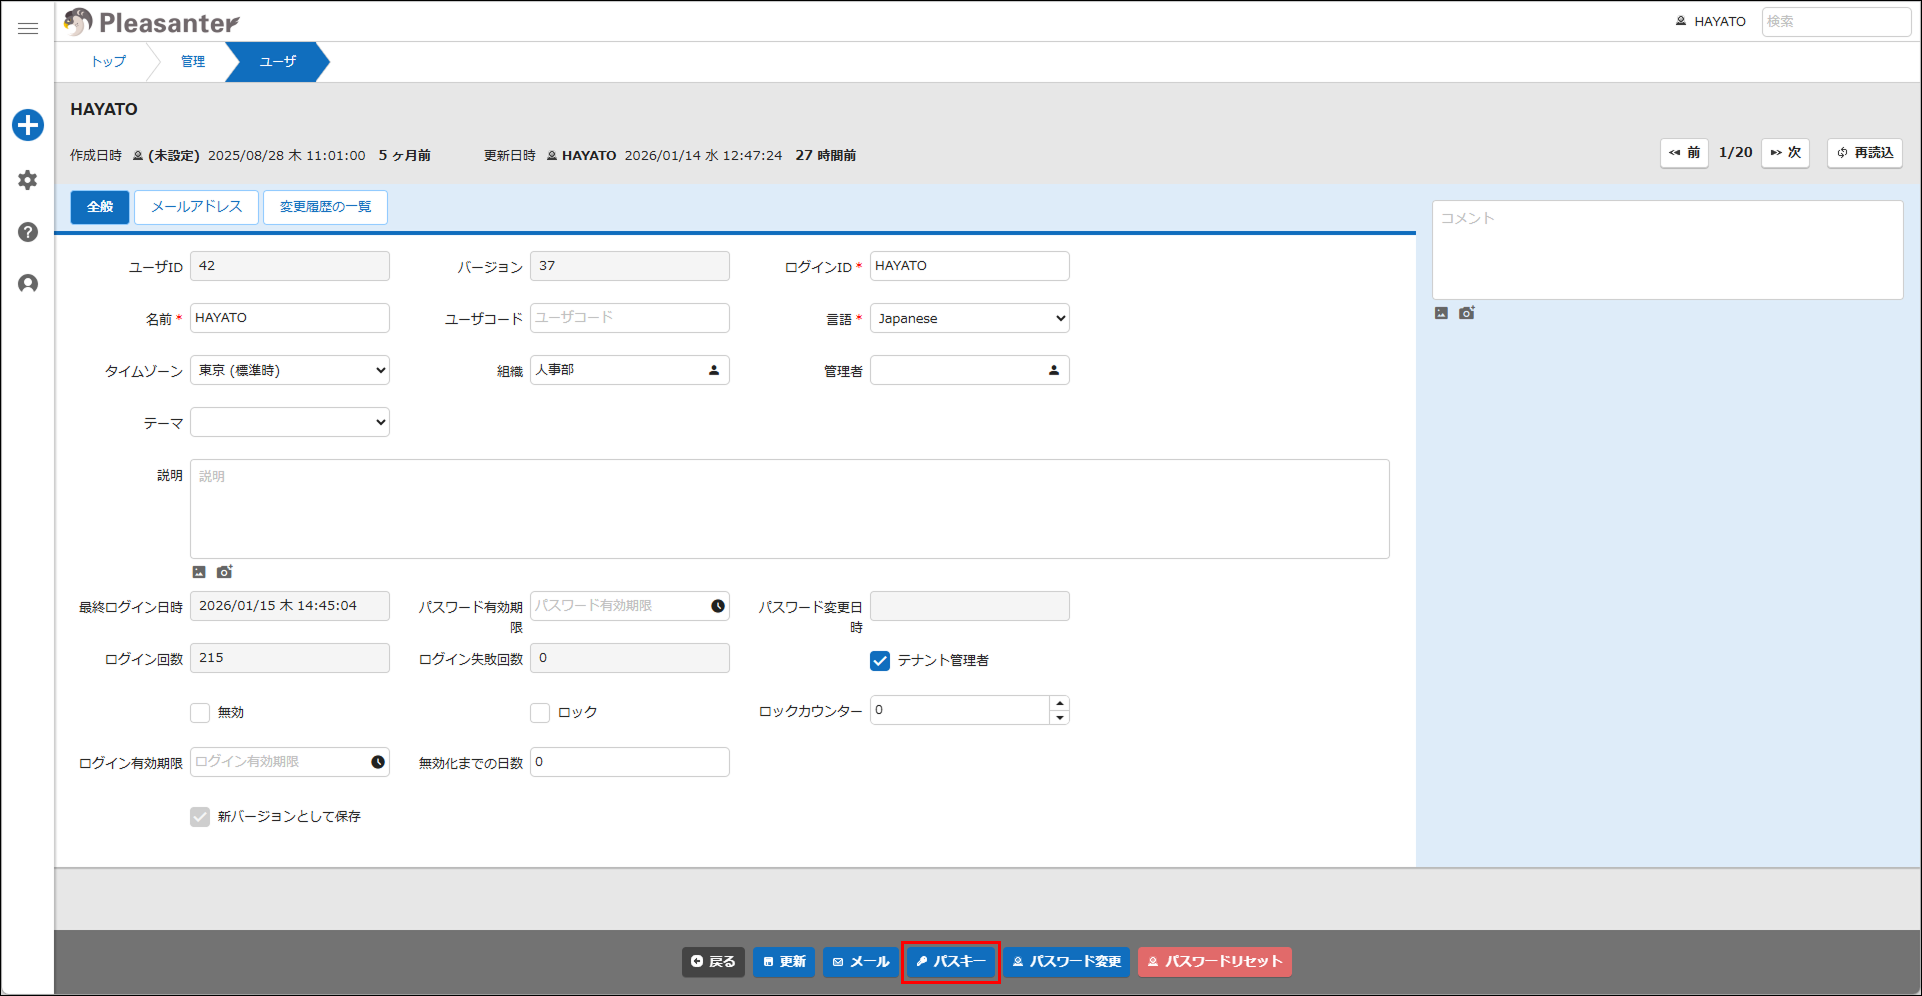
- Click the "Passkey" button in the command button area.
- The "Passkey" dialog will be displayed. Click the "New" button.

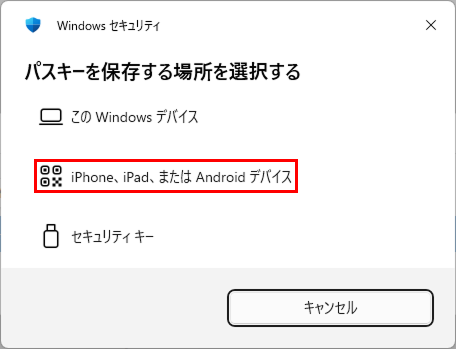
- Change the passkey storage location to your smartphone. Click "Change".

- Click "iPhone, iPad, or Android device".
- Read the displayed QR code with your smartphone's camera app and tap "Save a passkey".


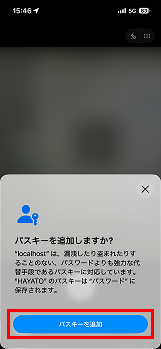
- Add the passkey to your smartphone. Tap the "Add Passkey" button. You will be prompted for smartphone user authentication at this time.
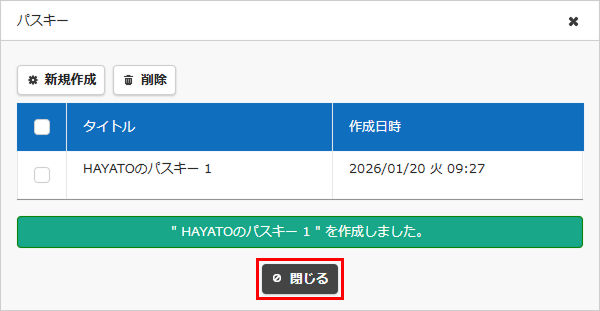
- Once the passkey is saved to your smartphone, the created key will be displayed in the "Passkey" dialog. Click the "Close" button.
💻 Save to Windows
This section explains how to create a passkey and save it to Windows.
- Log in to Pleasanter with the account for which you want to create a passkey. Use an authentication method other than passkey authentication for this login.
- Click "User" in the navigation menu.
- Click "Edit profile".
- Click the "Passkey" button in the command button area.
- The "Passkey" dialog will be displayed. Click the "New" button.
- Click the "Continue" button.

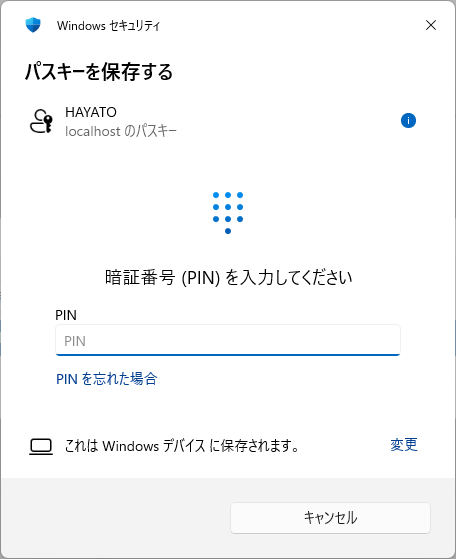
- Complete identity verification with Windows Hello. Below is an authentication screen using a PIN.
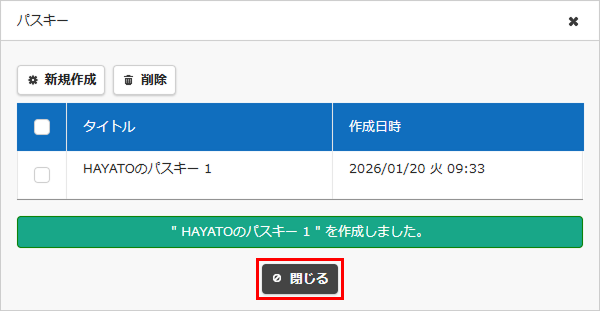
- Once identity verification is complete, the created key will be displayed in the "Passkey" dialog. Click the "Close" button.
🔑 Save to Other Storage Locations
In addition to the above, you can use the following as passkey storage locations. Please refer to each product's documentation for details.
- Security key
- Third-party password managers provided as browser extensions
- Password managers built into browsers
If you select "3. Password managers built into browsers" from the above, please cancel passkey storage by Windows Security.
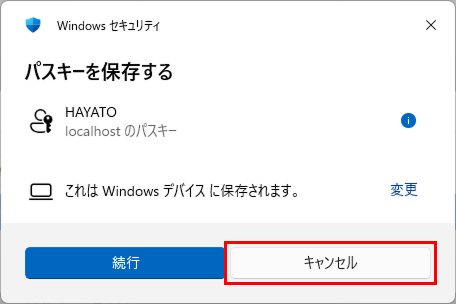
It will fallback and become selectable.

Login Procedure
For login procedures when "🔑 Save to Other Storage Locations" is selected, please follow the on-screen instructions.
📱 Log in with a Passkey Saved to Smartphone
- Open the login screen with the account for which you created the passkey and click the "Log in with passkey" button.

- Select the saved passkey type. Click "iPhone, iPad, or Android device".

- Read the displayed QR code with your smartphone's camera app and tap "Sign in with a passkey".

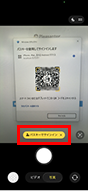
- A confirmation message will appear at the bottom of your smartphone screen. Tap the "Use Passkey" button. You will be prompted for smartphone user authentication at this time.

You can now log in to Pleasanter.
💻 Log in with a Passkey Saved to Windows
- Open the login screen with the account for which you created the passkey and click the "Log in with passkey" button.
- Complete identity verification with Windows Hello. Below is an authentication screen using a PIN.
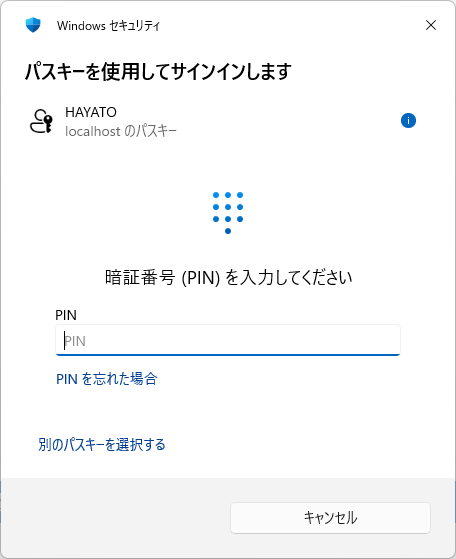
You can now log in to Pleasanter.
Editing Passkeys
You can change the title (name) of a created passkey or delete unnecessary passkeys from Pleasanter.
Change Passkey Title
- Log in to Pleasanter.
- Click "User" in the navigation menu.
- Click "Edit profile".
- Click the "Passkey" button in the command button area.
- In the "Passkey" dialog, click the passkey you want to change.
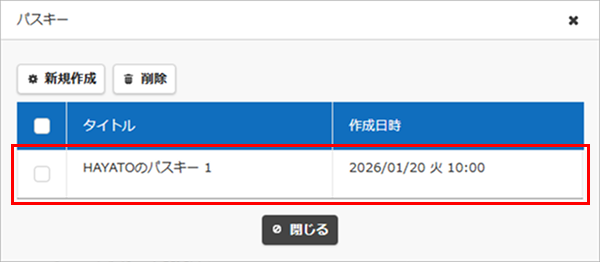
- The "Edit Passkey" dialog will be displayed. Edit the "Title" and click the "Change" button.
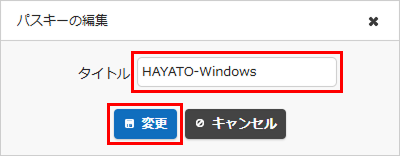
- The "Edit passkey" dialog will close and you can confirm the title change. Click the "Close" button.

Delete Passkey
- Log in to Pleasanter.
- Click "User" in the navigation menu.
- Click "Edit profile".
- Click the "Passkey" button in the command button area.
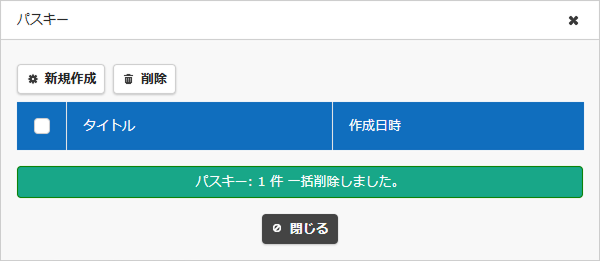
- Click the checkbox on the left side of the passkey you want to delete to enable it, then click the "Delete" button.

- A confirmation dialog will appear, so check the content and click the "OK" button.
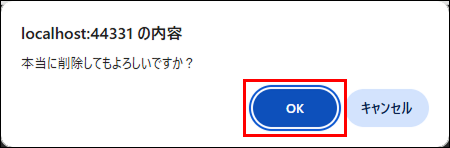
- The "Operation" dialog will close and you can confirm that the passkey has been deleted.
- If necessary, delete the saved passkey from each OS or web browser. Check each product's manual for the storage location.
Supported Versions
| Supported Version | Details |
|---|---|
| 1.5.1.0 and later | Feature added |