Configure Pleasanter to notify LINE WORKS
Limitations
- Because of a constraint on the LINE WORKS side, you can add up to five Webhook URLs.
Settings on the LINE WORKS Side
From the LINE WORKS administrator screen, do the following.
- Add the Incoming Webhook app from the "App Directory" of LINE WORKS.
- Invite the "Incoming Webhook Bot" to the talk room to which the notifications are sent.
- Get the "Channel ID" of the talk room to which the notifications are sent. Select "Channel ID" from the menu of the talk room.

- Click the "Copy channel ID" button.

- Select "Webhook list" from the menu shown at the bottom of the talk room.
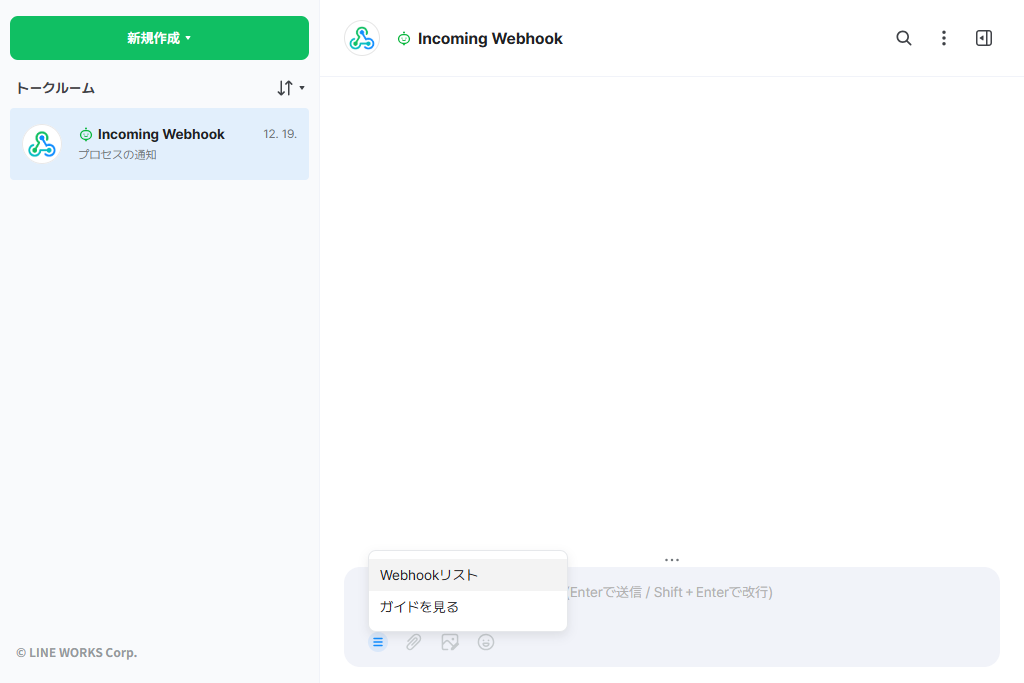
- Enter a Webhook name in "Add" on the Webhook list screen, paste the channel ID you copied in step 4 above into "Channel ID", and click the "Add" button.

- A Webhook URL is issued. Copy and note down the issued Webhook URL, because you use it in the settings on the Pleasanter side.

The settings on the LINE WORKS side are now complete.
Settings on the Pleasanter Side
1. Setting the notification
Set the parameter LineWorks of the configuration file Notification.json to true in advance. After you change the setting, you need to restart Pleasanter.
- Open the table for which you want to set the notification.
- Click "Administration" on the navigation menu.
- Click Manage Table.
- Click the Notification tab.
- Click the "Create New" button.

- Select "LINE WORKS" from "Notification Type".
- Paste the "Webhook URL" you copied above into "Address".
- Check the other columns you need and click the "Add" button.
2. Setting the process notification
Set the parameter LineWorks of the configuration file Notification.json to true in advance. After you change the setting, you need to restart Pleasanter.
- Open the table for which you want to set the notification.
- Click "Administration" on the navigation menu.
- Click Manage Table.
- Click the Process tab.
- Click the "Create New" button.
- Click the Notification tab.
- Click the "Create New" button.

- Select "LINE WORKS" from "Notification Type".
- Paste the "Webhook URL" you copied above into "Address".
- Check the other columns you need and click the "Add" button.
3. Setting the reminder
Make the following settings in advance.
- Set the parameter Reminder of the configuration file BackgroundService.json to true.
- In the parameter AbsoluteUri of the configuration file Service.json, enter the leading part of the URL written in notifications and reminders.
- Set the parameter Enabled of the configuration file Reminder.json to true, and LineWorks to true.
After you restart Pleasanter, do the following.
- Open the table for which you want to set the notification.
- Click "Administration" on the navigation menu.
- Click Manage Table.
- Click the Reminder tab.
- Click the "Create New" button.
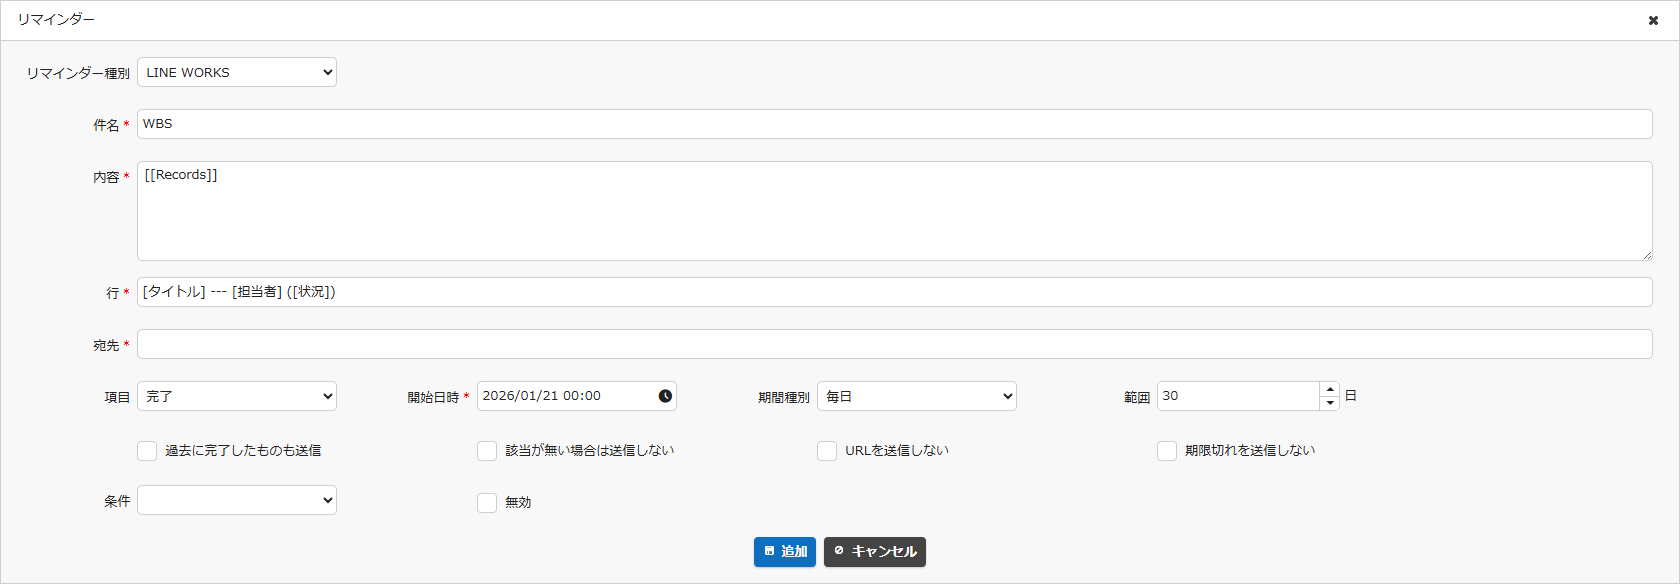
- Select "LINE WORKS" from "Reminder Type".
- Paste the "Webhook URL" you copied above into "To".
- Check the other columns you need and click the "Add" button.
Supported Versions
| Supported Version | Description |
|---|---|
| 1.5.1.0 | Function added |