Install PostgreSQL (Windows OS)
This page is part of the setup procedure for Pleasanter, a free, open-source no-code/low-code development tool.
Procedure for installing PostgreSQL on Windows OS.
Limitations
If you are logged in with a full-width character account, such as an AzureAD dept account, an error may occur in the PostgreSQL installer. In that case, log in again with a half-width character account and run the installer.
Download PostgreSQL
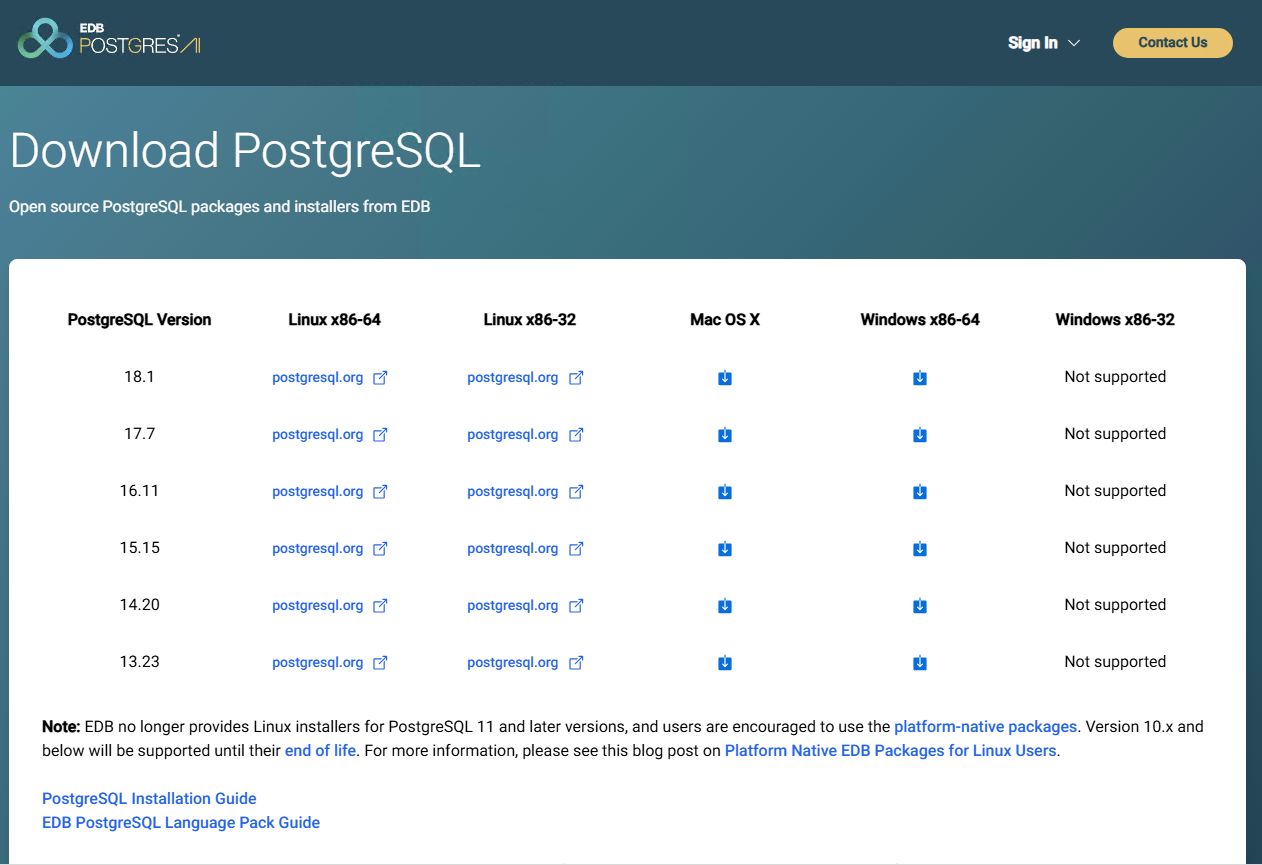
- Access the following URL and download the module version you want to install from Windows x86-64.
https://www.enterprisedb.com/downloads/postgres-postgresql-downloads
Install PostgreSQL
- Run the downloaded file.Click 'Yes' if User Account Control appears.
Click the "Next >" button.

- Change the installation destination (Installation Directory) as appropriate and click the "Next >" button. (If there are no special requirements, click the "Next >" button.)

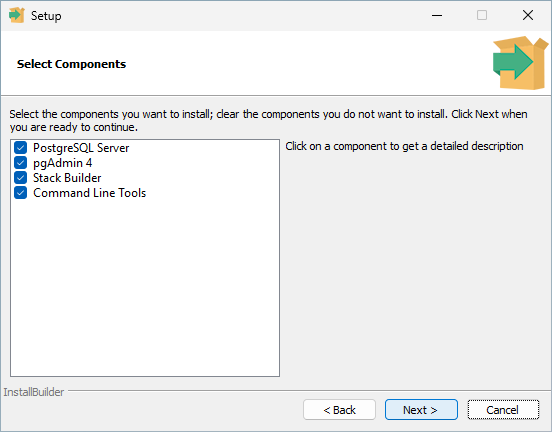
- Confirm that "PostgreSQL Server" and "pgAdmin 4" are checked and click the "Next >" button. (Select other components as appropriate. If there are no special requirements, check all and click the "Next >" button.)
- Change the data file storage destination (Data Directory) as appropriate and click the "Next >" button. (If there are no special requirements, click the "Next >" button.)

- Enter the postgres user password and click the "Next >" button. The password entered here will be used to set the connection string in "Rds.json", so be sure to record it.

- Change the port number as appropriate and click the "Next >" button. (If there are no special requirements, click the "Next >" button.)

- Change the locale as appropriate and click the "Next >" button. (If there are no special requirements, click the "Next >" button.)

- Click the "Next >" button.

- Click the "Next >" button.

- Wait until the installation is complete.

- Click the "Finish" button to complete this procedure.

When you have finished, install Pleasanter. Next step: Install Pleasanter