Install KVS
This page is part of the setup procedure for Pleasanter, a free, open-source no-code/low-code development tool.
Overview
To use KVS, you need to configure KVS. This page explains the procedure for installing "Redis" on Azure, Windows, and Linux (Ubuntu) as an example. Please refer to the procedure according to your environment.
Limitations
- If you use SSL/TLS connection locally, you will need to configure a separate utility.
- Currently, only Redis has been confirmed to work. If you use a database application other than Redis, please note that unexpected behavior may occur.
Operation Procedure
Please refer to the following procedure according to your environment.
Procedure for installing "Redis" on Azure
Procedure for installing "Redis" on Windows
Procedure for installing "Redis" on Ubuntu
Procedure for installing "Redis" on Azure
-
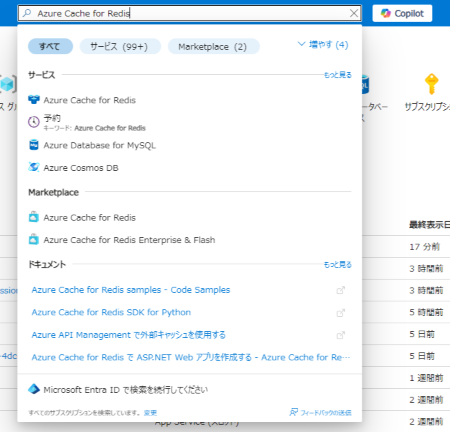
Open "Azure Cache for Redis" from the Azure search box.
-
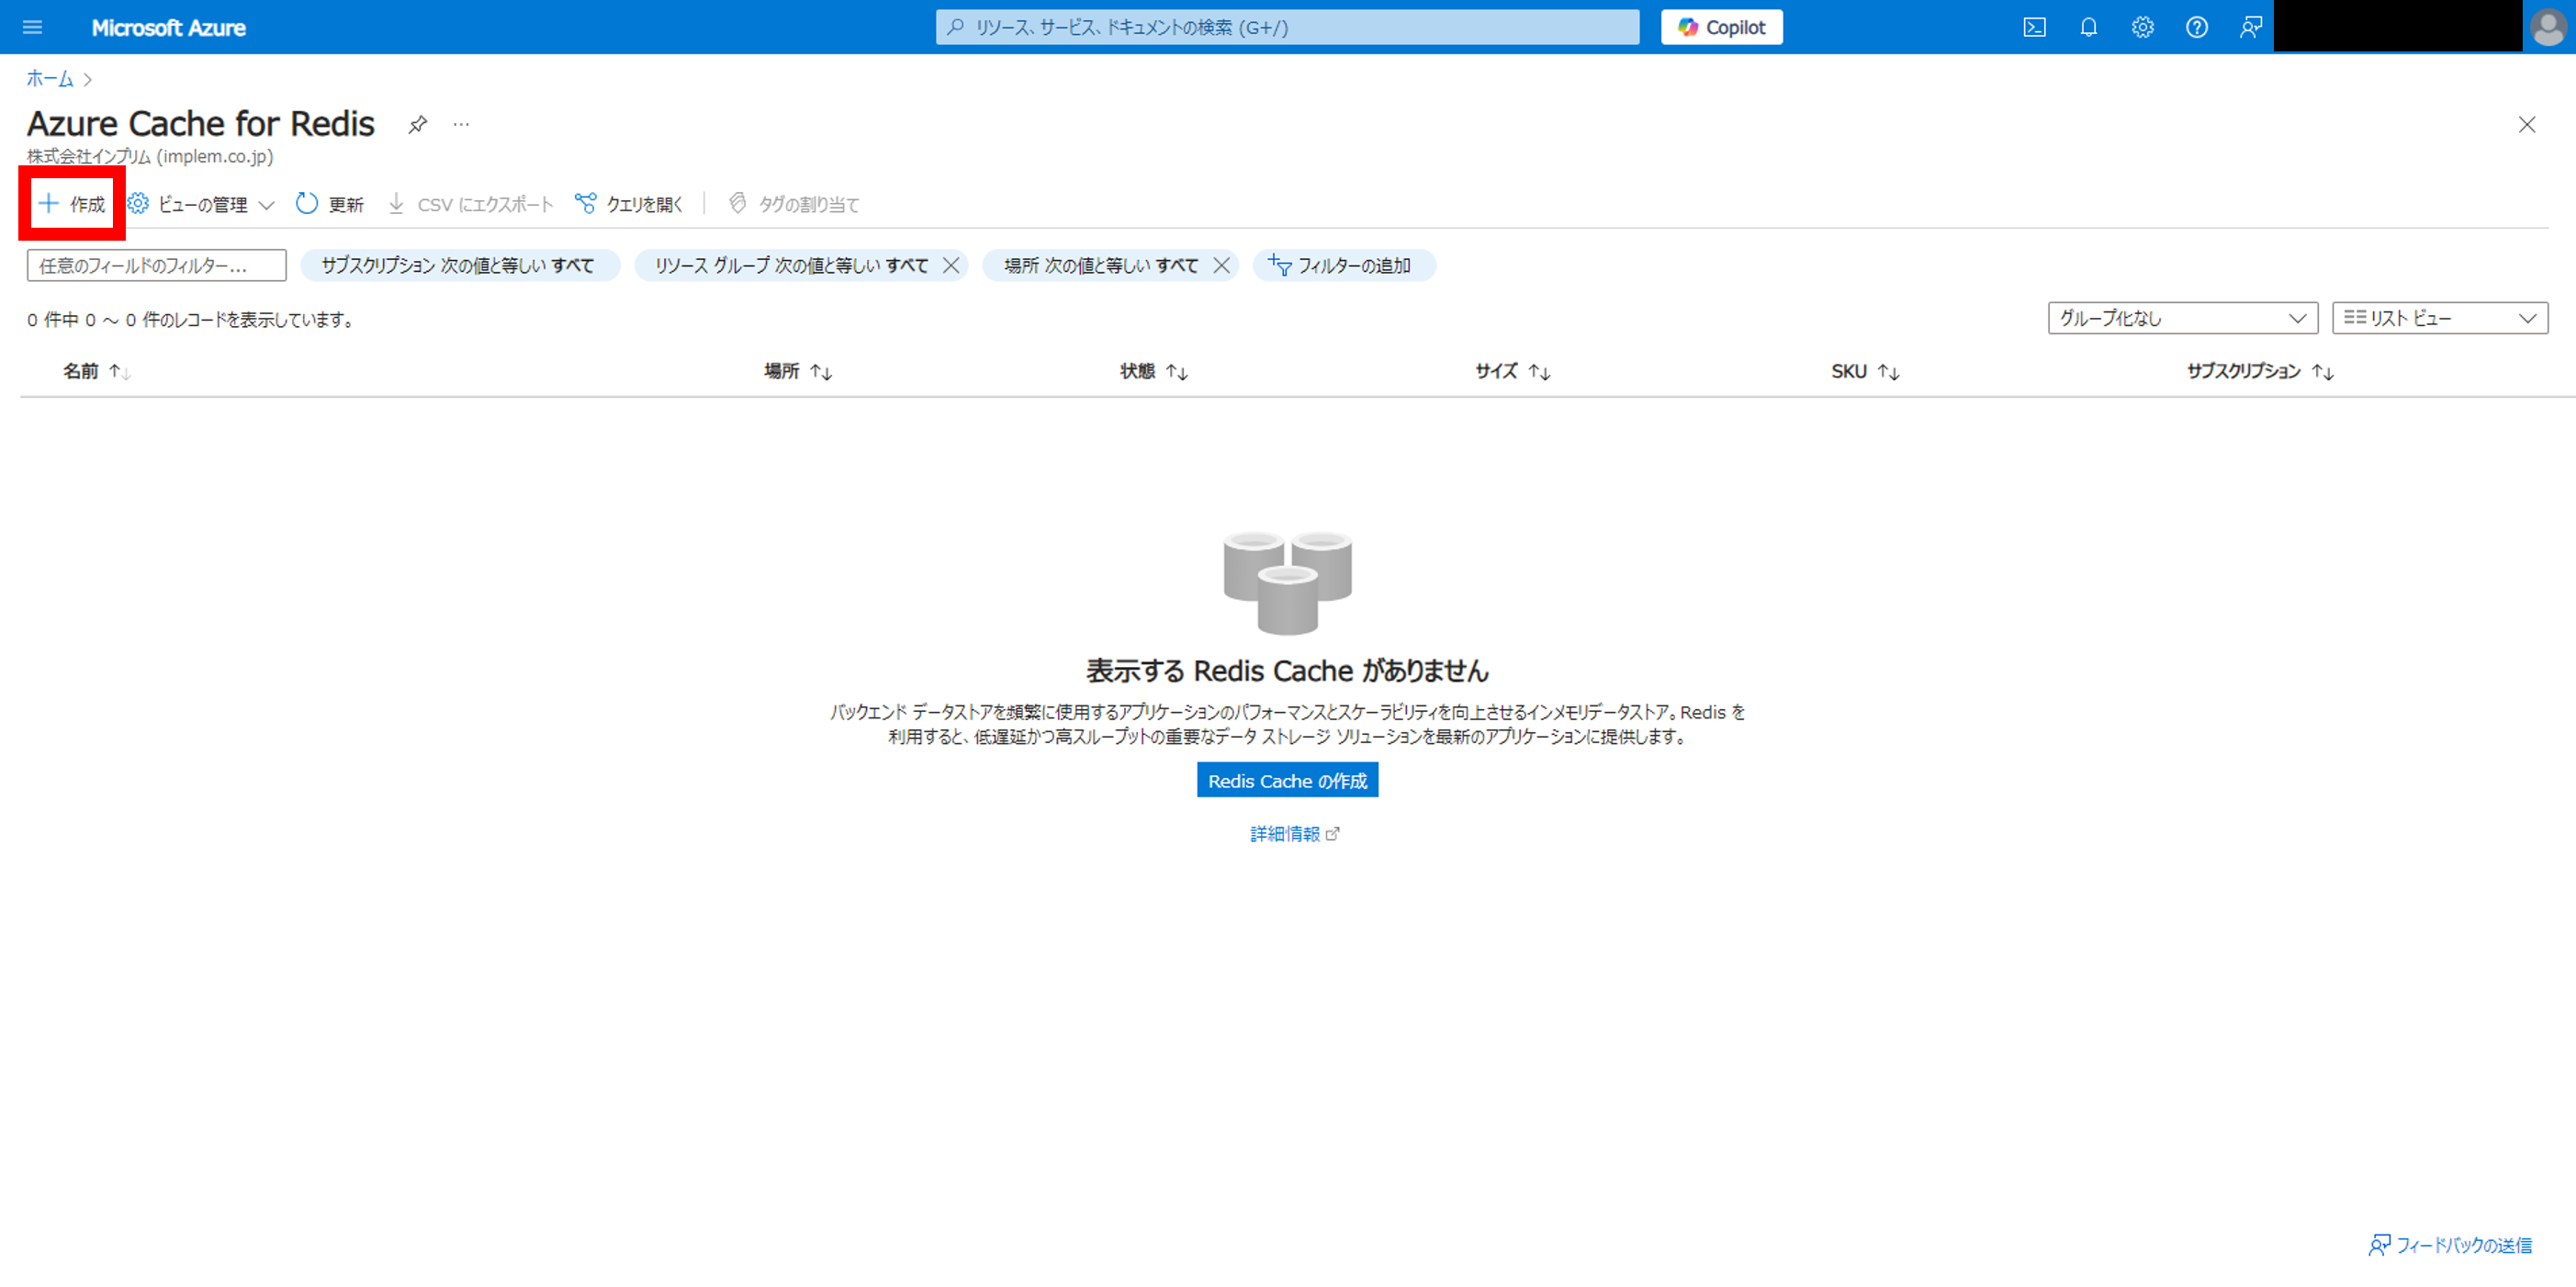
Click "Create" in the upper left of the "Azure Cache for Redis" screen.
-
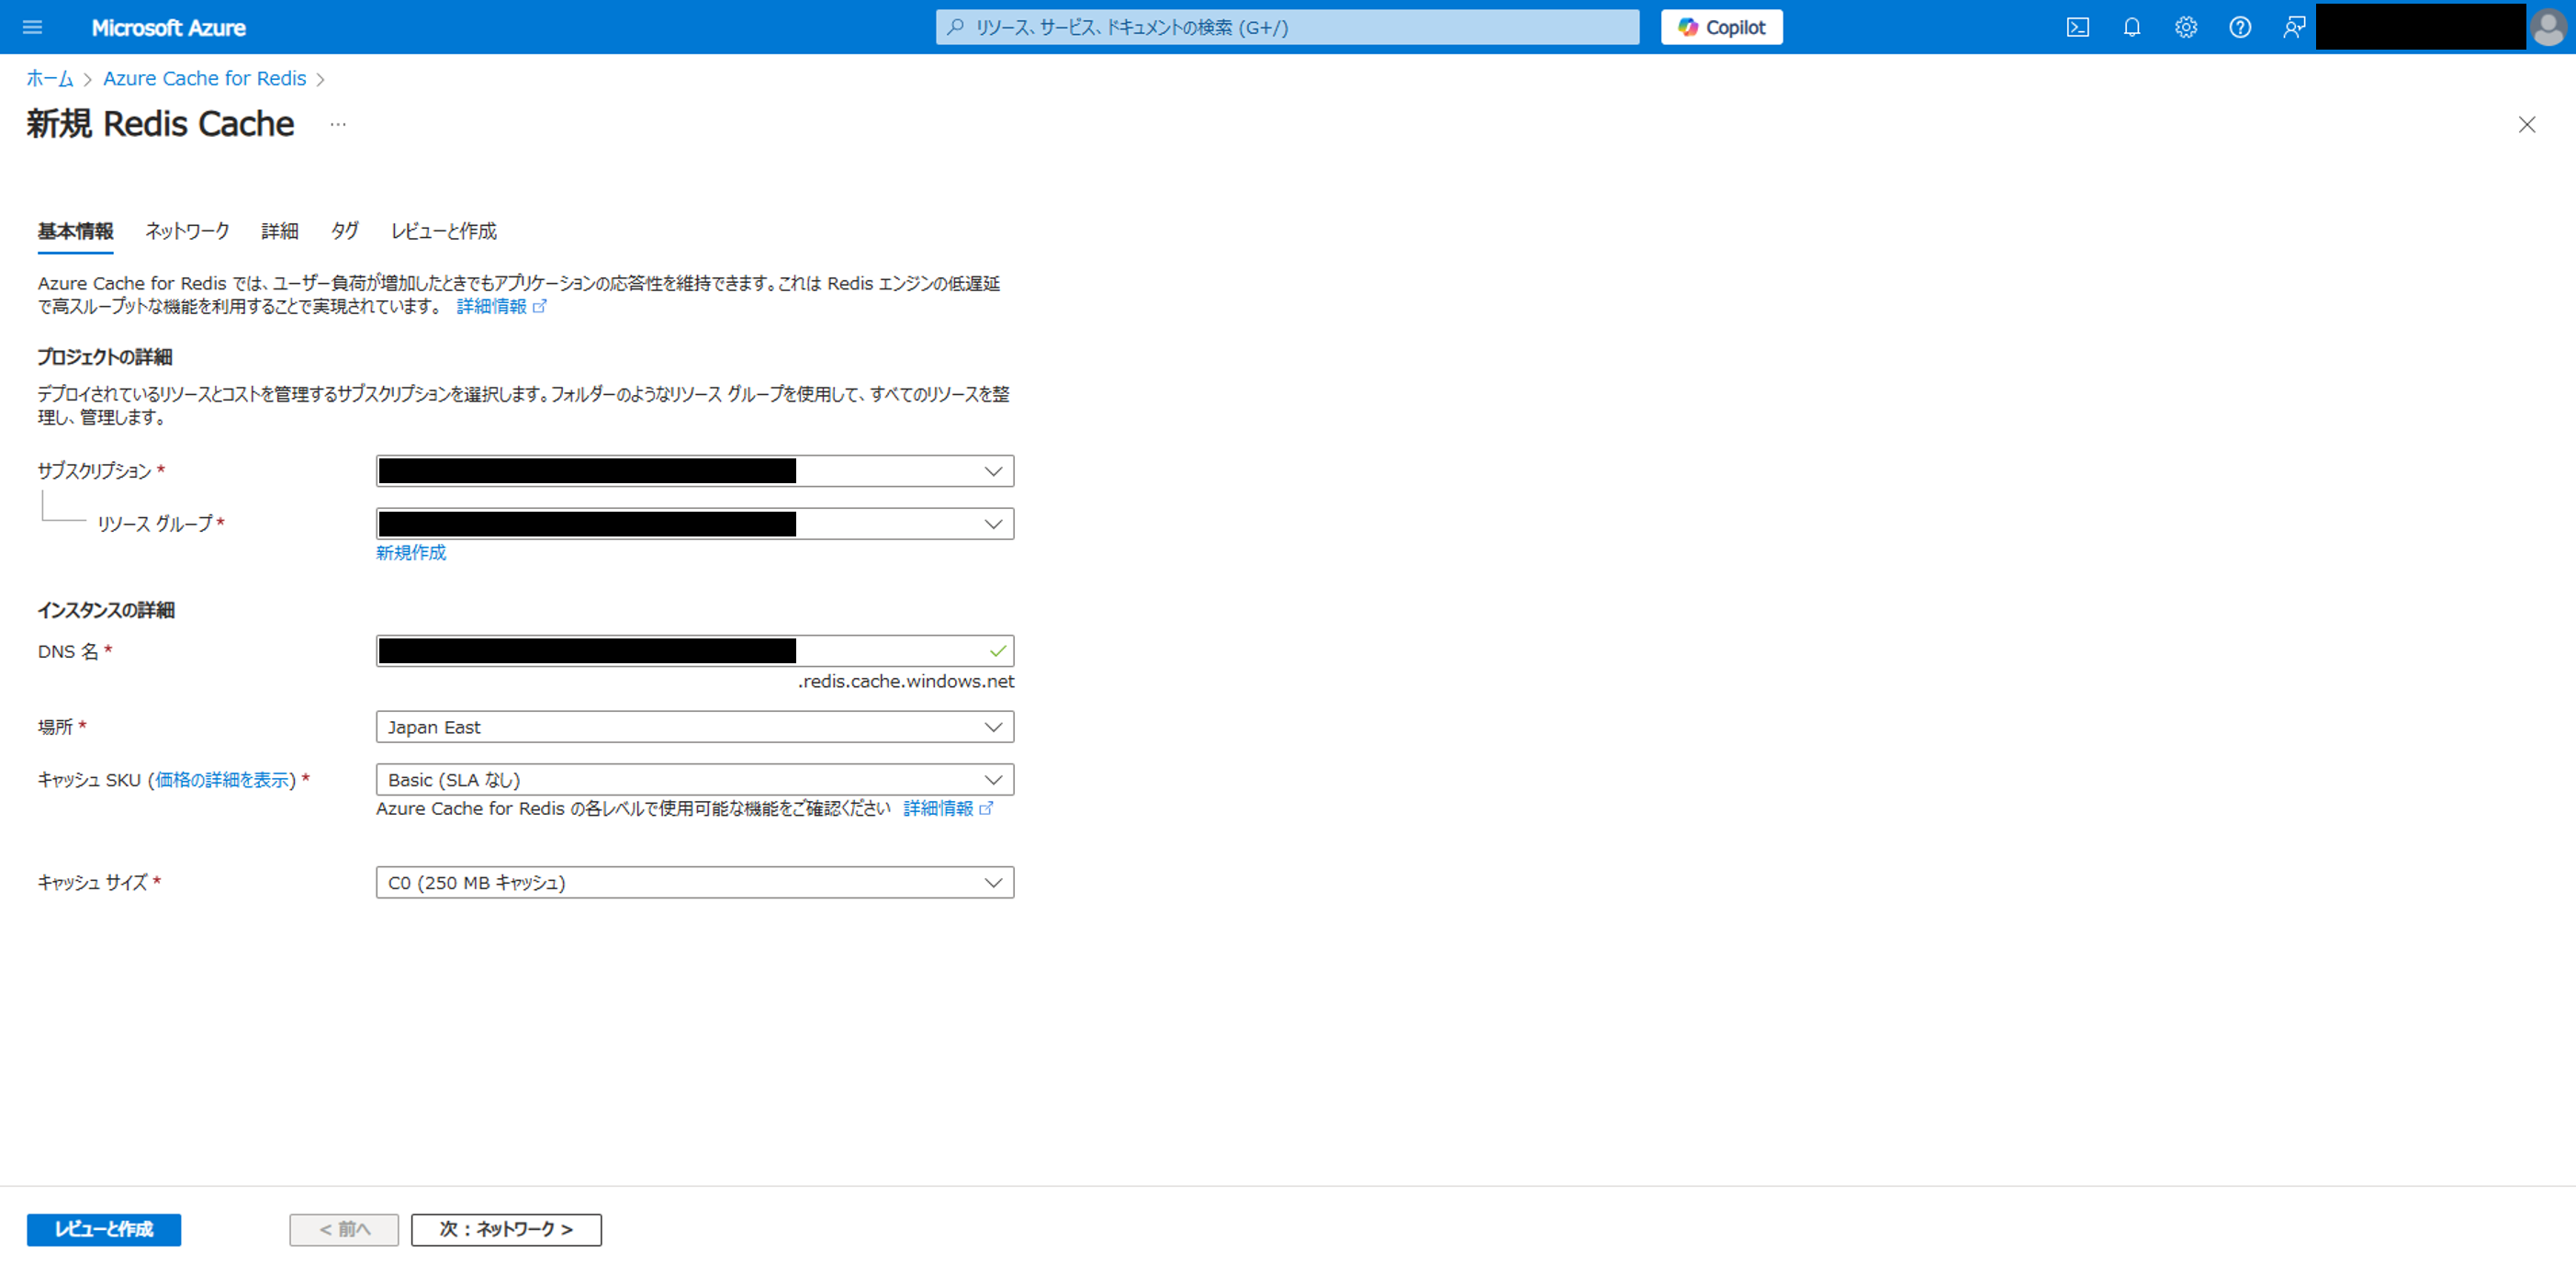
Set the "Subscription" and "Resource Group" created when installing Pleasanter.
Set the "DNS Name", "Location", "Cache SKU", and "Cache Size" to any value.
Click "Next: Network".
-
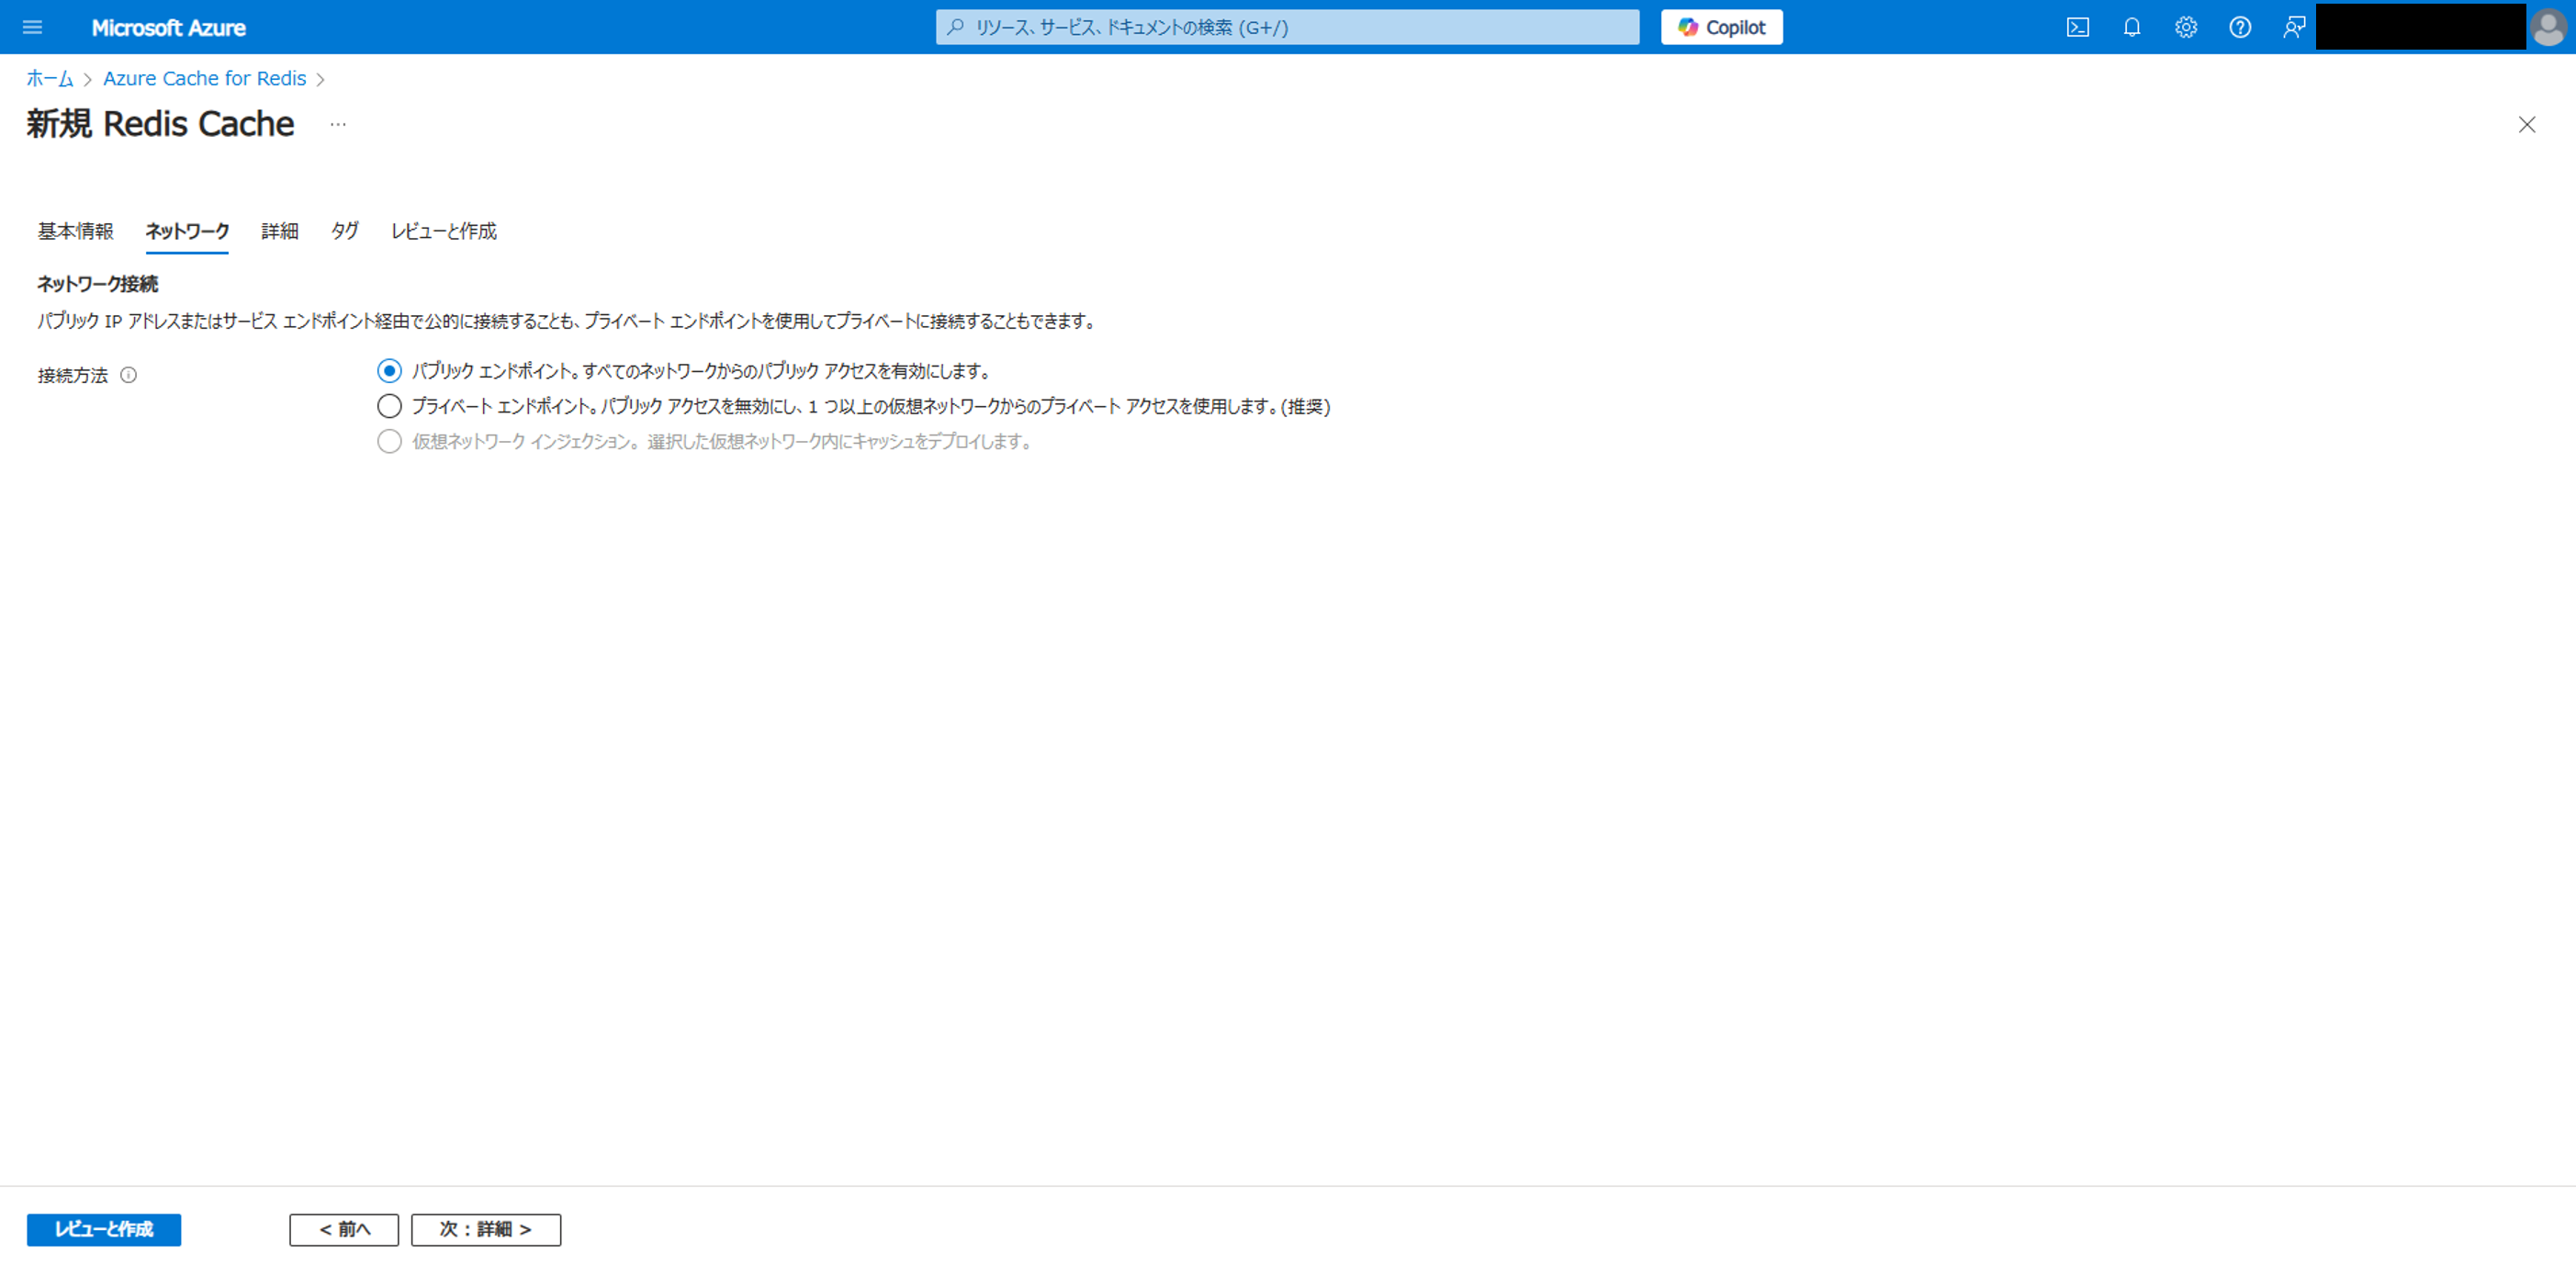
Set "Network Connection".
Click "Next: Advanced".
-
Set "Details".
Click "Next: Tags".

-
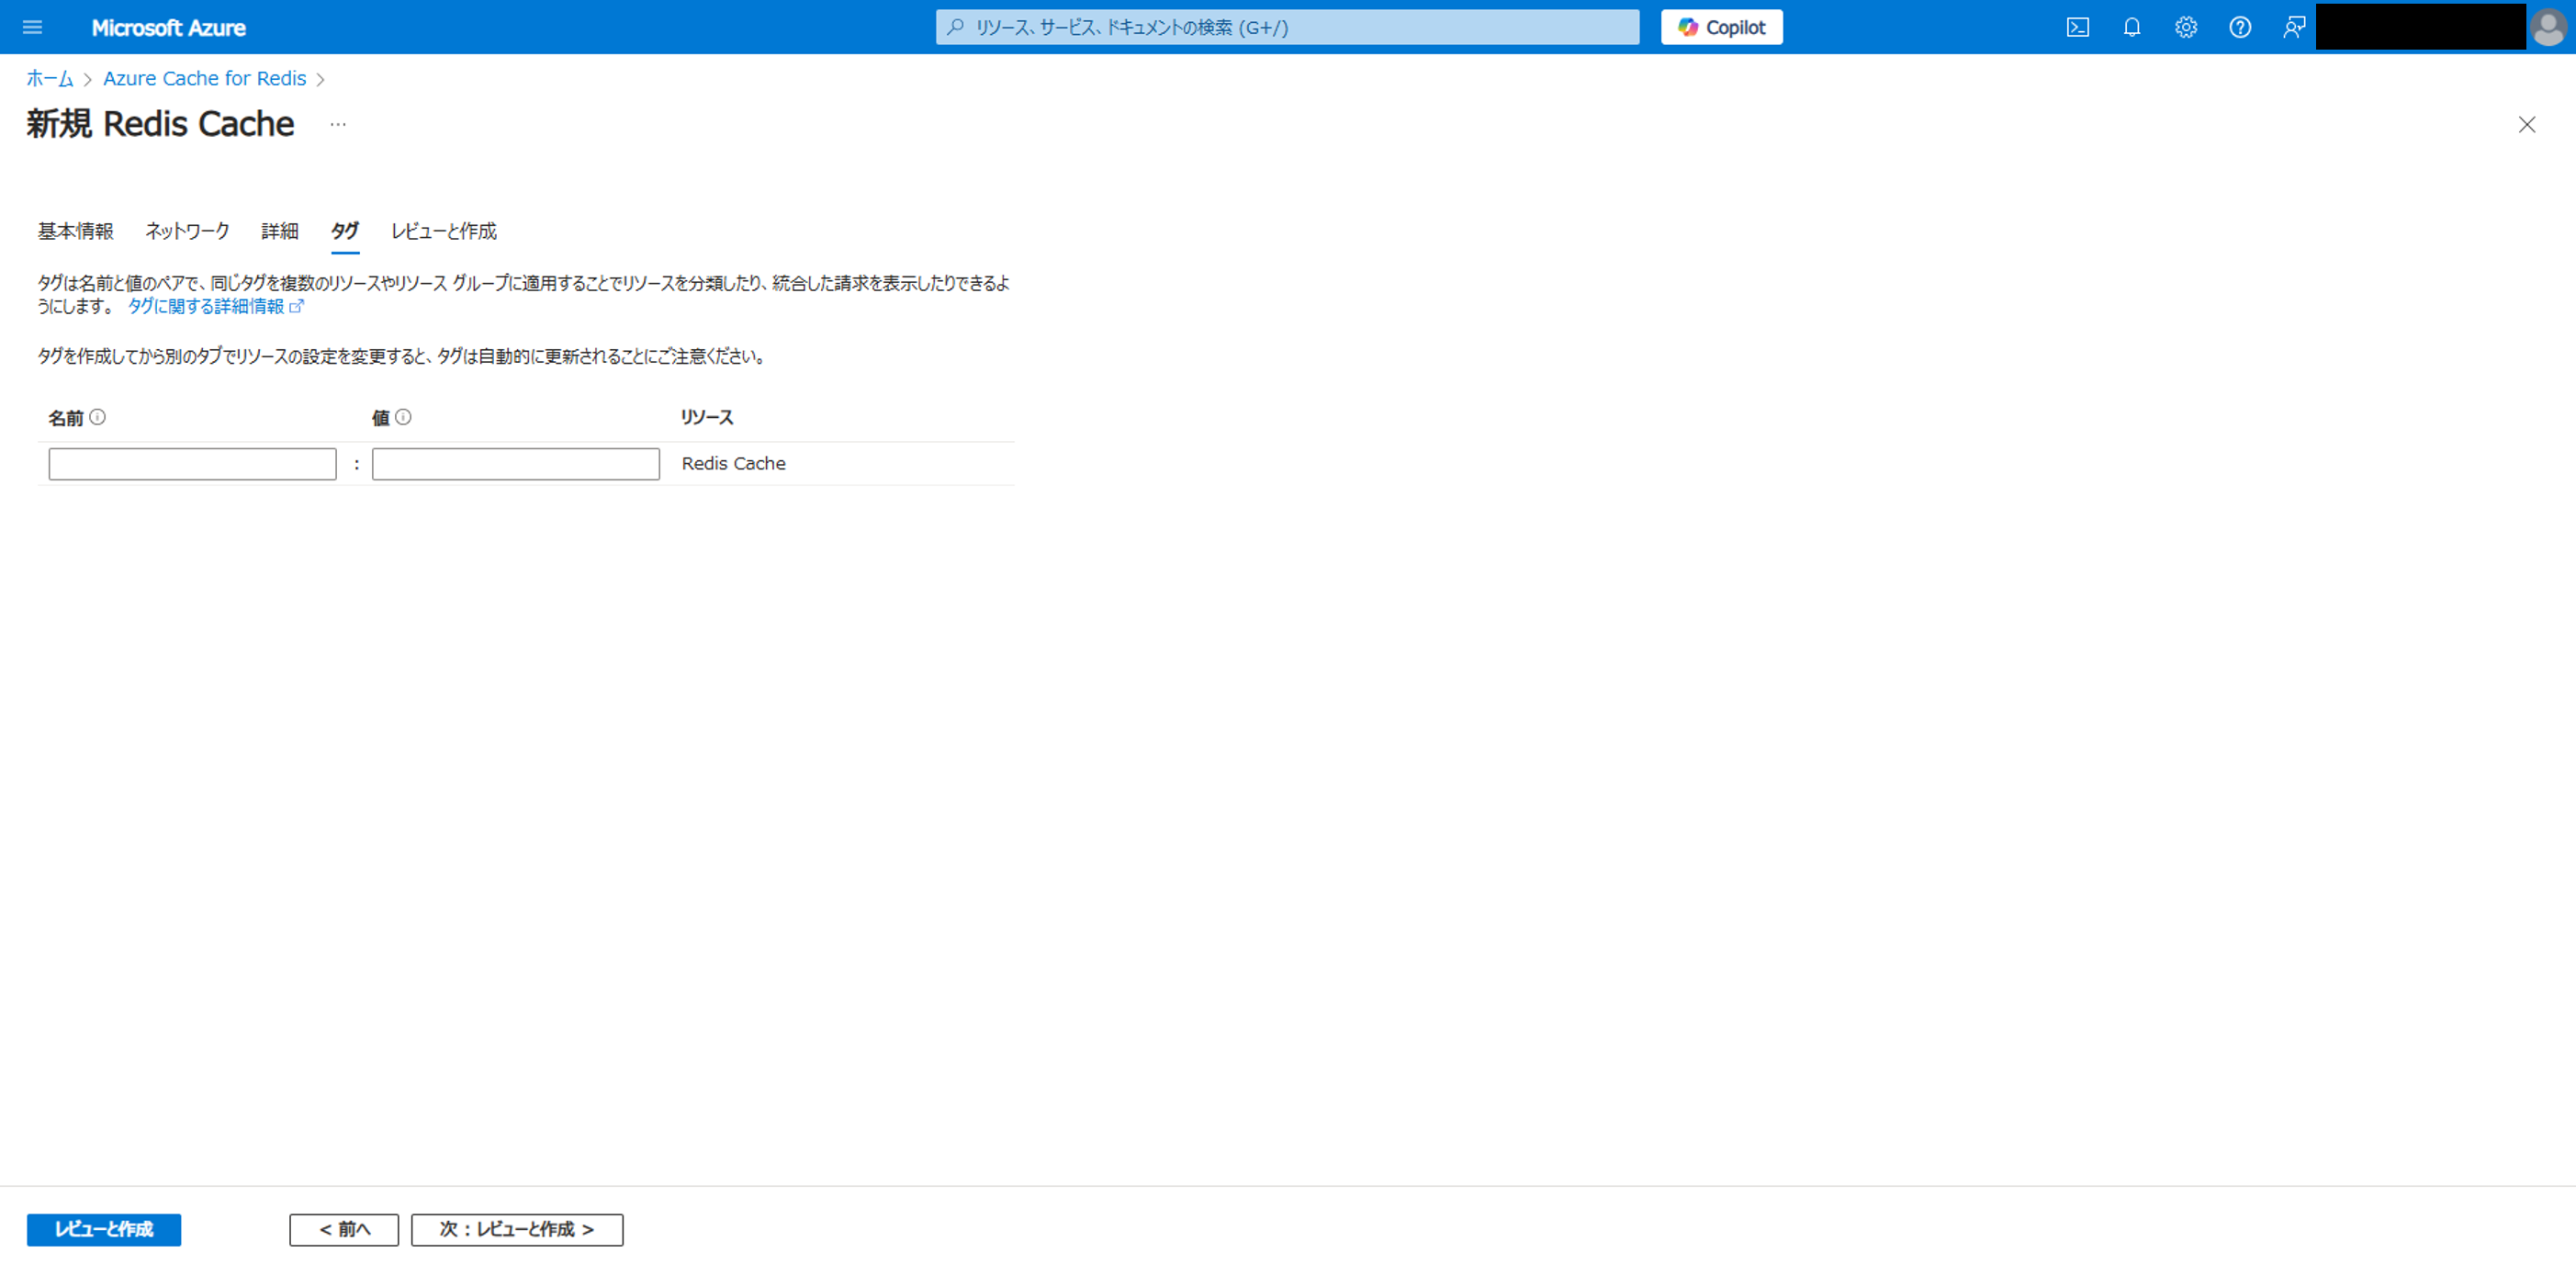
Set "Tags" as desired.
Click "Next: Review and Create".
-
Click "Create".

-
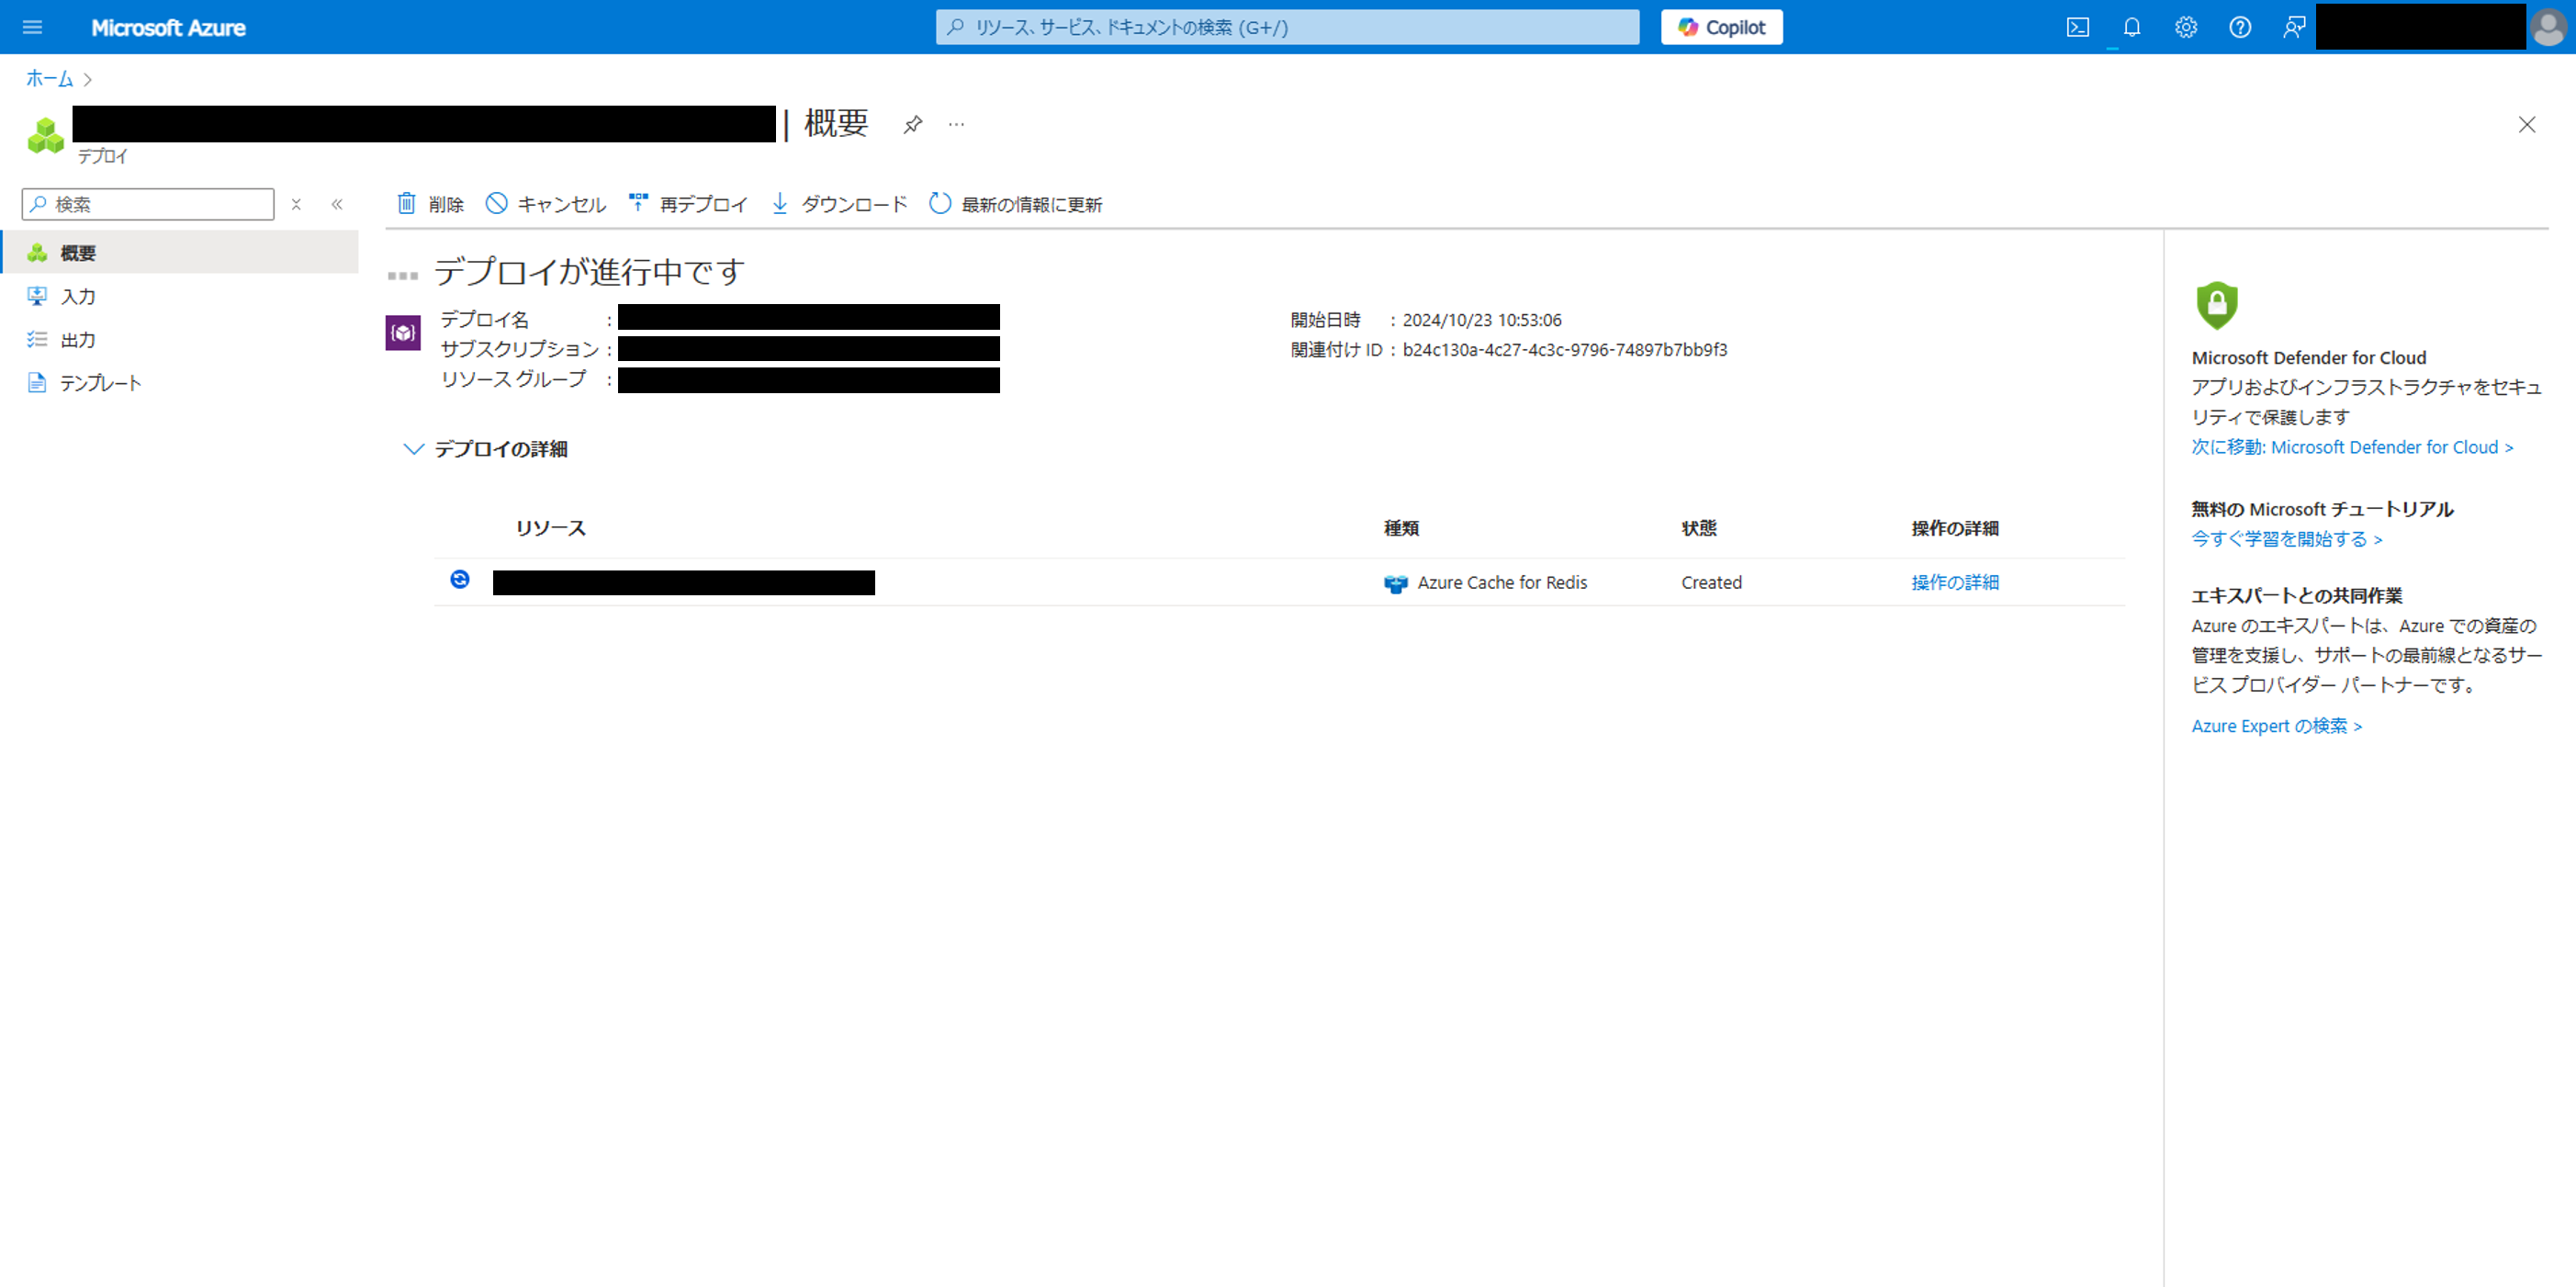
Wait for the deployment to proceed.
-
After the deployment is complete, restart the instance in App Service.
Steps to install "Redis" on Windows
-
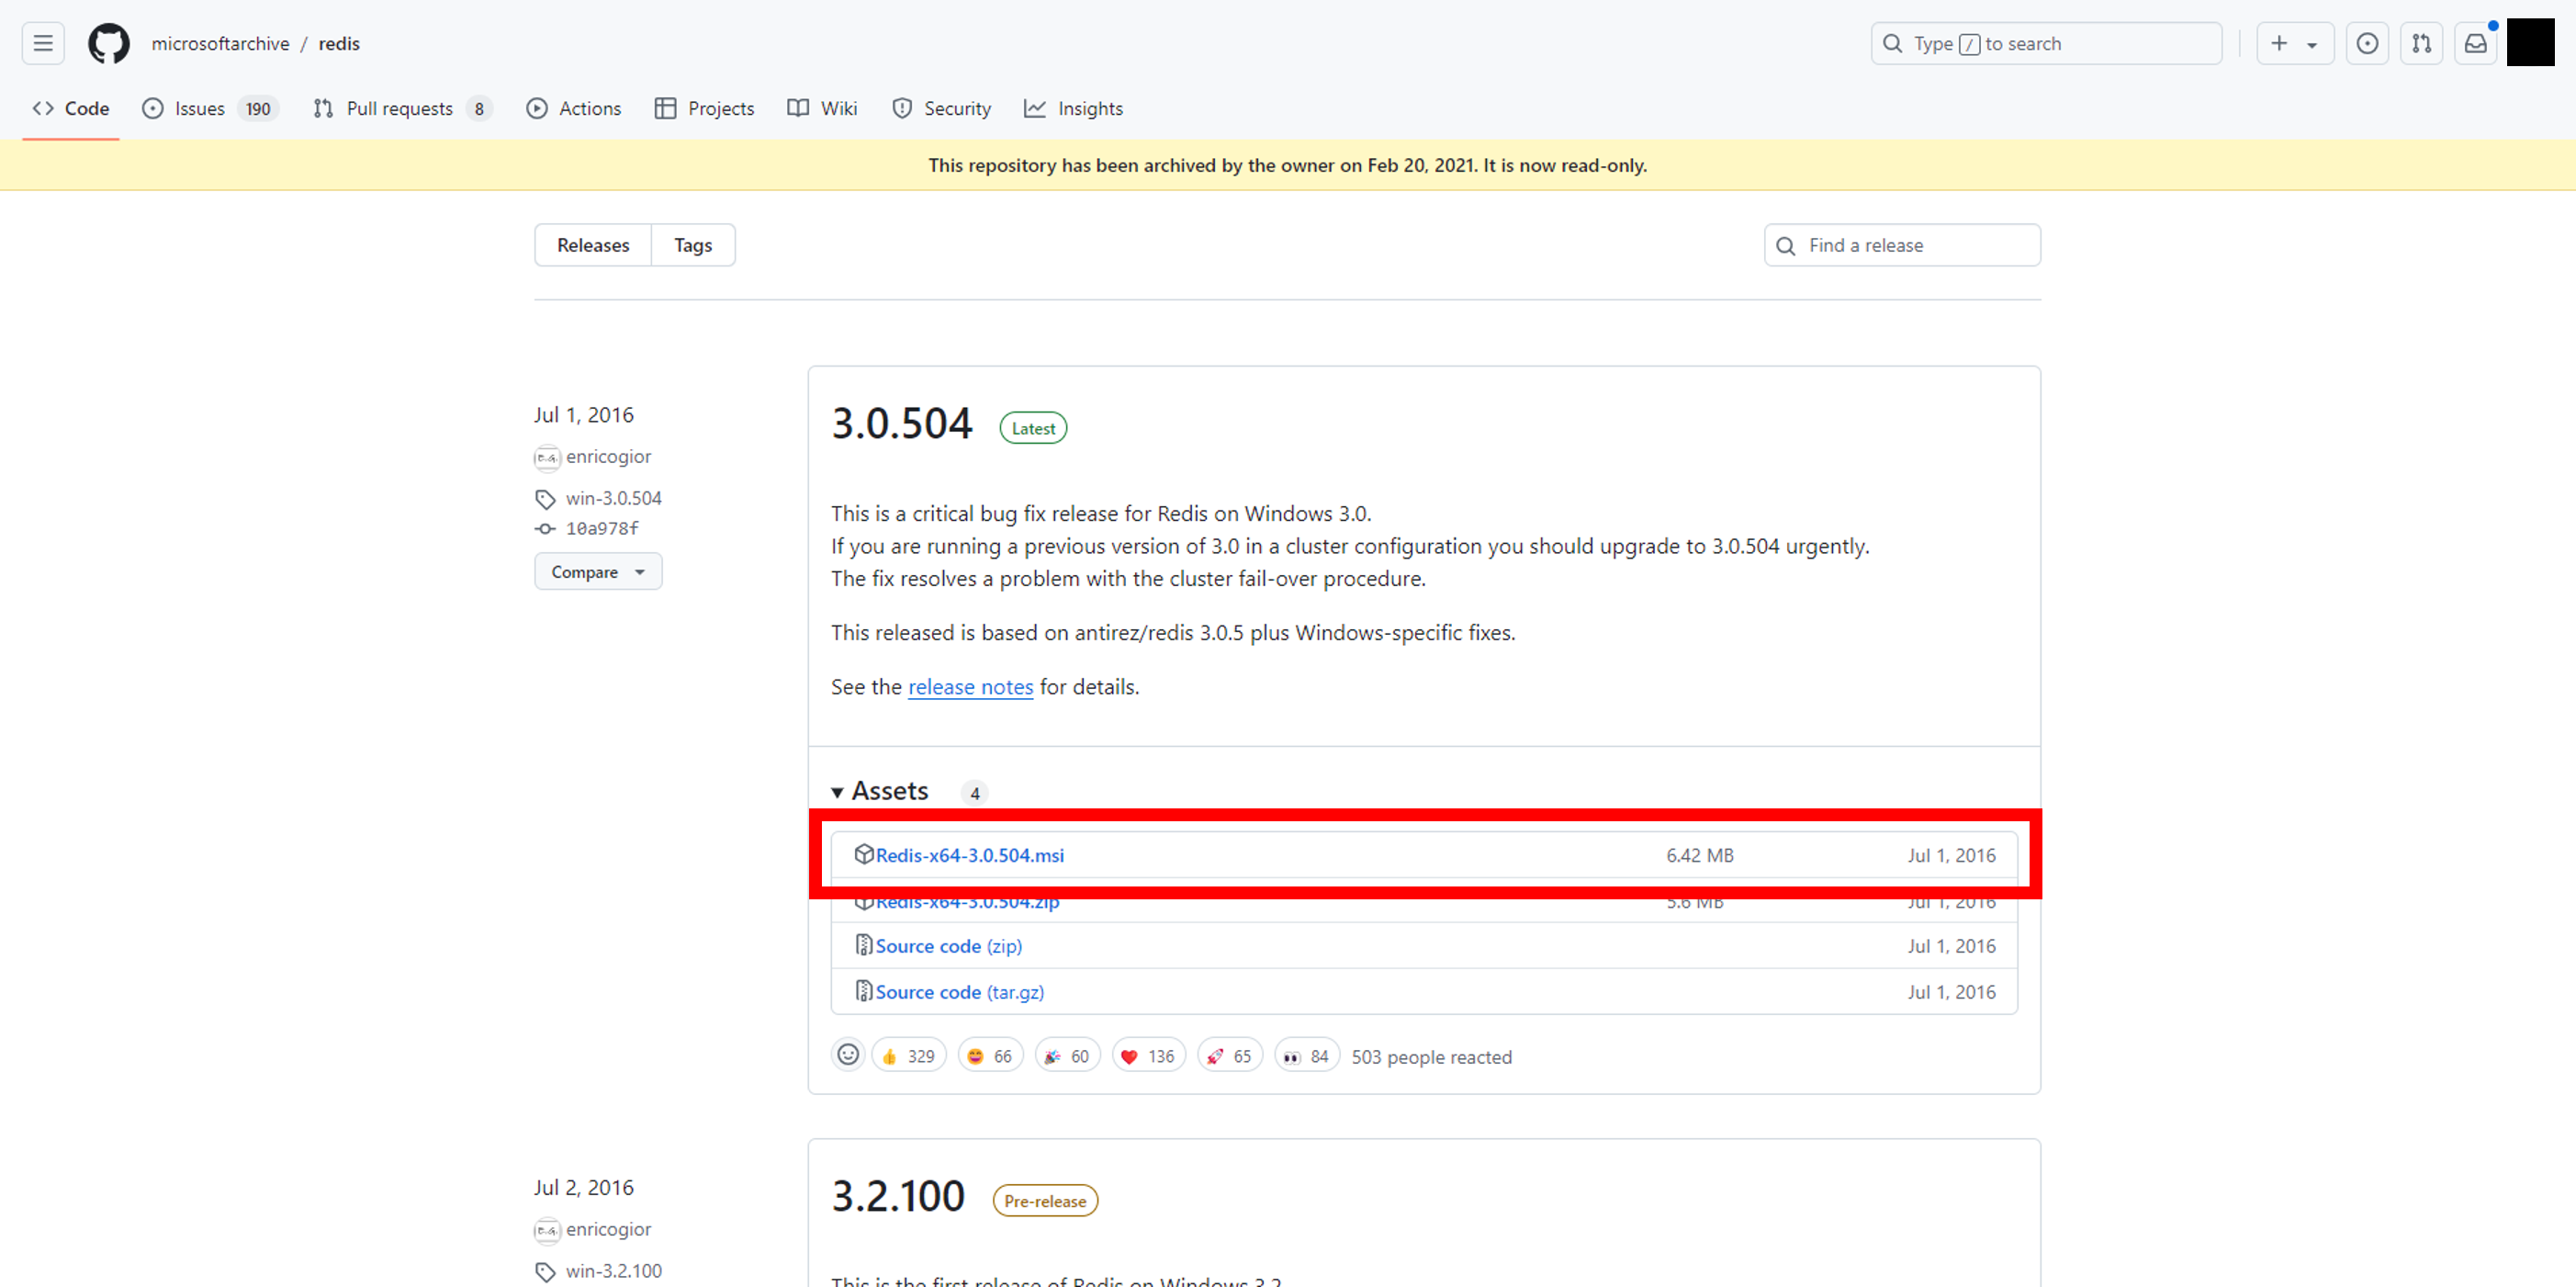
Download the latest version of the .msi file from Microsoft's Redis release page on Github.
-
Open Explorer and launch the downloaded .msi file.
-
Click "Next".

-
Agree to the license and click "Next".

-
Set the location where you want to place Redis and click "Next".

-
Set the default port number, check the checkbox and click "Next".

-
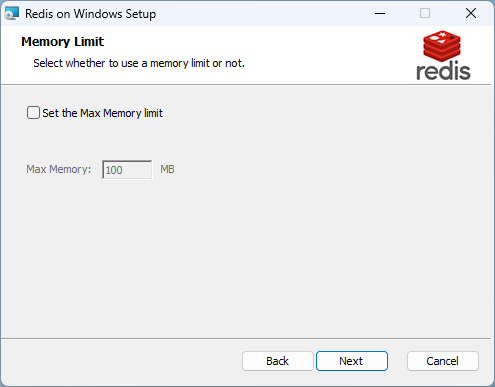
Click "Next".
-
Click "Install".

-
When the installation is complete, click "Finish" to close the screen.

Steps for installing "Redis" on Ubuntu
-
Run the following command to update the package information.
-
Run the following command to install Redis.
-
Open /etc/redis/redis.conf with any text editor and edit the following settings.
-
Run the following command to restart Redis and reflect the settings.