Install Pleasanter on Azure App Service in a Serverless Configuration (using Azure Database for MySQL)
Overview
These are the steps to build a Pleasanter runtime environment in a serverless configuration using Microsoft Azure App Service and Microsoft Azure Database for MySQL.
| Target | Environment / Version |
|---|---|
| Web | Microsoft Azure App Service |
| DB | Microsoft Azure Database for MySQL (MySQL 8.4 LTS) |
| Runtime stack | .NET 10 |
| Pleasanter | 1.5.0.0 and later |
Precautions
- If you run CodeDefiner without specifying arguments, it is set up with the language English and the time zone UTC. Specify the language and the time zone as needed.
Prerequisites
- You can log in to the Azure Portal
- One instance of Microsoft Azure App Service (Windows/.NET 10) is prepared
- One instance of Microsoft Azure Database for MySQL is prepared
- The server name, the administrator user name and the administrator user password of Microsoft Azure Database for MySQL are prepared
- Connections from the App Service and from the local PC are allowed in the firewall settings of Microsoft Azure Database for MySQL
Steps
The build steps are as follows.
- Setting up .NET
- Changing the server parameters of Azure Database for MySQL
- Downloading Pleasanter and setting the parameters
- Placing Pleasanter
- Running CodeDefiner
- Checking that Pleasanter starts
1. Setting Up .NET
- Connect to the Azure Portal.
- Open the App Service.
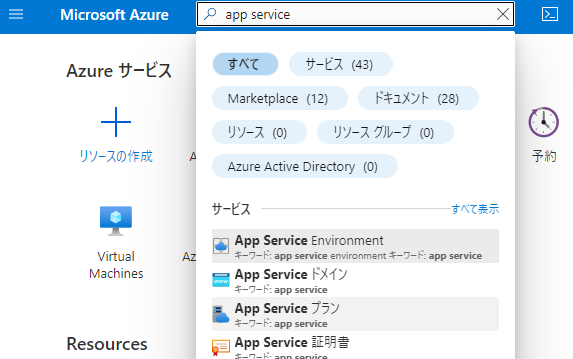
- Select the App Service instance you created.
-
Open "General settings" of the "Configuration" menu and set it as shown below.


No. Item Setting 1 Configuration (preview) Click to select it 2 General settings Click to select it 3 Platform 64bit 4 FTP state Disabled 5 Always On On 6 Stack settings Click to select it 7 Stack .NET 8 .NET version .NET 10 (LTS)
2. Changing the Server Parameters of Azure Database for MySQL
- Connect to the Azure Portal.
- Open Azure Database for MySQL.
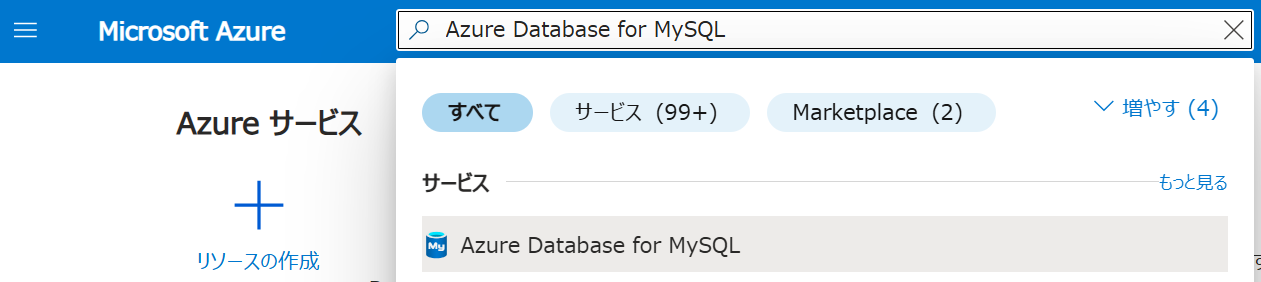
- Select the Microsoft Azure Database for MySQL instance you created.
- Open "Server parameters" of the "Settings" menu.
- Click the "All" tab.
- Search for "sql_generate_invisible_primary_key".
- Set "sql_generate_invisible_primary_key" to "OFF".

- Click the "Save" button at the top.
3. Downloading Pleasanter and Setting the Parameters
- Download the latest version of Pleasanter from the download centre.
- Extract the zip file you downloaded.
-
Set the parameter files.
-
Set the connection information for the database.
Open "pleasanter\Implem.Pleasanter\App_Data\Parameters\Rds.json", set the parameters as follows and save it.Parameter Name Value Description Dbms MySQL Use Microsoft Azure Database for MySQL as the relational database. Provider Local Use Microsoft Azure Database for MySQL as the relational database. SaConnectionString null The connection string used to connect to the database instance with SA permission.
Set null (see step 3.3.2).OwnerConnectionString null The connection string used to connect to the Pleasanter database with dbowner permission.
Set null (see step 3.3.3).UserConnectionString null The connection string used to connect to the Pleasanter database with dbreader and dbwriter permissions.
Set null (see step 3.3.4).SqlCommandTimeOut 0 Makes the SQL command timeout unlimited. MinimumTime 3 Specifies the smallest unit of time the database can distinguish, in milliseconds. Do not change this parameter. DeadlockRetryCount 4 The maximum number of retries when a deadlock occurs. DeadlockRetryInterval 1000 The interval before retrying when a deadlock occurs. DisableIndexChangeDetection true Does not detect differences in the database indexes when upgrading the version. SysLogsSchemaVersion 2 Use the System Log Extended Function. MySqlConnectingHost % Specifies a wildcard so that connections from the host of the App Service are allowed. -
Set null for the parameter SaConnectionString of Rds.json and set the following value in the environment variable Implem.Pleasanter_Rds_MySQL_SaConnectionString.
Rewrite the parts in { } with the appropriate strings, referring to the explanation below.
No. Part to Rewrite Description 1 {ServerName} The server name of Microsoft Azure Database for MySQL. 2 {UserName} The administrator user name of Microsoft Azure Database for MySQL. 3 {Password} The administrator user password of Microsoft Azure Database for MySQL. -
Set null for the parameter OwnerConnectionString of Rds.json and set the following value in the environment variable Implem.Pleasanter_Rds_MySQL_OwnerConnectionString.
Server={ServerName}.mysql.database.azure.com;Port=3306;Database=#ServiceName#;UID=#ServiceName#_Owner;PWD={SetAdminsPWD}Rewrite the parts in { } with the appropriate strings, referring to the explanation below.
Part to Rewrite Description {ServerName} The server name of Microsoft Azure Database for MySQL set in No.1 above. {SetAdminsPWD} The password of the user you set in CodeDefiner. Note that #ServiceName# is a placeholder that represents the value of the parameter Name in Service.json, and means the user name you create in CodeDefiner.
-
Set null for the parameter UserConnectionString of Rds.json and set the following value in the environment variable Implem.Pleasanter_Rds_MySQL_UserConnectionString.
Server={ServerName}.mysql.database.azure.com;Port=3306;Database=#ServiceName#;UID=#ServiceName#_User;PWD={SetUsersPWD}Rewrite the parts in { } with the appropriate strings, referring to the explanation below.
Part to Rewrite Description {ServerName} The server name of Microsoft Azure Database for MySQL set in No.1 above. {SetUsersPWD} The password of the user you set in CodeDefiner. Note that #ServiceName# is a placeholder that represents the value of the parameter Name in Service.json, and means the user name you create in CodeDefiner.
-
4. Placing Pleasanter
- Stop the instance in the App Service.
-
Access Kudu.
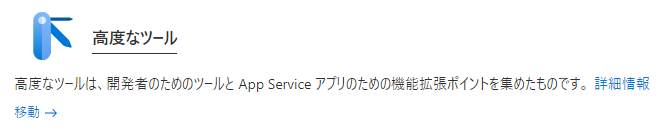
- Click "Advanced Tools" under "Development Tools" in the left menu of the App Service.
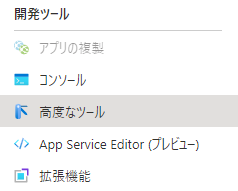
- Click the "Go" link.
- From the header menu of Kudu, click "Debug console" -> "CMD".

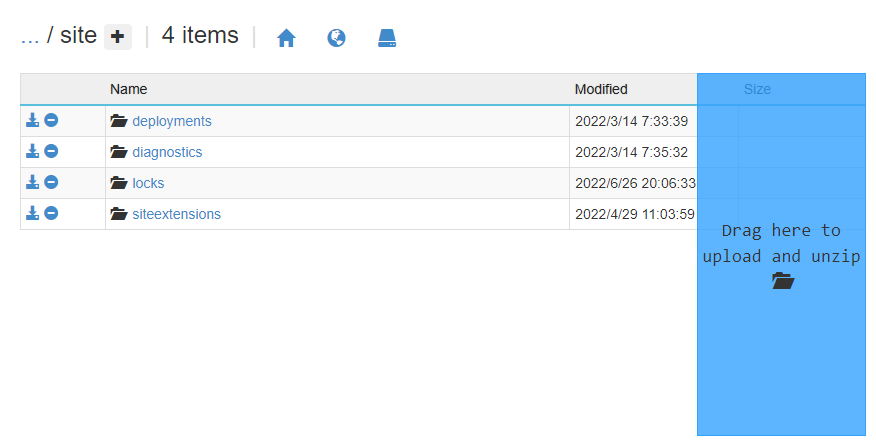
- Click "site" in the directory list and confirm that the prompt has become "C:\home\site". (For some users it can be D:\home\site or similar. Read it as appropriate.)

- Click "Advanced Tools" under "Development Tools" in the left menu of the App Service.
-
Upload the Pleasanter files you prepared in "3. Downloading Pleasanter and setting the parameters" to the App Service.
- Move to the "pleasanter" folder.
- Rename the "Implem.Pleasanter" folder to "wwwroot".
- Compress the wwwroot folder in zip format. (It becomes wwwroot.zip.)
- Rename the "Implem.CodeDefiner" folder to CodeDefiner.
- Compress the CodeDefiner folder in zip format. (It becomes CodeDefiner.zip.)
- Drag and drop wwwroot.zip and CodeDefiner.zip onto the Size column in Kudu, and confirm that they are extracted and stored.
5. Running CodeDefiner
- Select CodeDefiner from the directory list of Kudu and confirm that the prompt becomes C:\home\site\CodeDefiner.
-
Run the following command to run CodeDefiner. Run this command only at the first installation.
Argument Configuration Example Description /l ja Rewrites the value of DefaultLanguage in Service.json /z Tokyo Standard Time Rewrites the value of TimeZoneDefault in Service.json For details of the languages that can be specified for /l and the time zones that can be specified for /z, refer to the following manual.
FAQ: I want to know the supported languages and timezone parameter setting valuesAn example for a Japanese environment:
6. Checking That Pleasanter Starts
- Start the instance in the App Service.
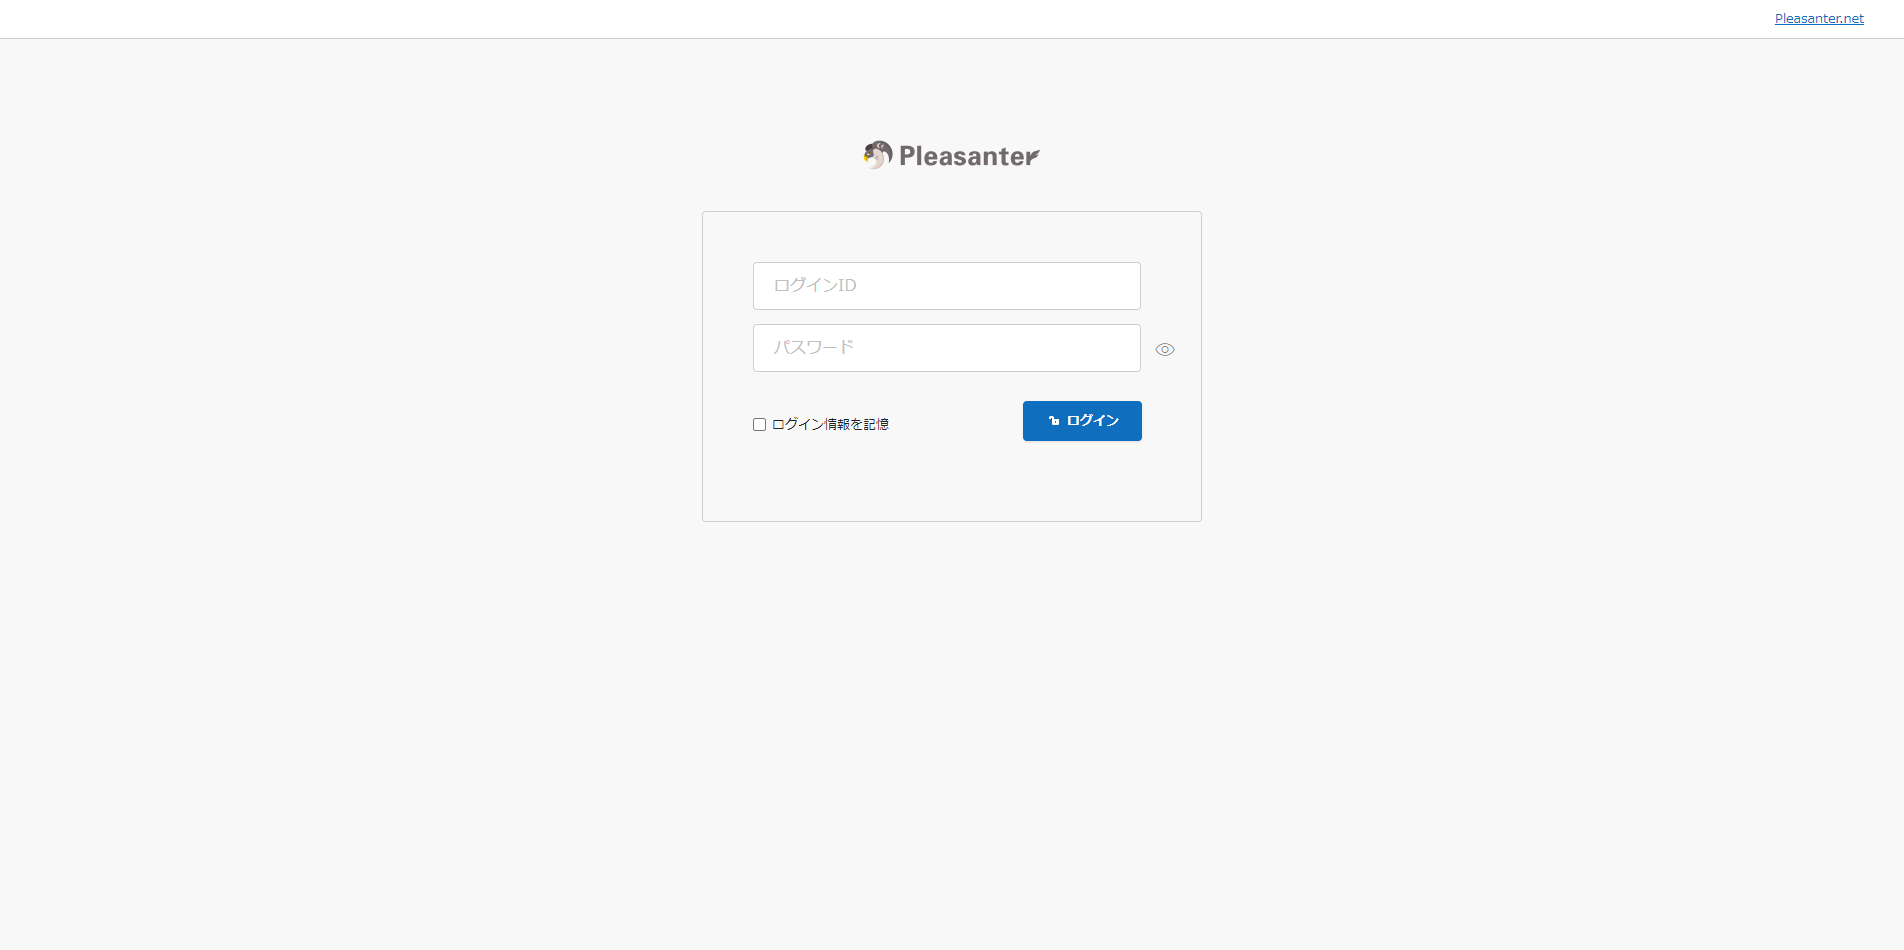
- Open the Pleasanter login screen in a browser, enter "Login ID: Administrator" and "Initial password: pleasanter", and click the "Login" button.
- After you log in you are asked to change the password of the "Administrator" user, so enter any password you like and click the "Change" button.