Install Pleasanter on Azure App Service with serverless configuration
Overview
This is a step-by-step guide to building an operating environment for Pleasanter in a serverless configuration using Microsoft Azure's App Service and SQL Database.
| Subject | Environment/version |
|---|---|
| Web | Microsoft Azure App Service |
| DB | Microsoft Azure SQL Database |
| Runtime stack | .NET 10 |
Notes
When installing version 1.4.6 or later, if you run CodeDefiner without specifying arguments, it will be set up with the language set to English and the time zone set to UTC. Please specify the language and time zone as necessary.
Prerequisites
- Be able to log in to the Azure portal
- One instance of Microsoft Azure App Service (Windows/.NET 10) is ready
- One instance of Microsoft Azure SQL Database is ready
- Microsoft Azure SQL Database connection string is ready
- Microsoft Azure SQL Database firewall settings allow connections from App Service and PC
Procedure
The construction procedure is as follows.
- Prepare
- .NET settings
- Download Pleasanter and Set Parameters
- Place Pleasanter
- Run CodeDefiner
- Check that Pleasanter is running
1. .NET Settings
- Connect to the Azure Portal.
- Open App Service.

- Select the App Service instance you created.
-
Open "General Settings" in the "Configuration" menu and set it as shown in the image below.


Number Item Setting Content 1 Configuration (Preview) Click to select 2 General settings Click to select 3 Platform 64bit 4 FTP state Disabled 5 Always On On (※May be displayed as "Always Connected") 6 Stack settings Click to select 7 Stack .NET 8 .NET version .NET 10 (LTS)
2. Download the Pleasanter and Set Parameters
- Download the latest version of Pleasanter from the GitHub release notes.
- Unzip the downloaded zip file.
- Set the parameter file.
-
Set the connection information to the database.
Open "pleasanter\Implem.Pleasanter\App_Data\Parameters\Rds.json", set the parameters below and save.Parameter name Value Description Dbms SQLServer Uses Microsoft Azure SQL Database as the relational database. Provider Azure Uses Microsoft Azure SQL Database as the relational database. SaConnectionString **** Connection string for Microsoft Azure SQL Database. OwnerConnectionString **** Connection string for Microsoft Azure SQL Database. UserConnectionString **** Connection string for Microsoft Azure SQL Database. SqlCommandTimeOut 0 Sets the SQL command timeout to unlimited. MinimumTime 3 Specifies the minimum time unit that the database can identify in milliseconds. This Parameter cannot be changed. DeadlockRetryCount 4 Maximum number of retries when a deadlock occurs. DeadlockRetryInterval 1000 Interval before retrying when a deadlock occurs. DisableIndexChangeDetection true Do not detect differences in database indexes when upgrading. -
Set the service information.
The settings will differ depending on the version you are using.
Open "pleasanter\Implem.Pleasanter\App_Data\Parameters\Service.json", set the parameters as shown below and save it.### Up to ver.1.4.5
 |Parameter name|Value|Description|
 |:--|:--|:--|
 |Name|(Database name)|Set the name of the database created in Azure|
 |TimeZoneDefault|Tokyo Standard Time|Specify the default time zone with a name that is valid in Windows (※1)|
(※1) For the time zone, please refer to the following manual page.
FAQ: I want to know the language and time zone parameter settings supported by Pleasanter### ver.1.4.6 and later
 |Parameter name|Value|Description|
 |:--|:--|:--|
 |Name|(Database name)|Set the name of the database created in Azure|
3. Placement of Pleasanter
- Stop the instance in App Service.
- Visit Kudu
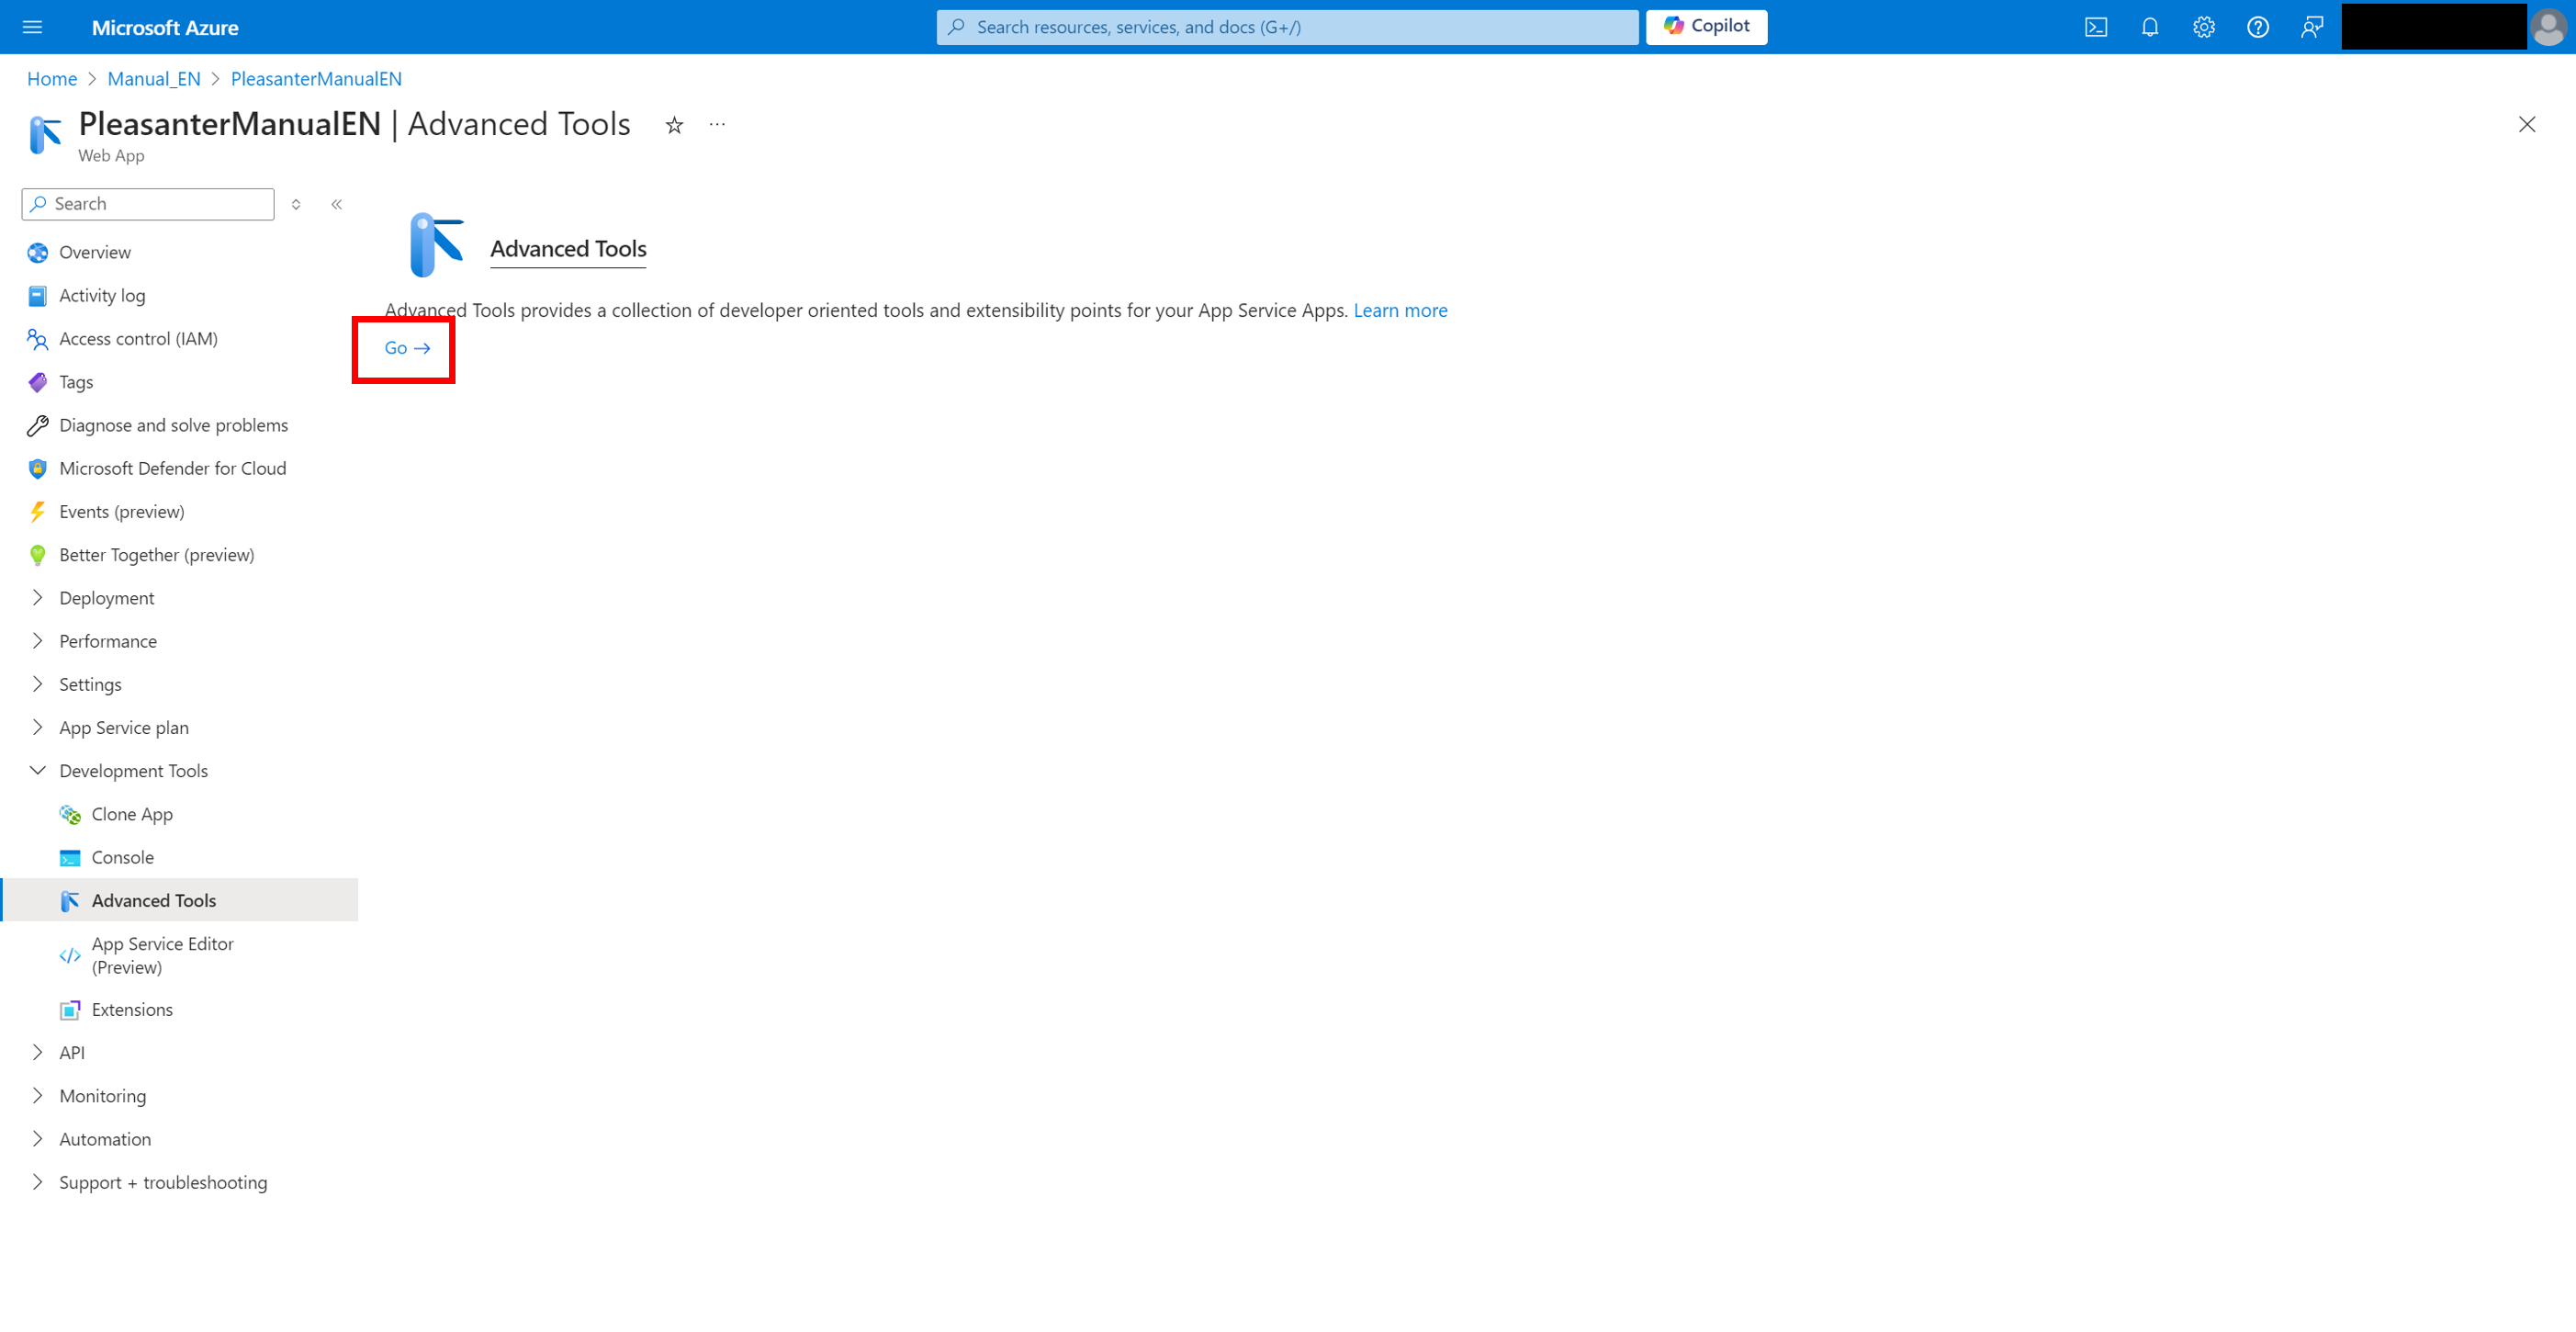
- Click "Advanced Tools" from "Development Tools" in the left menu of App Service.

- Click the Move link
- Click “Debug console” > “CMD” from the Kudu header menu

-
Click "site" from the directory list. After making your selection, make sure the prompt reads "C:\home\site". (Depending on the user, it may be D:\home\site. In that case, please read it as appropriate.)

-
Upload the Pleasanter file prepared in "2. Download the Pleasanter and Set Parameters" to App Service.
- Go to the "Pleasanter" folder.
- Rename the "Implem.Pleasanter" folder to "wwwroot".
- Compress the wwwroot folder in zip format and make it "wwwroot.zip".
- Rename the "Implem.CodeDefiner" folder to "CodeDefiner".
- Compress the CodeDefiner folder in zip format and make it "CodeDefiner.zip".
- Drag and drop wwwroot.zip and CodeDefiner.zip to Kudu's Size target and ensure they are expanded and stored.

4. Run CodeDefiner
- Select CodeDefiner from the Kudu directory listing and verify that the prompt is C:\home\site\CodeDefiner.
- Execute the following command to run CodeDefiner.
The command you execute will vary depending on the version you are using.
Up to ver.1.4.5
ver.1.4.6 and later
※The following command is executed only during the initial installation.
| Argument | e.g. | Description |
|---|---|---|
| /l | en | Rewrites the DefaultLanguage value in Service.json (*1) |
| /z | UTC | Rewrites the TimeZoneDefault value in Service.json (*1) |
(*1) For language and timezone, please refer to the following manual page.
FAQ: I want to know the language and timezone parameter settings supported by Pleasanter
If you are using it in a English environment, use the following command.
5. Confirm the Startup of Pleasanter
-
Start an instance in App Service.
-
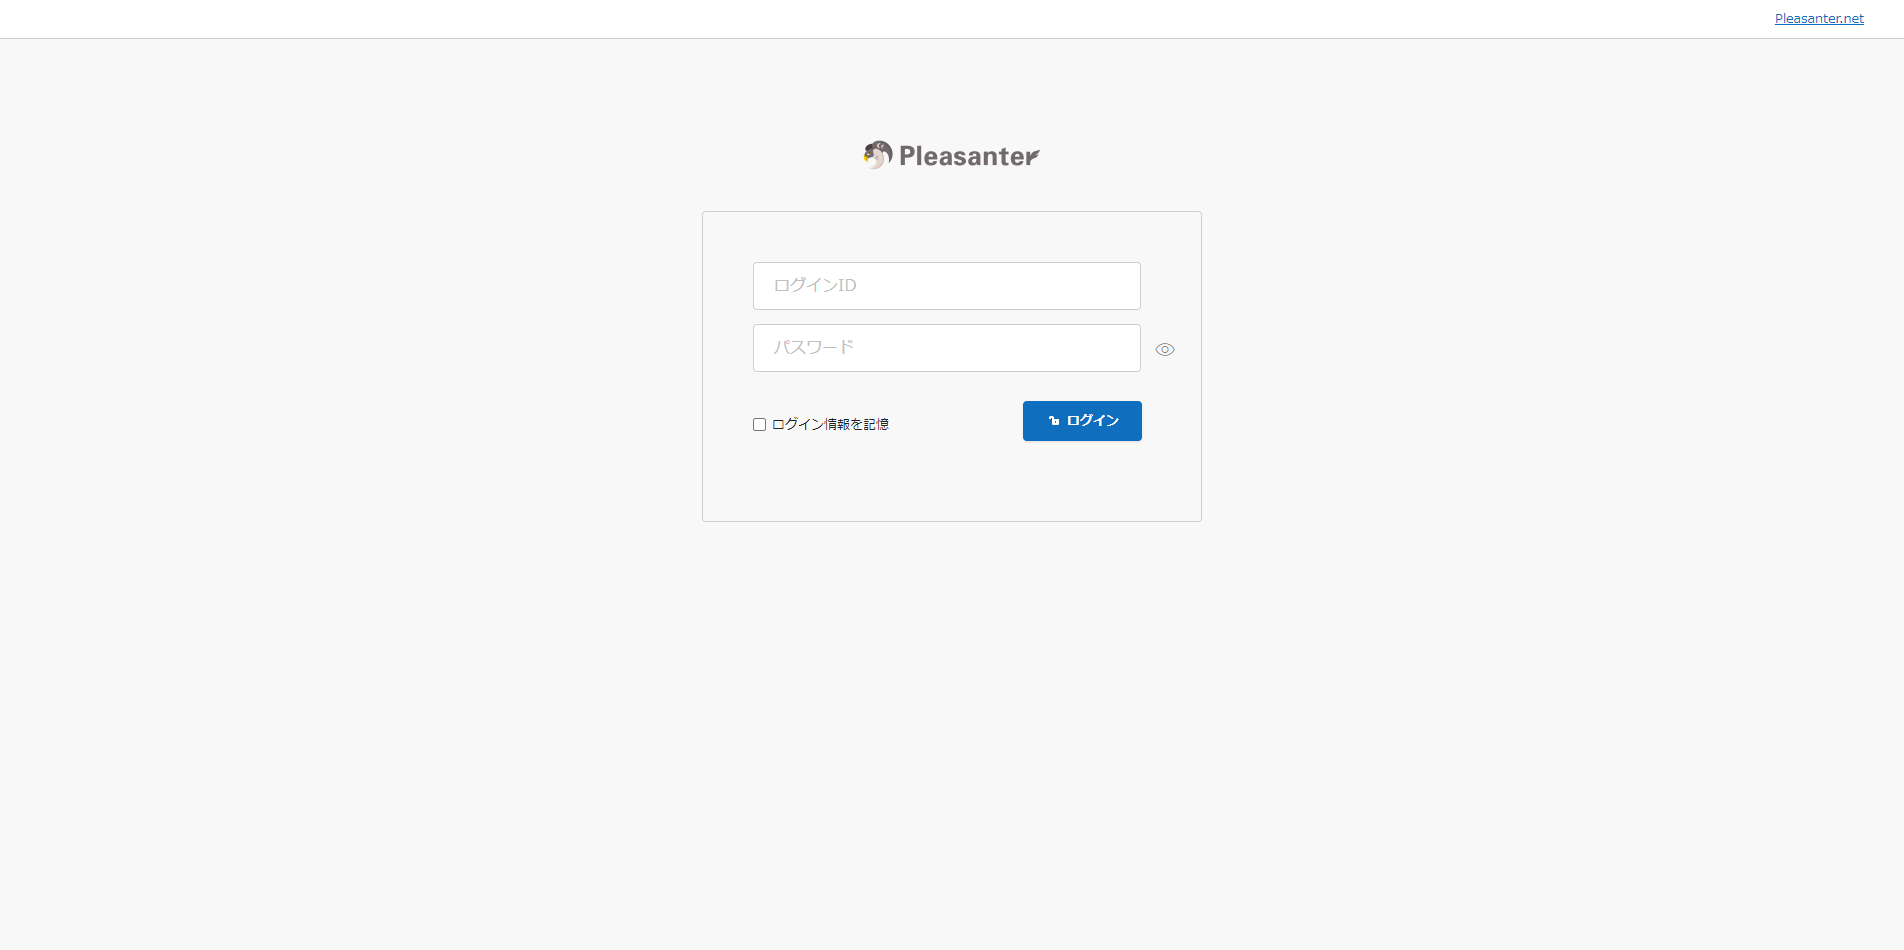
Open the Pleasanter login screen in your browser, enter "Login ID: Administrator" and "Initial Password: pleasanter", then click the "Login" button.
-
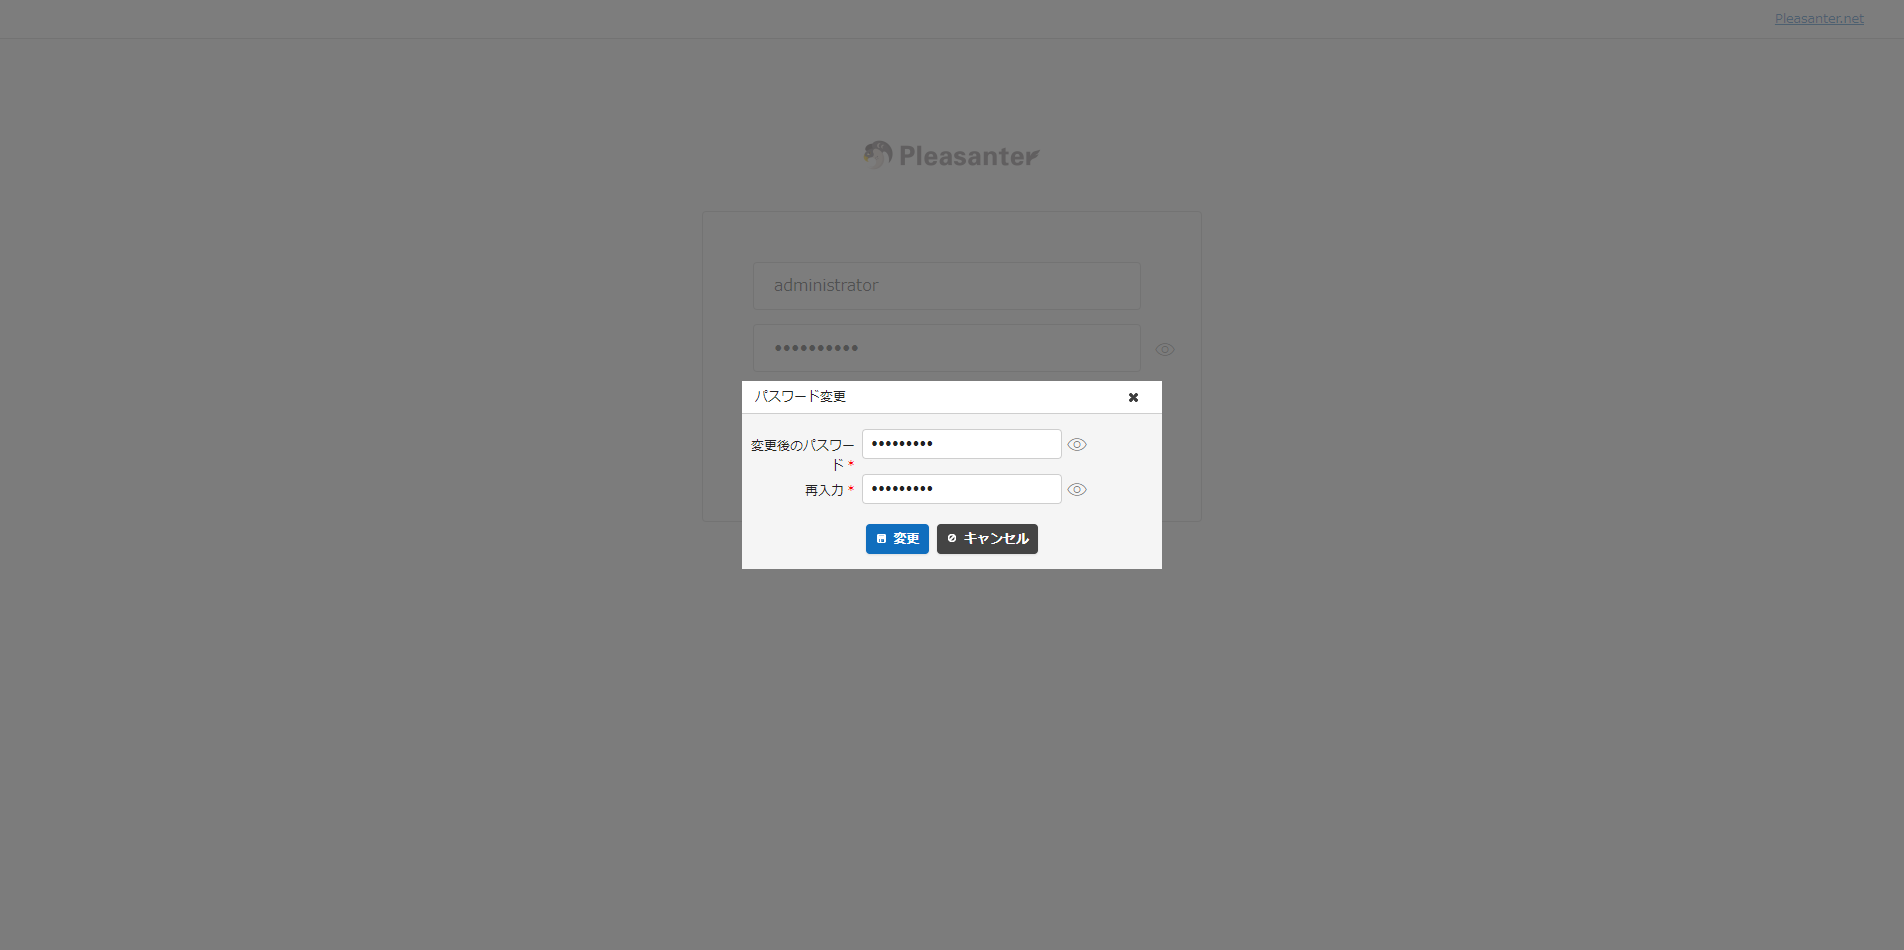
After logging in, you will be asked to change the password for the "Administrator" user. Enter your desired password and click the "Change" button.