Procedure for Migrating Pleasanter 1.4 to Pleasanter 1.5 Installed on Azure App Service
Overview
This procedure migrates Pleasanter 1.4 installed on Azure App Service to Pleasanter 1.5.
| Target | Before migration | After migration |
|---|---|---|
| Web | App Service | App Service |
| DB | SQL Database | SQL Database |
| Platform | .NET8.0 | .NET10.0 |
| Pleasanter | Pleasanter 1.4 | Pleasanter 1.5 |
Preliminary Check
Check the version of Pleasanter installed on App Service.
- Log in to Pleasanter.
- Click "Help" in the navigation menu.
- Click "Version".
- Confirm that the version is "1.4.x.x".
Preparations
Back up the Database
Back up the database. If you have upgraded to Enterprise Edition and extended columns, be sure to back up the database.
Backup & Restore
1. Change the Stack Settings
- Open App Service.
- Select the App Service instance you created.
- Select "Settings" - "Configuration (preview)" and open the "Stack settings" tab. Select .NET for "Stack", and select ".NET 10 (LTS)" for ".NET version".

2. Install or Update the Installer
Be sure to run this even if the installer is already installed. If a newer version of the installer is available, it is updated.
-
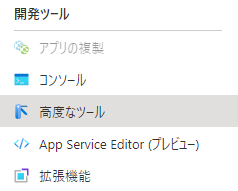
Select "Advanced Tools" from "Development Tools" in the left menu of App Service.
-
Click the "Go" link to access Kudu.

-
Select "Debug console" - "CMD" from the Kudu header menu.

-
Execute the following command to create a folder in which to place the .nupkg file.
This procedure explains the case of creating C:\home\dotnet-tools. (Depending on the user, it may be D:\home. In that case, replace the path accordingly.) -
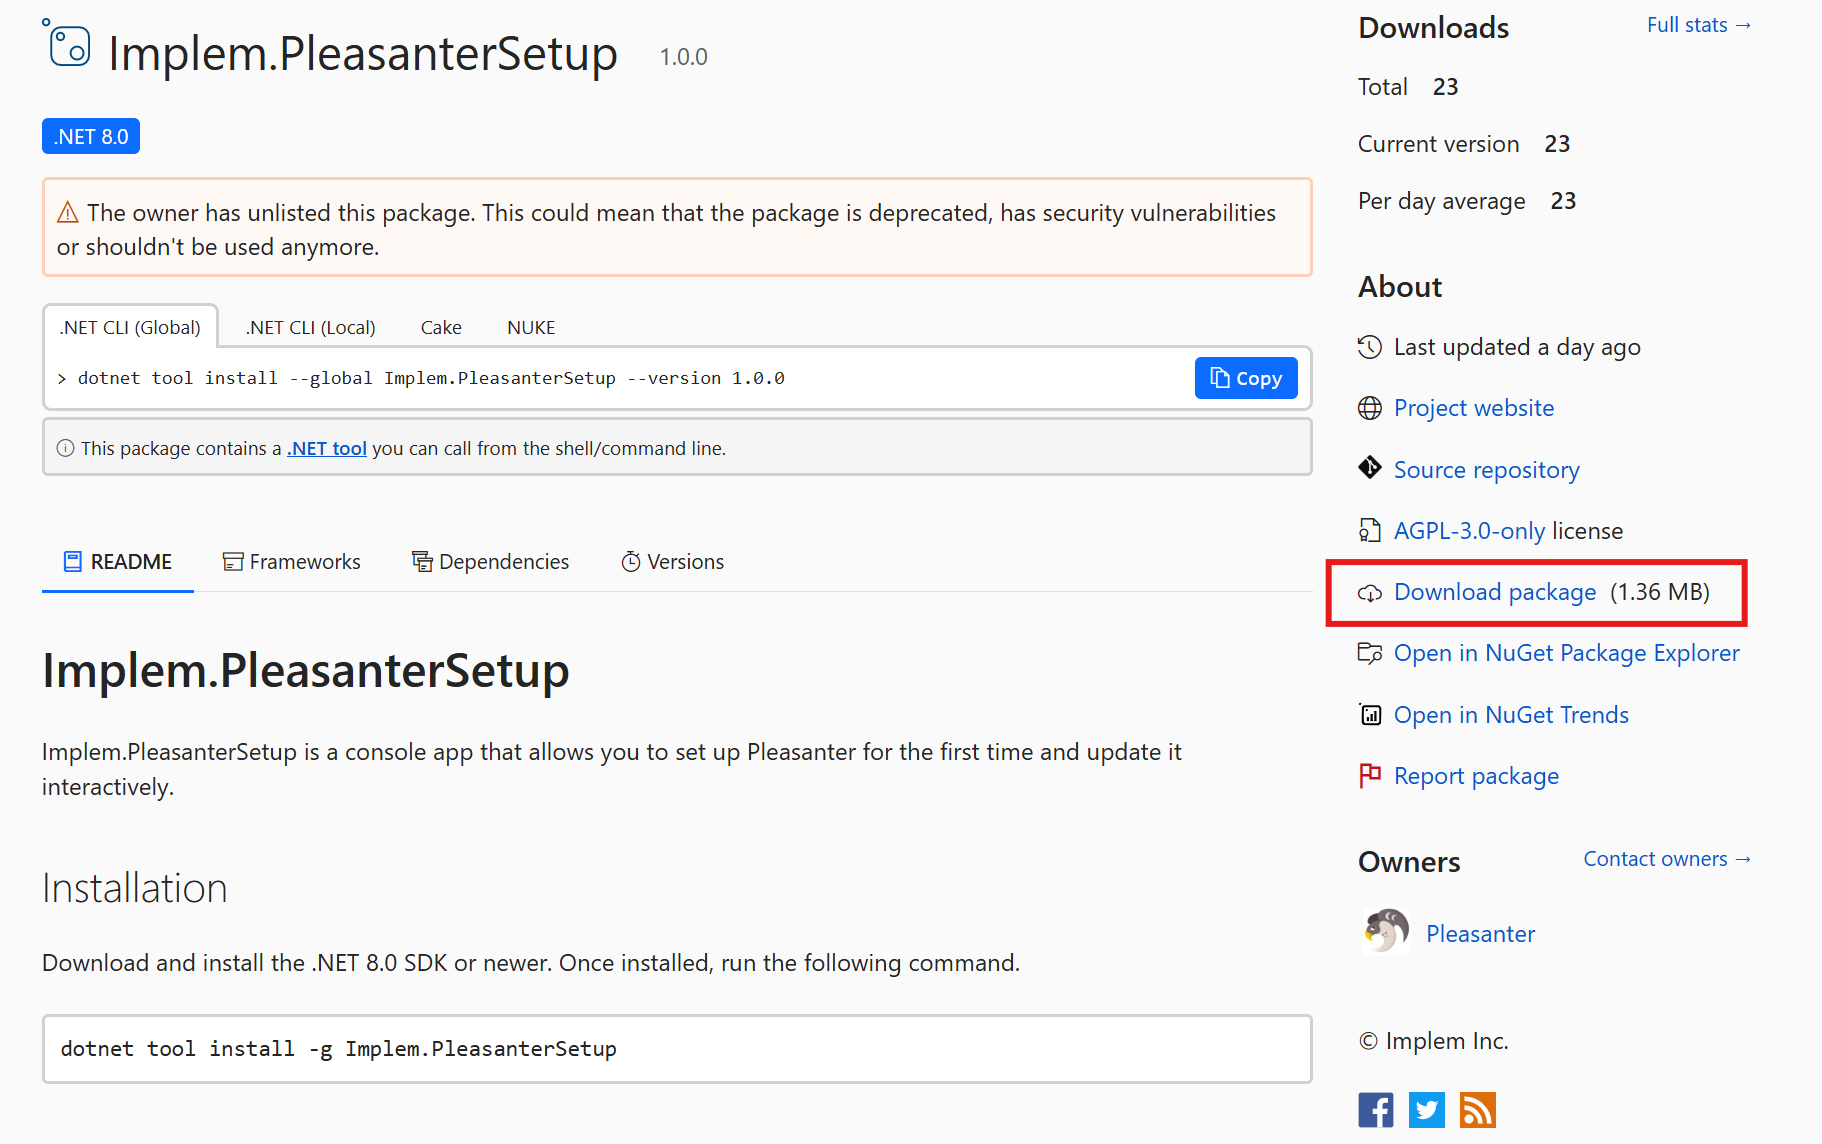
Open the NuGet Gallery page for Implem.PleasanterSetup from here and download the .nupkg file from "Download package" shown in the image.
-
Place the .nupkg file downloaded in step 5 in C:\home\dotnet-tools.
-
Execute the following commands.
3. Run the Installer
※The installer downloads the latest version resources and ParametersPatch.zip, and runs the upgrade.
-
Run the installer by executing the following command.
-
Enter the directory where Pleasanter is installed.
If it is installed in "C:\home\site\wwwroot", press the Enter key without entering anything.

-
Enter the directory where you want to install CodeDefiner.
If you want to install it in "C:\home\site\CodeDefiner", press the Enter key without entering anything.

-
The summary screen is displayed.
Check the contents, enter y after "Shall I install Pleasanter with this content? Please enter ‘y(yes)' or 'n(no)’. : ", and press the Enter key.
※The password is masked.
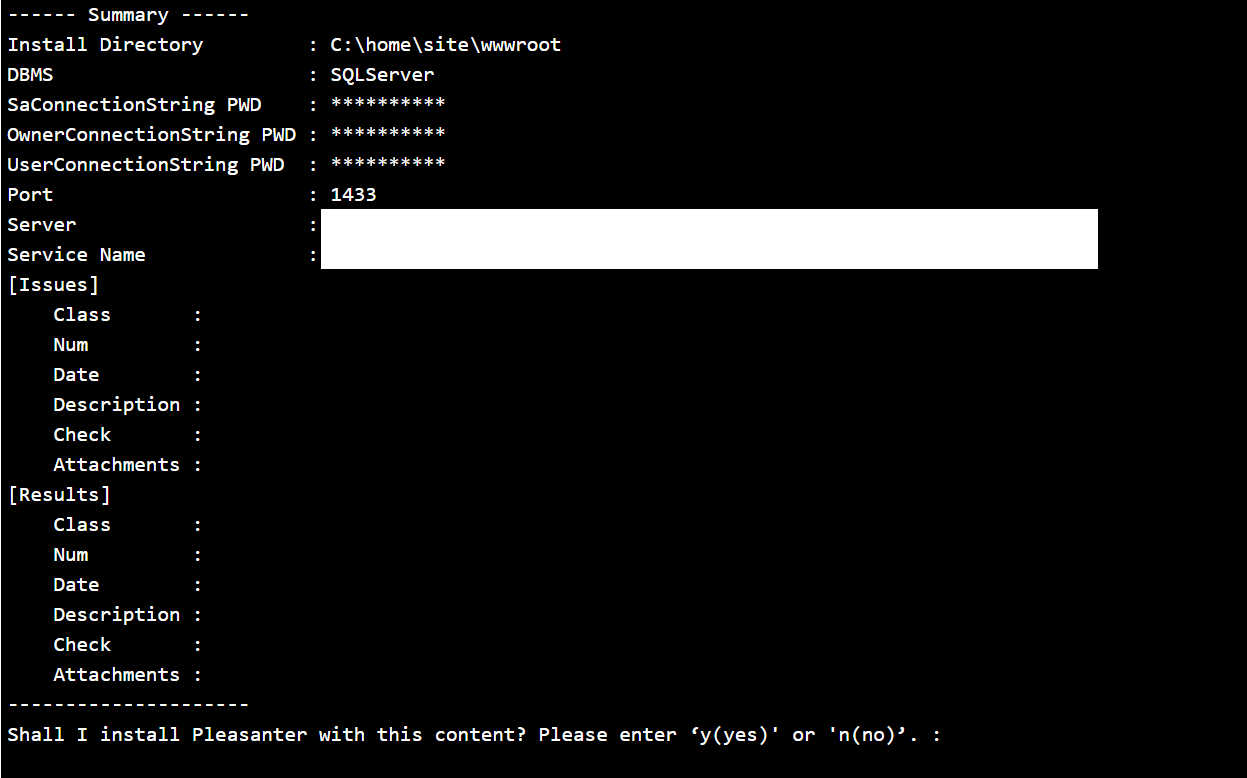
※After you enter "y", it may take some time before the process starts. Wait without changing the directory. -
When "Type "y" (yes) if the license is correct, otherwise type "n" (no)." is displayed, enter y and execute.
-
When setup is complete, the URL of the Enterprise Edition 90-day trial information page (Japanese) is shown on the screen. A web browser does not open on Azure App Service. Setup is now complete. Continue to the next step.
4. Start Pleasanter
- Open App Service and start the instance.
- Start your browser and log in to Pleasanter.
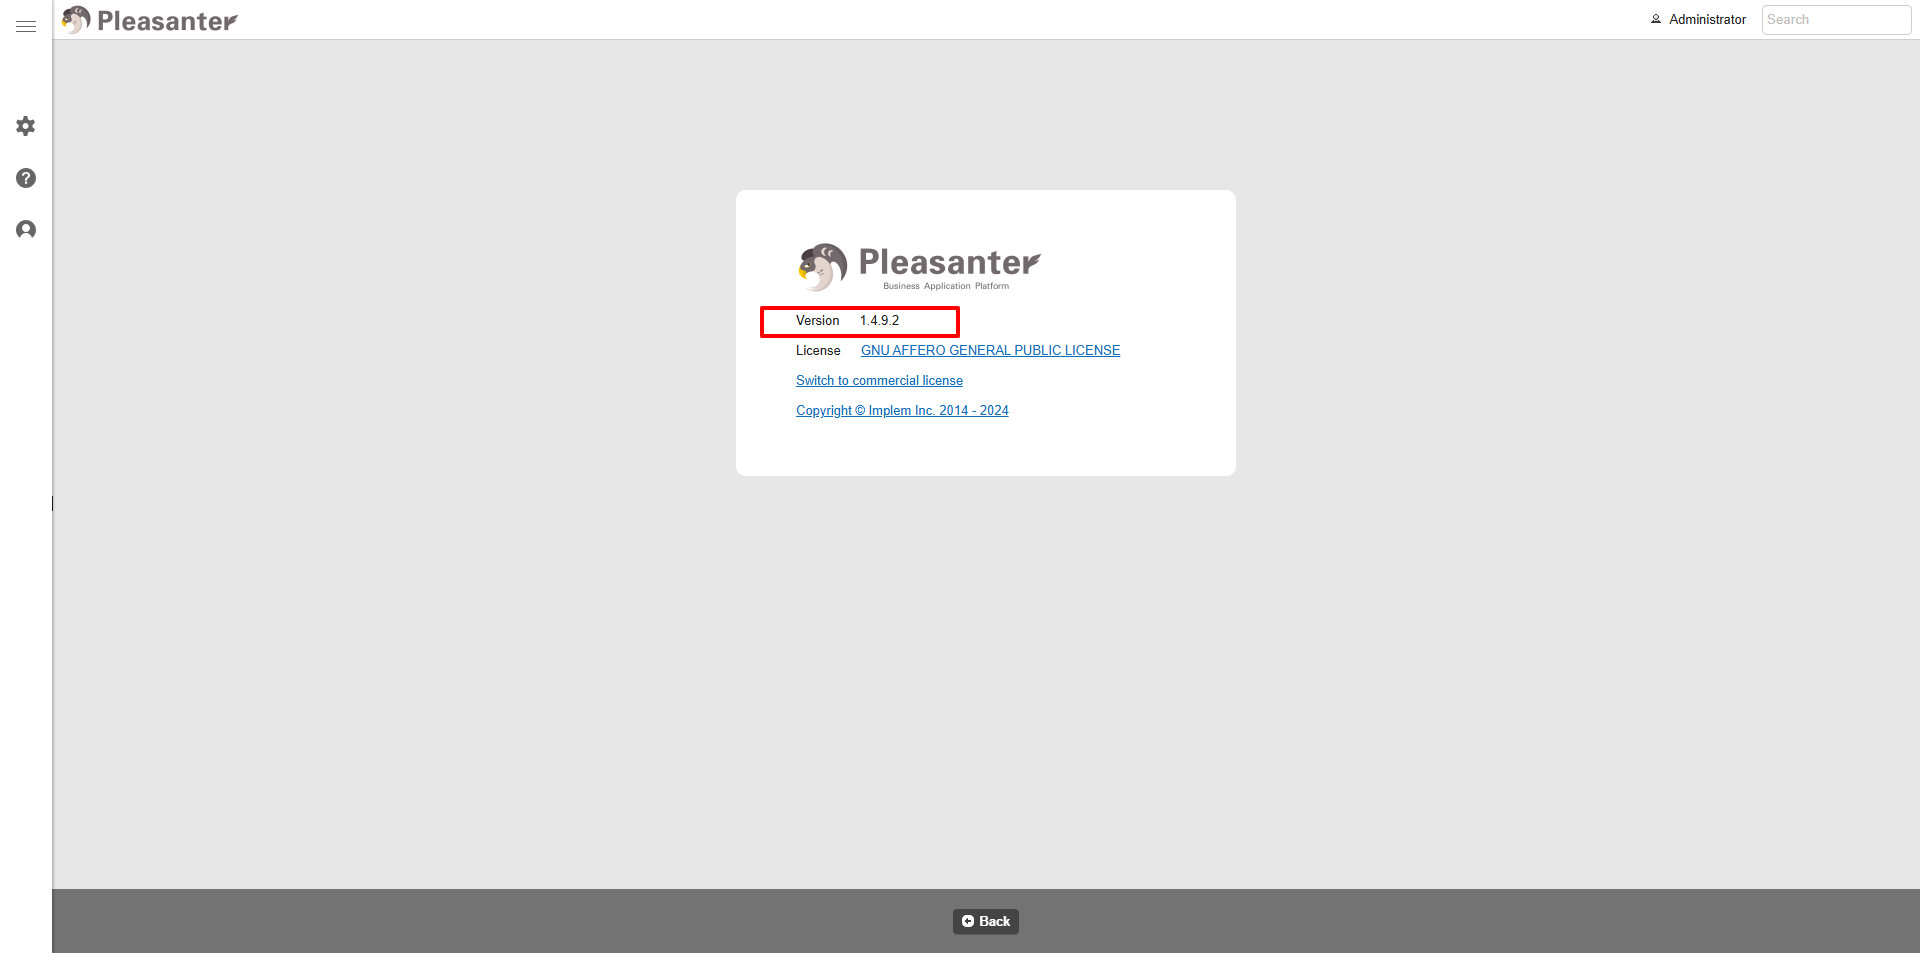
- After logging in, click "Help" - "Version" in the navigation menu and confirm that the version is correct.
※If you do not need C:\home\site\wwwroot_yyyyMMdd_HHmmss and C:\home\site\CodeDefiner_yyyyMMdd_HHmmss, which the installer backed up, delete them. If you want to keep them, move them to a different folder.