Add Columns to The Editing Screen
<< Return to Operation Guide Index
Add columns to the editing screen
You can add new columns to the editing screen in addition to the default columns. In this manual, we will add "Weather (ClassA)".
Preparation
To add columns to the editing screen, you need a table and a record.
If you haven't created them yet, please refer to Create Table and Create Record to create them.
About columns displayed on the list screen and edit screen
This manual adds columns that are displayed on the edit screen. If you want to add columns to be displayed on the list screen, please see Add Columns to be displayed on the list screen.
Manual
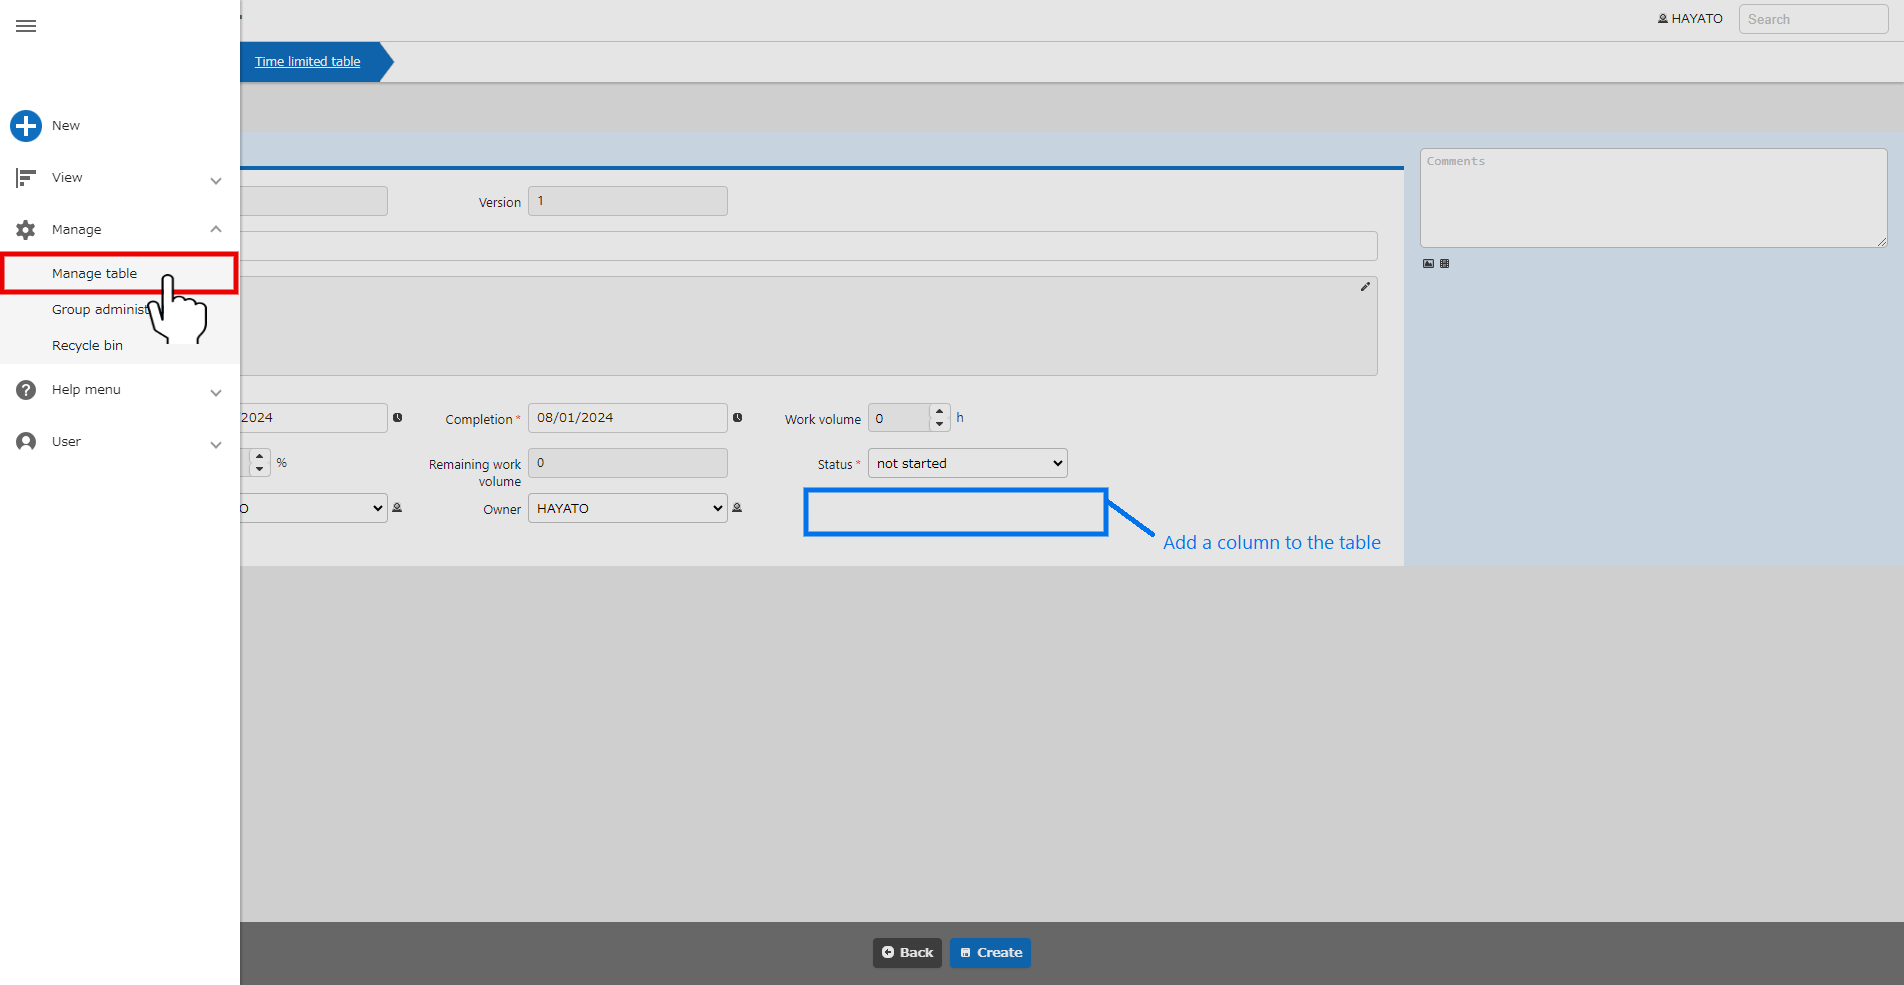
- Add a column in the blue frame. Click "Manage Table" from the navigation menu.
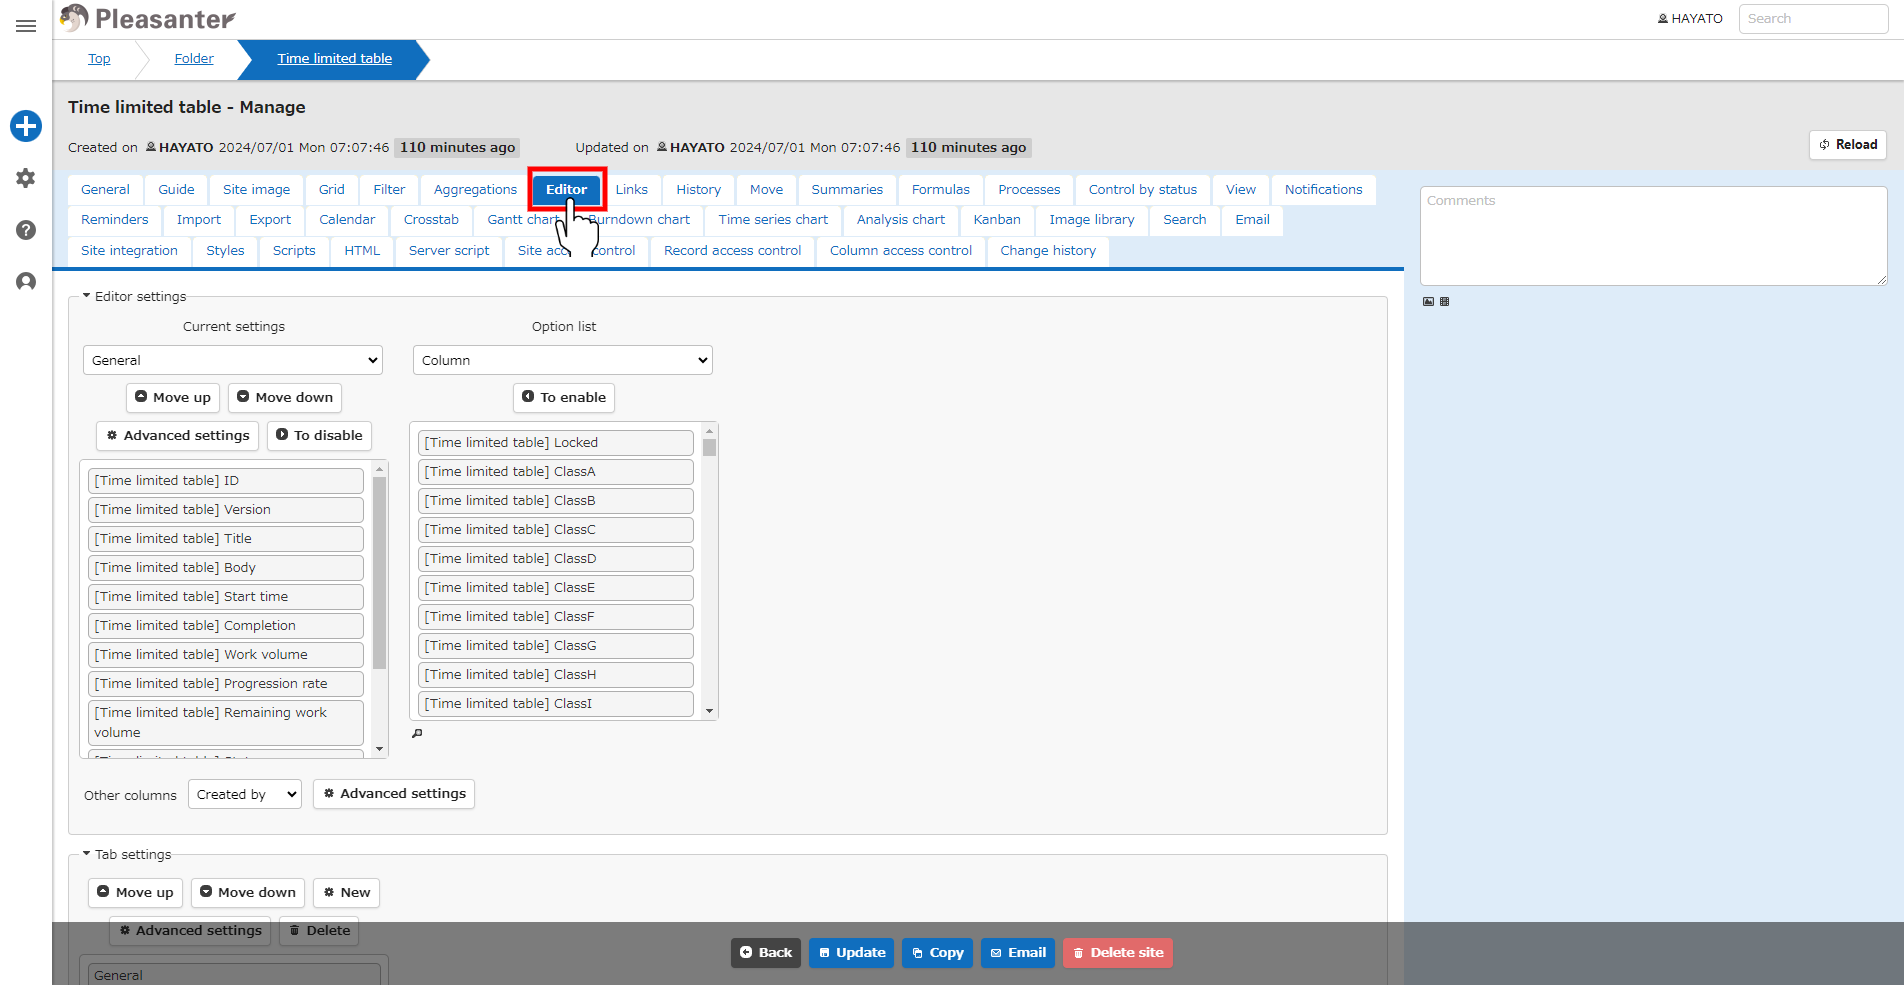
- Select the "Editor" tab.
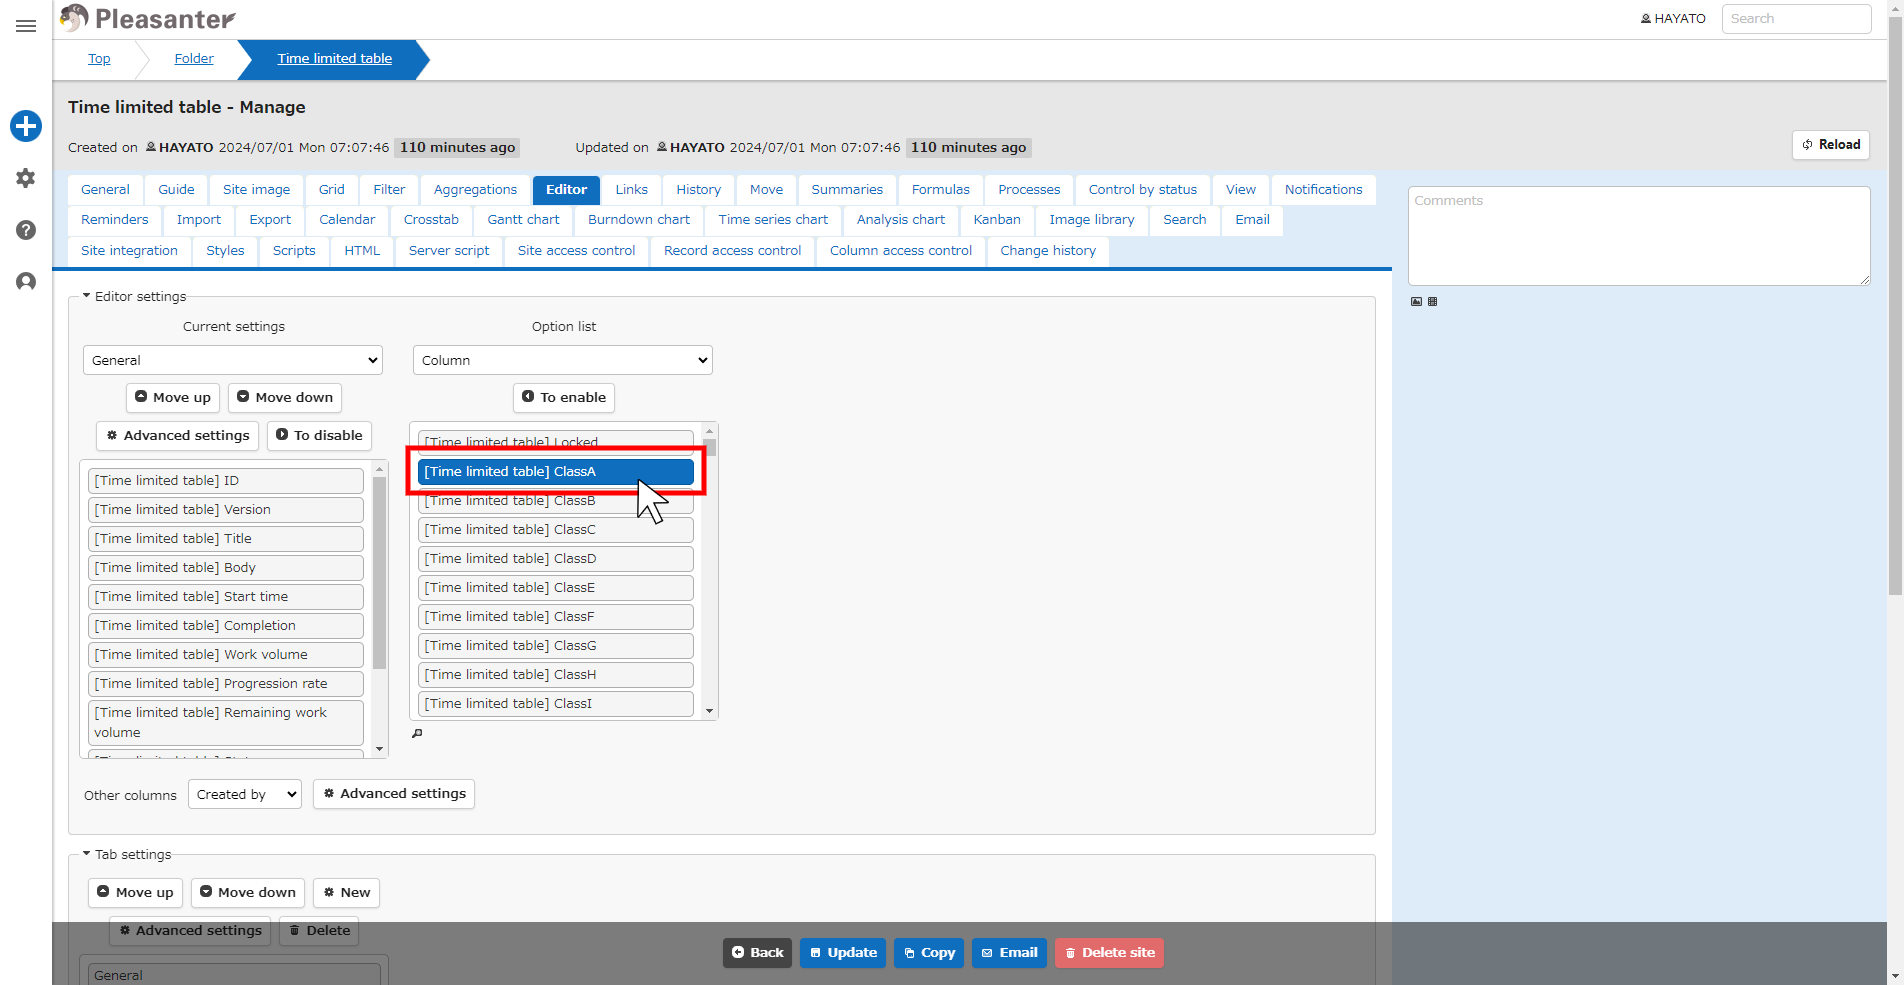
- Select "ClassA" from the "Option list". You can find "ClassA" by using the filter function of the "Option list". For details, see "Editor column settings".
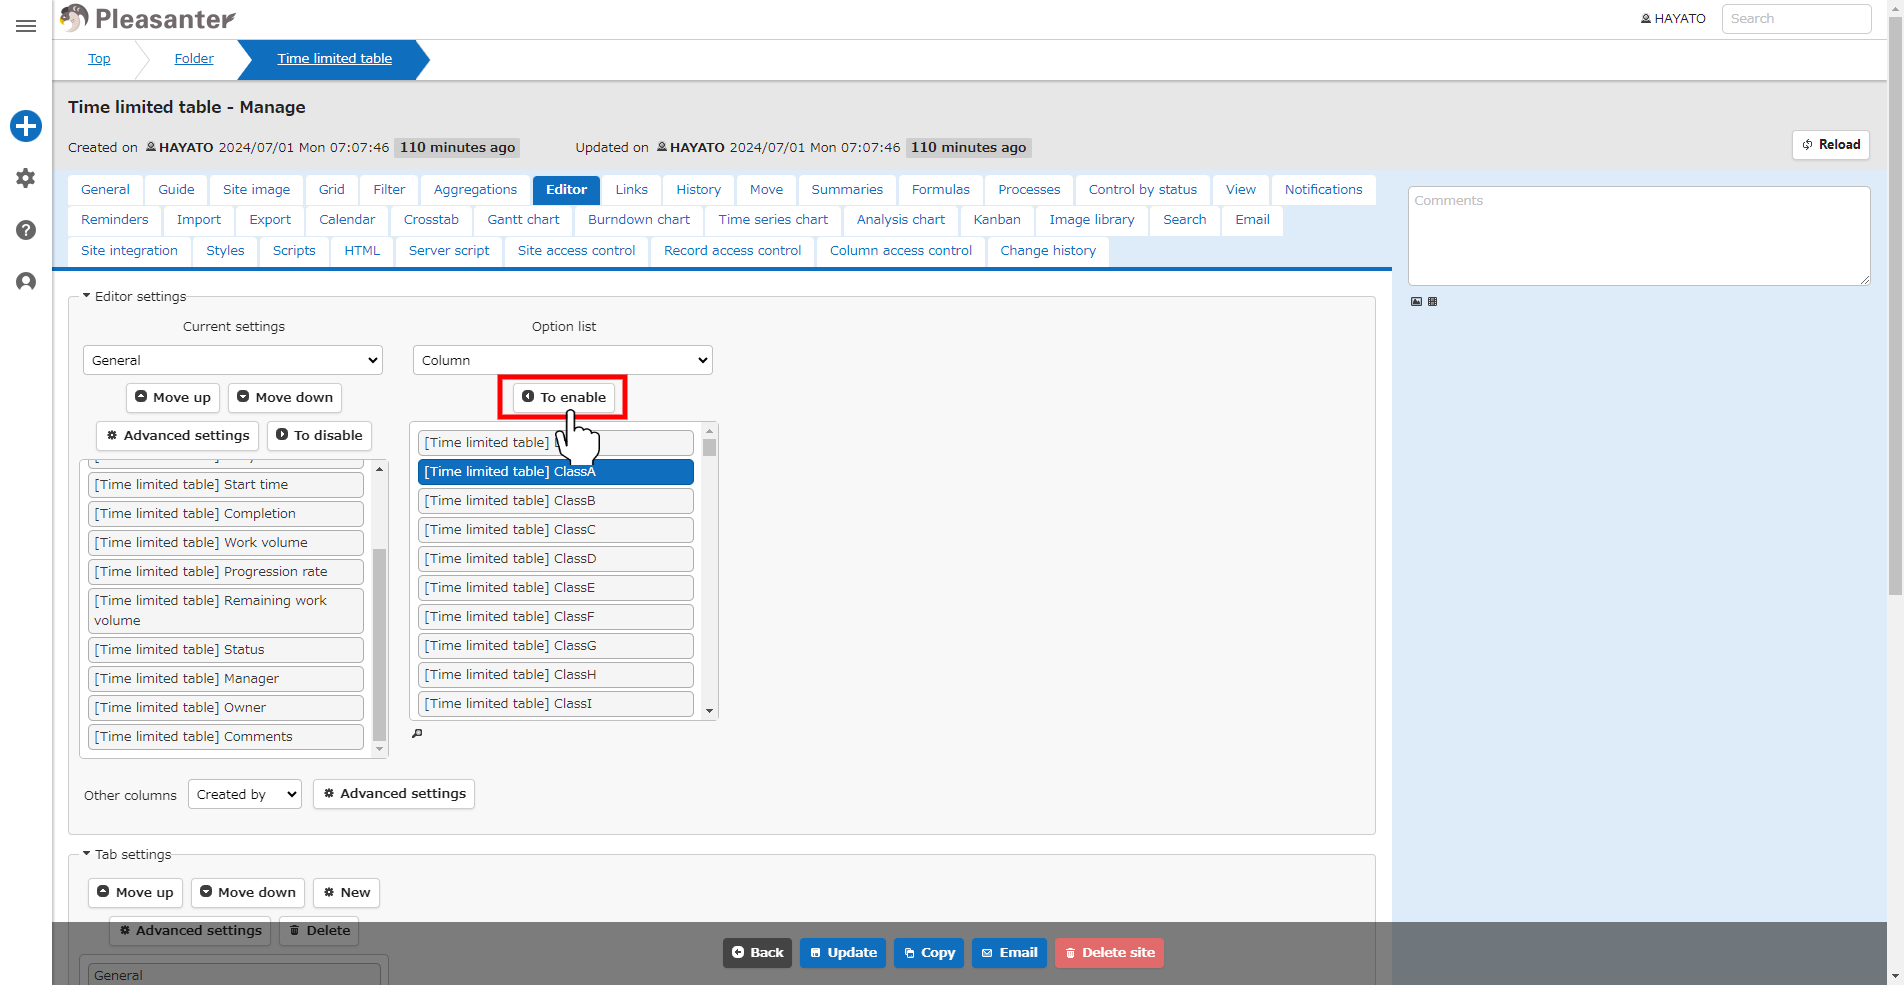
- Click the "To Enable" button.
- Confirm that "ClassA" has been moved to "Current settings" and click the "Advanced settings" button.

- Edit the settings and click the "Change" button. *In this case, edit "Name Displayed" and "Option list".
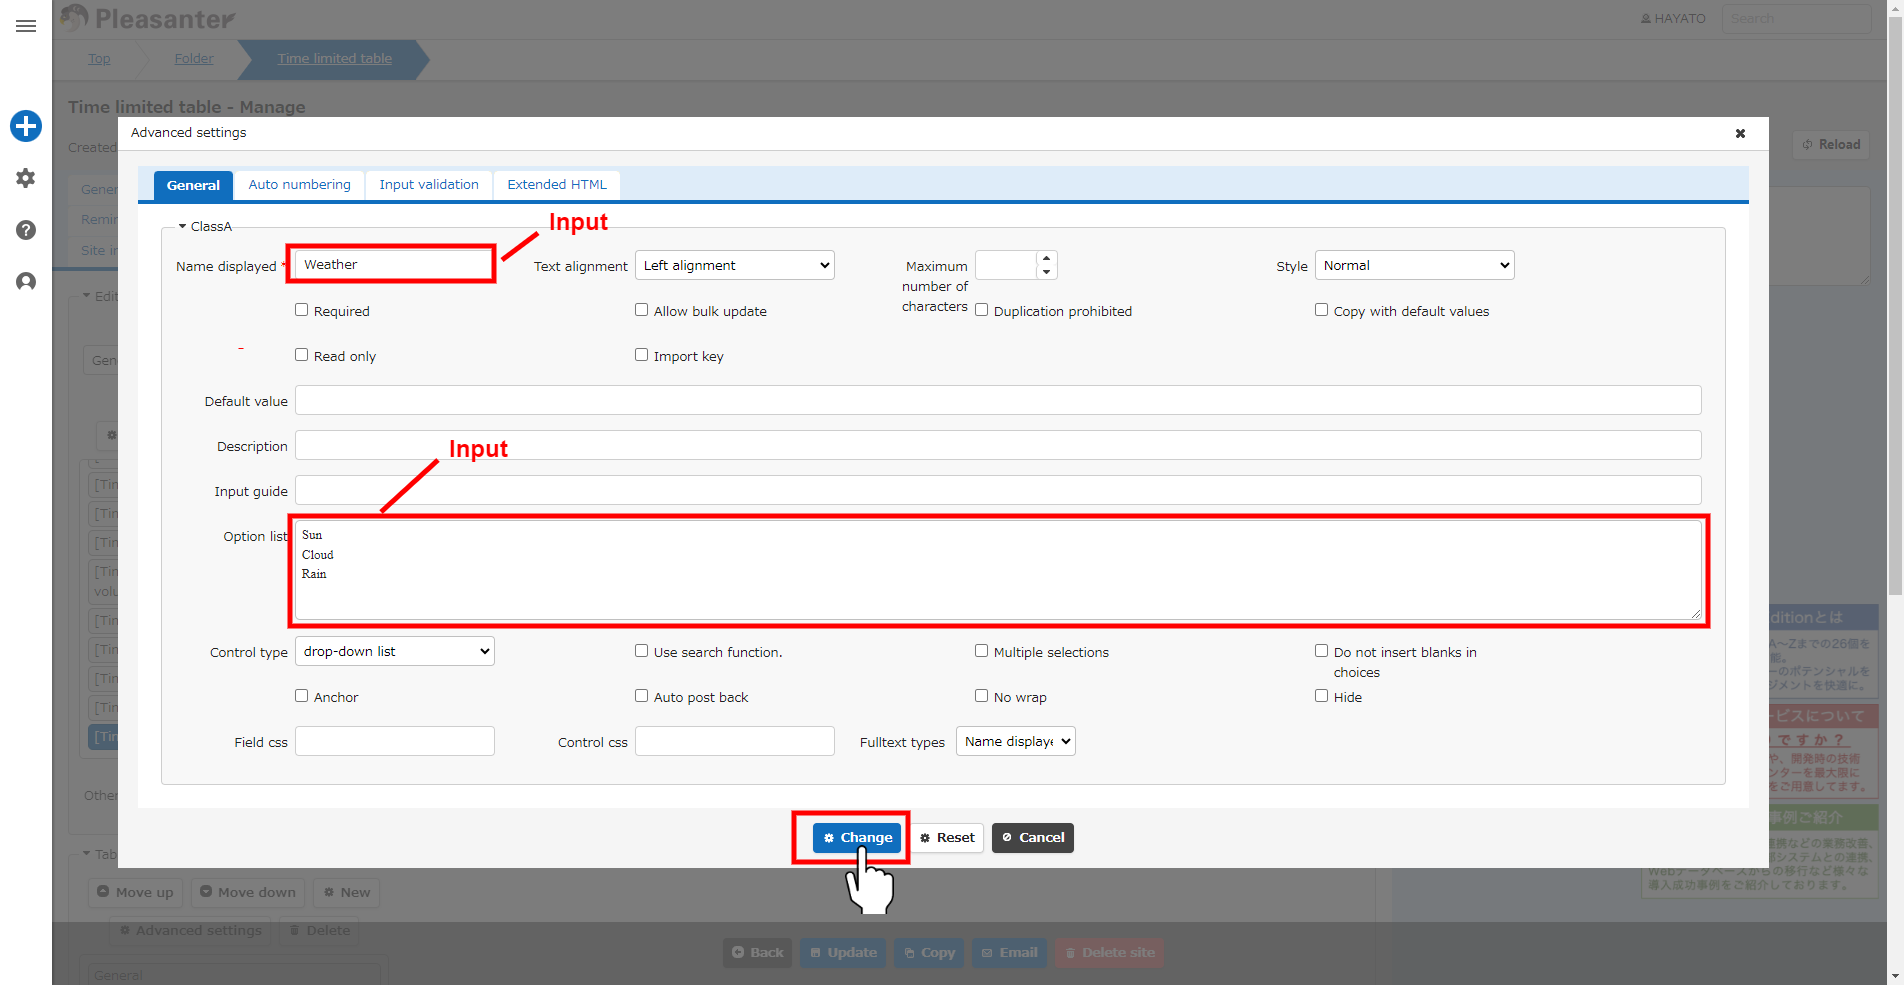
- Click the "Update" button at the bottom of the screen.
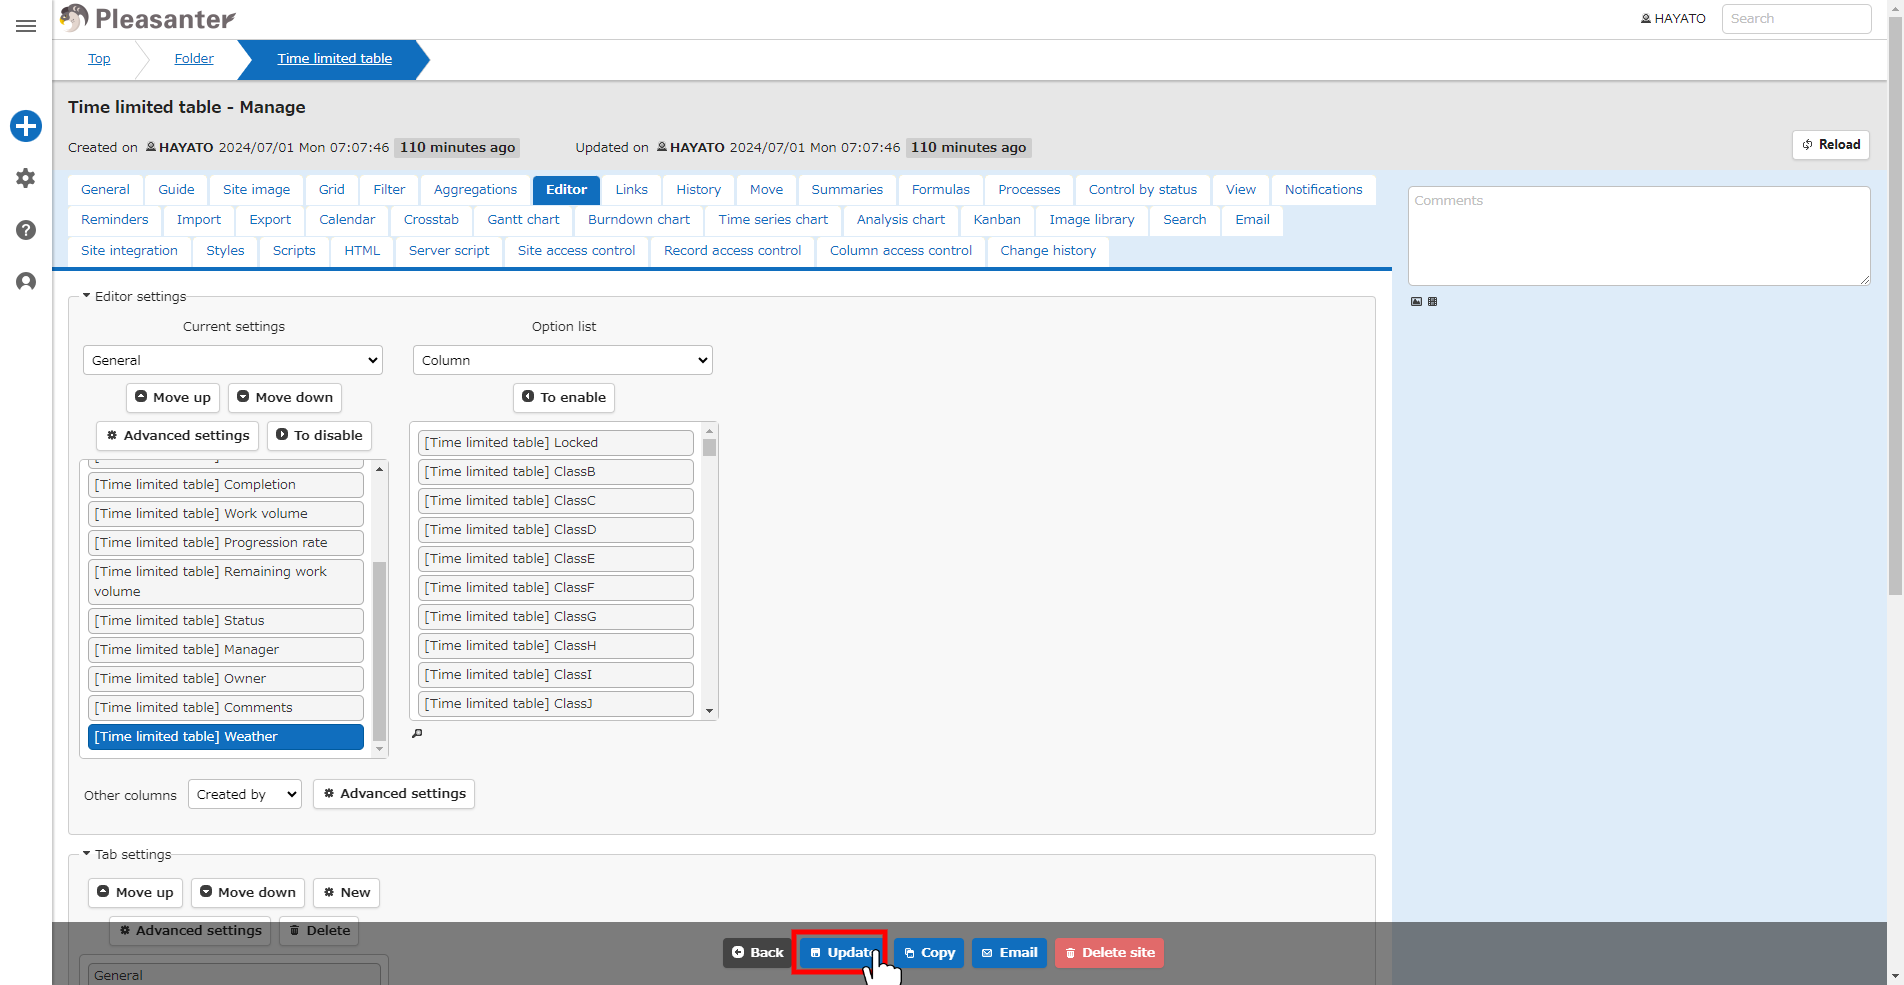
- Check the message and click the "Back" button at the bottom of the screen.
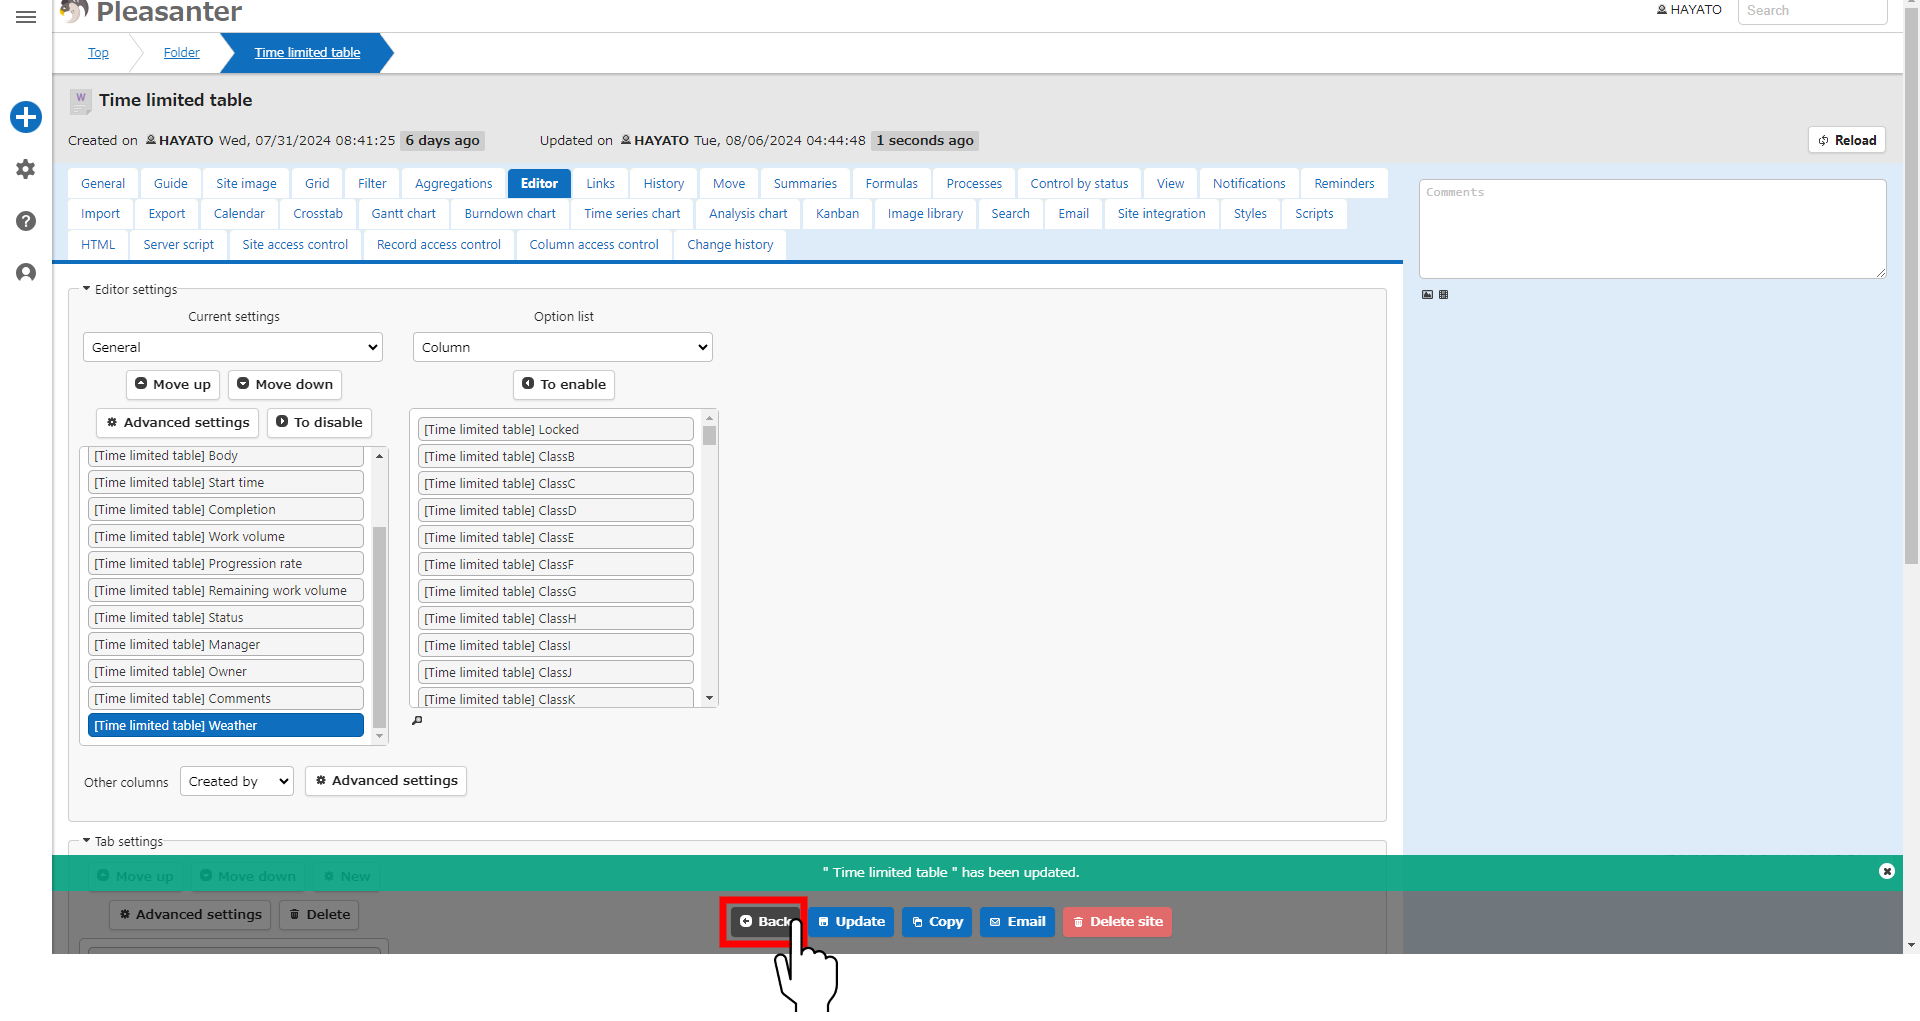
- Click any record.

- Set the new column and click the "Update" button at the bottom of the screen.
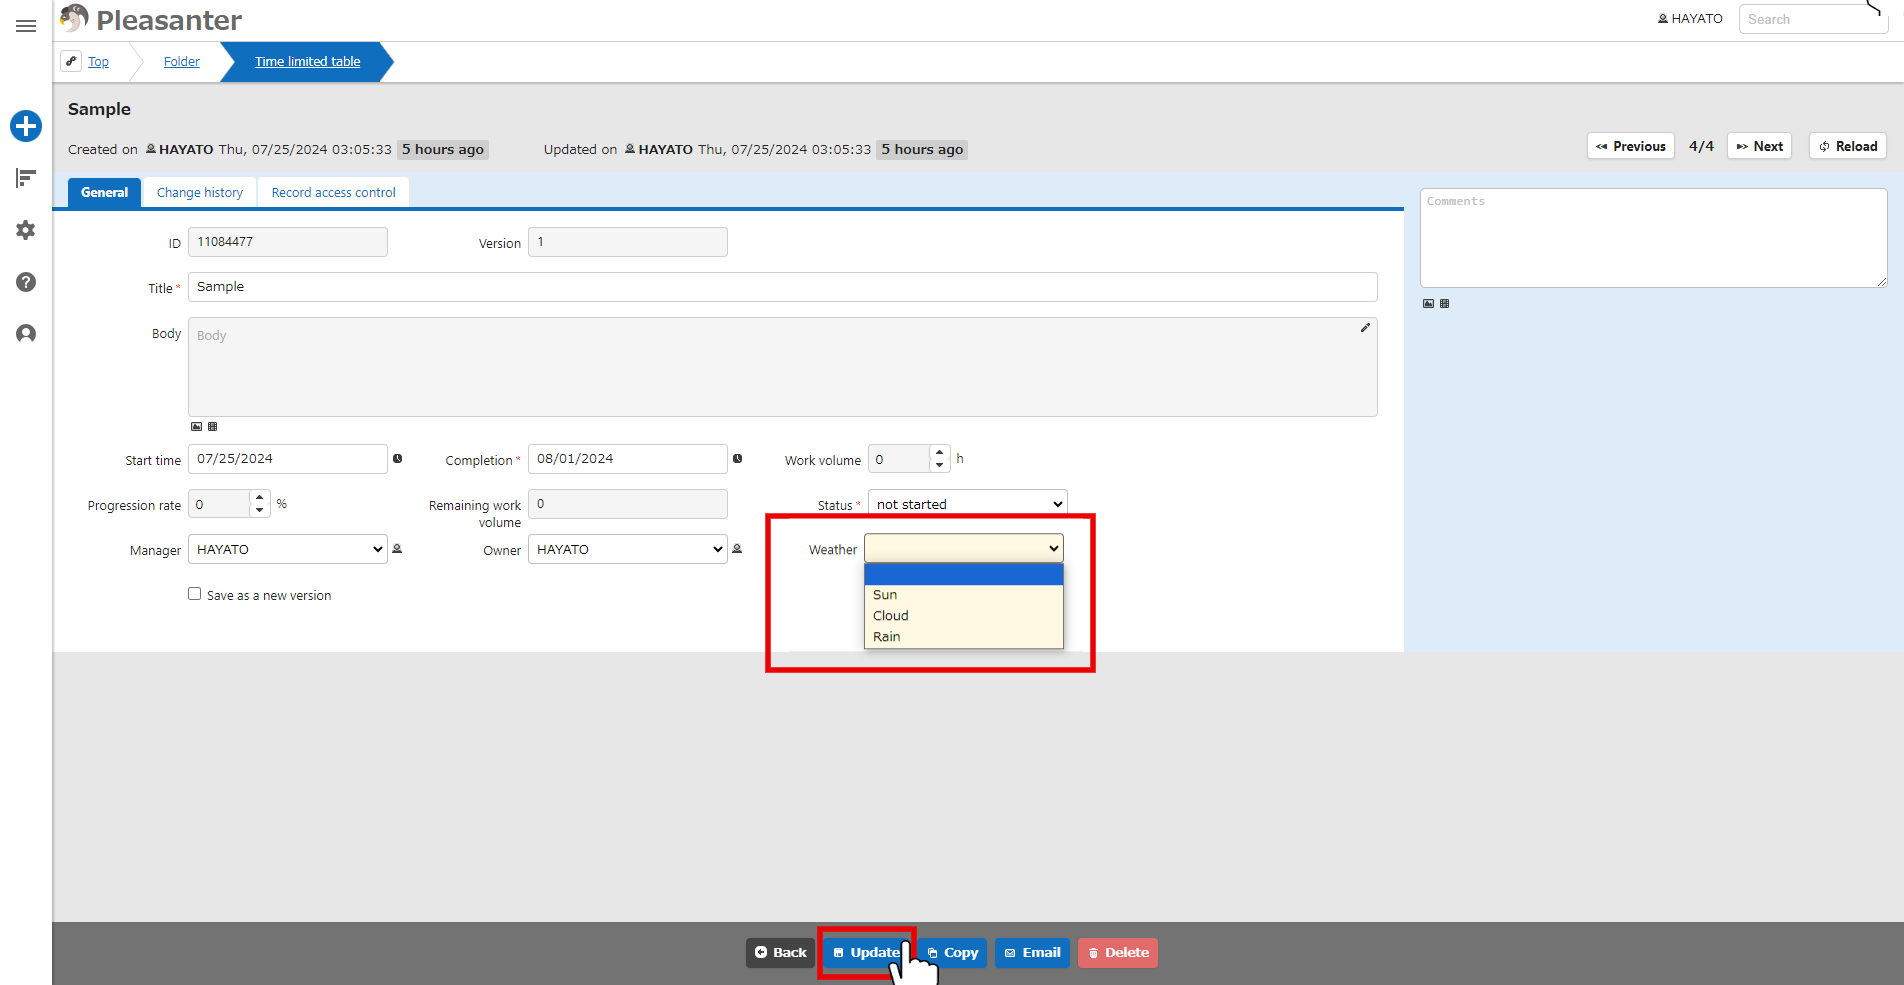
- This completes the addition of a column to the record.
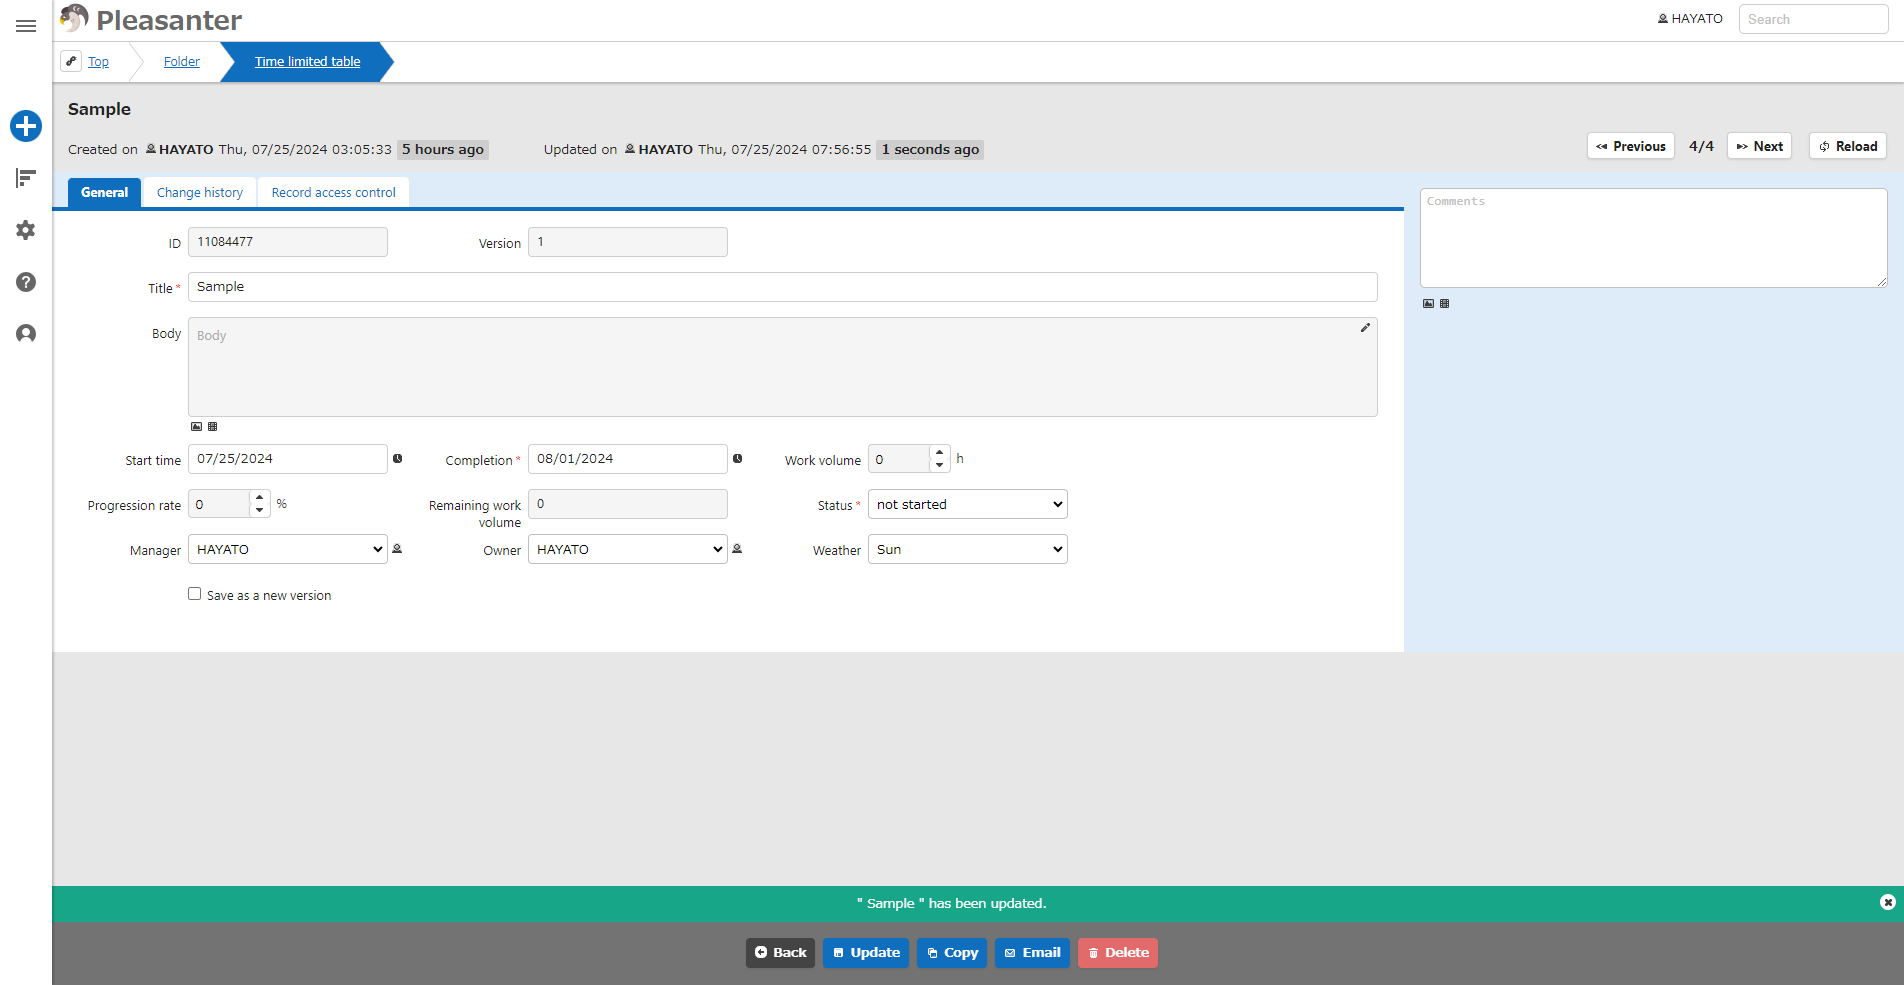
For details on adding columns, please see below.
- Manage Table: Items
- Manage Table: Items: Basic
- Manage Table: Items: ID
- Manage Table: Items: Version
- Manage Table: Items: Title
- Manage Table: Items: Body
- Manage Table: Items: Start Time
- Manage Table: Items: Completion
- Manage Table: Items: Work Volume
- Manage Table: Items: Progression Rate
- Manage Table: Items: Remaining Work Volume
- Manage Table: Items: Status
- Manage Table: Items: Manager
- Manage Table: Items: Owner
- Manage Table: Items: Locked
- Manage Table: Items: Class
- Manage Table: Items: Numeric Value
- Manage Table: Items: Date
- Manage Table: Items: Description
- Manage Table: Items: Check
- Manage Table: Items: Attachments
- Manage Table: Items: Comments
- Manage Table: Items: Created By
- Manage Table: items: Updated By
- Manage Table: Items: Created On
- Manage Table: Items: Updated On
- Manage Table: Editor: Column Advanced Settings: No Wraparound
- Manage Table: Editor: Column Advanced Settings: Field CSS