


インストーラでプリザンターをAzure App Serviceにサーバレス構成でインストールする
## 概要
本手順は[インストーラ](/ja/manual/getting-started-installer-pleasanter-windows)を使用してプリザンターの動作環境を構築する手順です。モジュールの配置やパラメータ設定を手動で行う今までの手順でもインストール可能です。手動インストールの手順は以下を参照ください。
[プリザンターをAzure App Serviceにサーバレス構成でインストールする](getting-started-pleasanter-azure)
| 対象 | 環境・バージョン |
| ------------------ | :--------------------------- |
| Web | Microsoft Azure App Service |
| DB | Microsoft Azure SQL Database |
| ランタイムスタック | .NET 10 |
| Pleasanter | 1.5.0.0以降 |
## 制限事項
[インストーラ](/ja/manual/getting-started-installer-pleasanter-windows)を使用したインストールはVer1.5.0.0以降が対象です。Ver1.4.23.3以前をインストールする際は手動インストールの手順を参照ください。
[プリザンターをAzure App Serviceにサーバレス構成でインストールする](getting-started-pleasanter-azure)
## 前提条件
1. Azure Portal へのログインが可能であること
1. Microsoft Azure App Service(Windows/.NET 10)が 1 インスタンス準備できている
1. Microsoft Azure SQL Database が 1 インスタンス準備できている
1. Microsoft Azure SQL Database の接続文字列が準備できている
1. Microsoft Azure SQL Database のファイアウォール設定で App Service 及び PC からの接続が許可されている
## 手順
構築手順は以下の通りです。
1. .NETの設定
1. インストーラのインストール
1. プリザンターのセットアップ
1. プリザンターの起動確認
## 1. .NET の設定
1. [Azure Portal](https://portal.azure.com/)に接続します。
1. App Service を開きます。

1. 作成済みの App Service インスタンスを選択します。
1. 「構成」メニューの「全般設定」を開き、下図の通り設定します。


|番号|項目|設定内容|
|:-:|:--|:--|
|1|構成 (プレビュー)|クリックして選択します|
|2|全般設定|クリックして選択します|
|3|プラットフォーム|64bit|
|4|FTPの状態|無効|
|5|Always On|オン(※常時接続と表示されることがあります)|
|6|スタック設定|クリックして選択します|
|7|スタック|.NET|
|8|.NETのバージョン|.NET 10 (LTS)
## 2. インストーラのインストール
1. App Service にてインスタンスを停止します。
1. [Kudu](https://docs.microsoft.com/ja-jp/azure/app-service/resources-kudu#access-kudu-for-your-app) にアクセスします。
1. App Service の左側のメニューの"開発ツール"から「高度なツール」をクリック

2. [移動](/ja/manual/table-record-move)のリンクをクリック

3. Kudu のヘッダメニューから「Debug console」>「CMD」をクリック

4. インストーラをインストールします。(ご利用ユーザによってはD:\homeの場合もあります。その場合は適宜読み替えてください。)
1. [こちら](https://www.nuget.org/packages/Implem.PleasanterSetup/) からImplem.PleasanterSetupのNuget Galleryを開き、「Download package」より.nupkgファイルをダウンロードします。

1. 下記コマンドを実行してインストーラをインストールする任意のフォルダを作成します。
※本手順では C:\home\dotnet-toolsを作成する場合として説明します。
```
mkdir C:\home\dotnet-tools
```
3. 2.4.1でダウンロードした.nupkgファイルをC:\home\dotnet-toolsに配置します。
4. 下記コマンドを実行してインストーラをインストールします。
```
dotnet tool install Implem.PleasanterSetup --tool-path C:\home\dotnet-tools --add-source C:\home\dotnet-tools
```
5. パスを設定します。
```
set PATH=%PATH%;C:\home\dotnet-tools
```
## 3. プリザンターのセットアップ
※インストーラを使用することで、最新バージョン資源を自動でダウンロードし、入力した値を元にService.json、Rds.jsonの値を自動設定します。
1. 以下コマンドを実行して、インストーラを実行します。
```
pleasanter-setup
```
2. プリザンターをインストールするディレクトリを入力します。
「C:\home\site\wwwroot」 にインストールする場合は空白で Enter キーを押下してください。

3. CodeDefinerをインストールするディレクトリを入力します。
「C:\home\site\CodeDefiner」 にインストールする場合は空白で Enter キーを押下してください。

4. サービス名を入力します。
Azure で作成したデータベース名を入力してください。
「Implem.Pleasanter」の場合は空白で Enter キーを押下してください。

5. 接続文字列を入力します。
※ **Microsoft Azure SQL Database の接続文字列を全文入力してください。**

6. デフォルト言語を入力します。
対応する言語の番号を入力してください。

7. デフォルトのタイムゾーンを入力します。
対応する言語の番号を入力してください。

8. サマリ画面が表示されます。
入力した値に間違いがない場合は、「Shall I install Pleasanter with this content? Please enter ‘y(yes)' or 'n(no)’. : 」 の後に **y** を入力しEnterキーで実行してください。
※パスワードはマスクされています。

9. 実行後下記のようなログが流れます。
```
Shall I install Pleasanter with this content? Please enter ‘y(yes)' or 'n(no)’. :
y
Download Pleasanter
Downloaded Pleasanter_1.5.0.0.zip to C:\home\site\Pleasanter_1.5.0.0.zip
Start setting parameters
Finish setting parameters
<INFO> Starter.Main: Implem.CodeDefiner 1.5.0.0
<INFO> Configurator.OutputLicenseInfo:
ServerName:
Database:
Deadline: 1/1/0001
Licensee:
Users: 0
<INFO> Configurator.OutputLicenseInfo: This edition is "Community Edition".
Type "y" (yes) if the license is correct, otherwise type "n" (no).
```
10. 「Type "y" (yes) if the license is correct, otherwise type "n" (no).」 と表示されたら **y** を入力して実行してください。
```
<SUCCESS> Starter.ConfigureDatabase: Database configuration has been completed.
<SUCCESS> Starter.Main: All of the processes have been completed.
Setup is complete.
```
11. セットアップが終了すると、Webブラウザが起動して[Enterprise Editionトライアルの案内ページ](https://pleasanter.org/pleasanter-extensions-trial/?utm_source=installer&utm_medium=app&utm_campaign=extension-trial&utm_content=route01)が表示されます。

## 4. プリザンターの起動確認
1. App Serviceにてインスタンスを起動します。
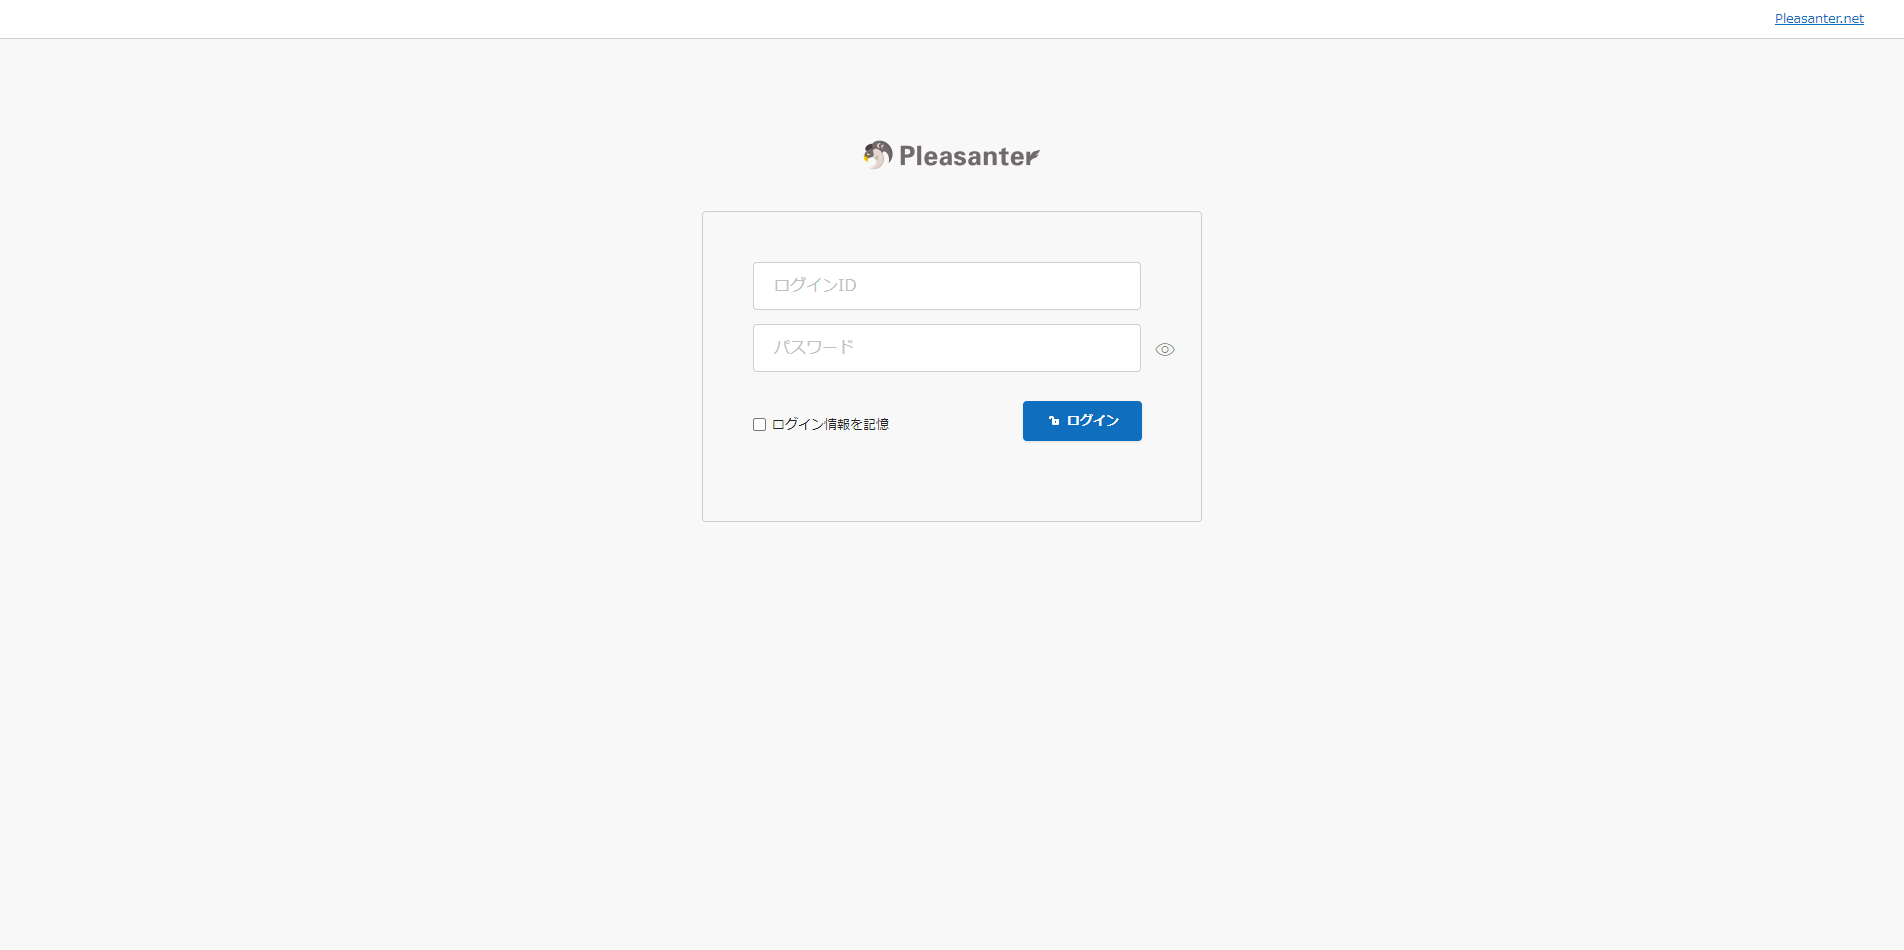
1. ブラウザでプリザンターのログイン画面を開き、「ログインID: Administrator」、「初期パスワード: pleasanter」を入力し、「ログイン」ボタンをクリックします。
1. ログイン後に「Administrator」ユーザーのパスワード変更を求められるので、任意のパスワードを入力し、「変更」ボタンをクリックします。
