Install and Configure SQL Server 2019 Express
## Limitations
SQL Server 2019 Express with Advanced Services is limited to a maximum database size of 10 GB. If you want to use more than 10GB, you need to migrate to a higher edition or Microsoft Azure SQL Database.
## Download SQL Server 2019 Express with Advanced Services
1. Access the following URL and click the "「Download」" button.
https://www.microsoft.com/en-us/download/details.aspx?id=101064
1. When the file download is complete, click the "Run (R)" button.
1. When the message "Do you want to allow the following program to make changes to this computer?" is displayed, click the "Yes (Y)" button.
1. Click "Download Media (D)".

1. Check "Express Advanced" and click the "Download (D)" button.

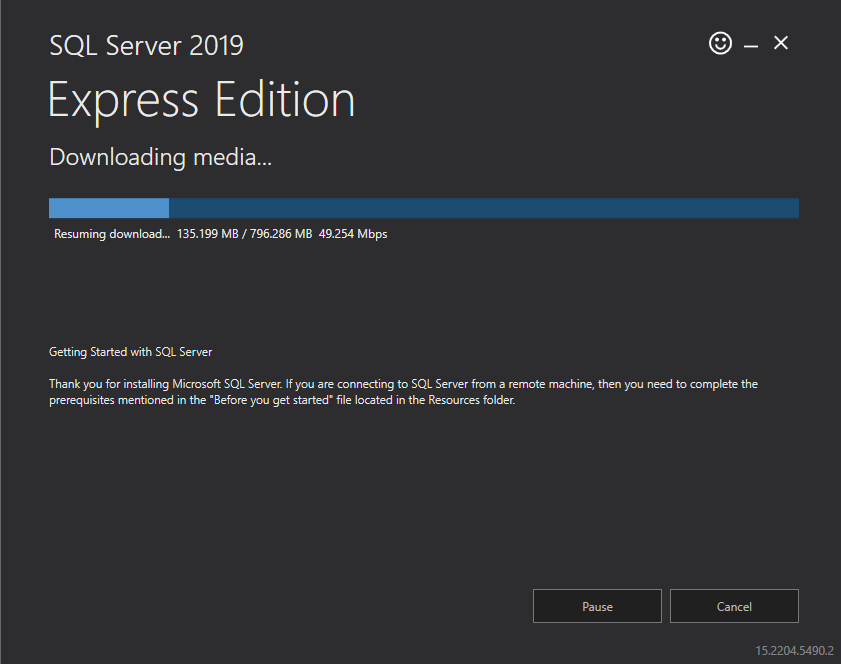
1. Wait until the download is complete.
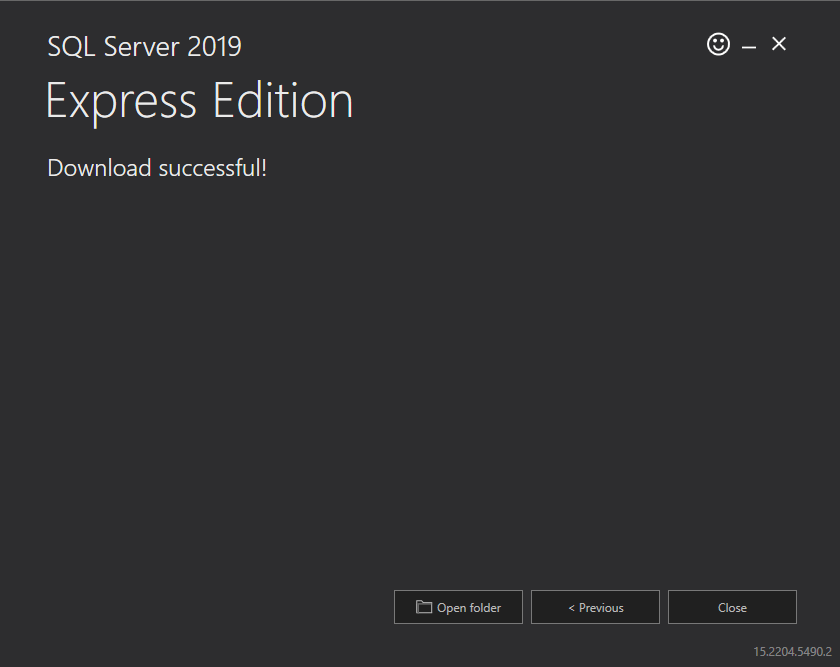
1. When the message "Download successful" is displayed, click the "Open folder" button.
## Install SQL Server 2019 Express with Advanced Services
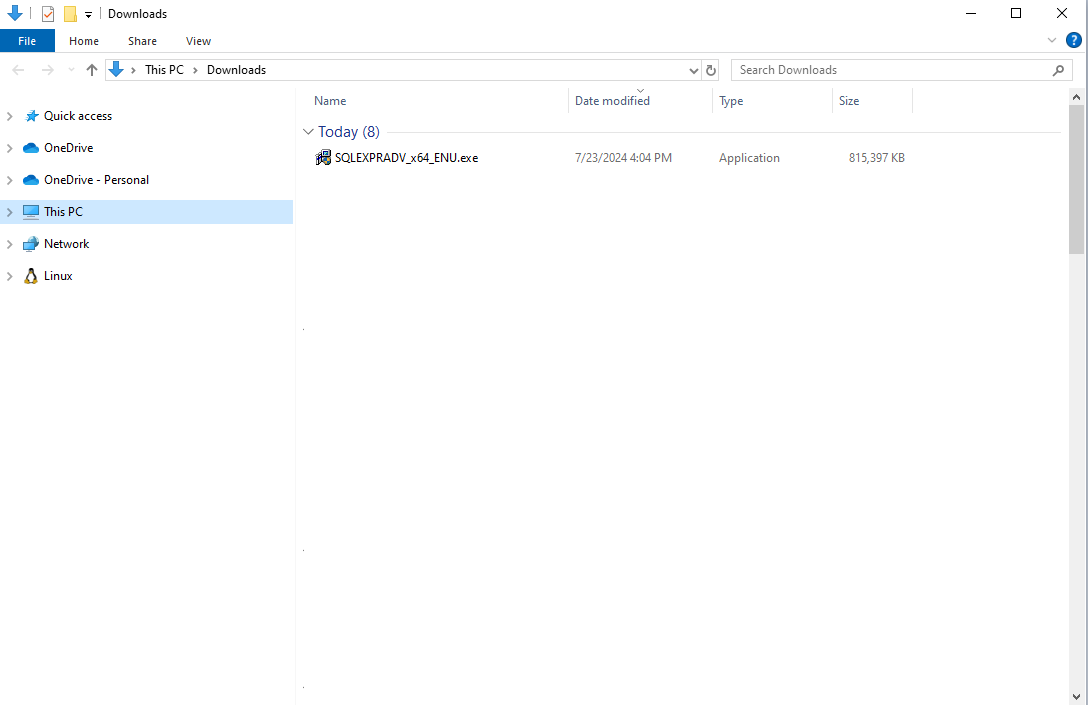
1. Double-click "SQLEXPRADV_x64_ENU".
1. The "Choose Directory for Extracted Files" dialog will appear, so click the "OK" button.

1. Wait until preparation for extraction is complete.

1. Click "New SQL Server stand-alone installation or add features to an existing installation".

1. Check "I accept the license terms and Privacy Statement (A)" and click the "Next (N)>" button.

1. Check "Use Microsoft Update to check for updates (recommended) (M)" and click the "Next (N)>" button.

1. Click "Next (N)>" on the "Install Rules" screen.

1. Check only "Database Engine Services" and "Full-Text and Semantic Extractions for Search" and click the "Next (N)>" button.

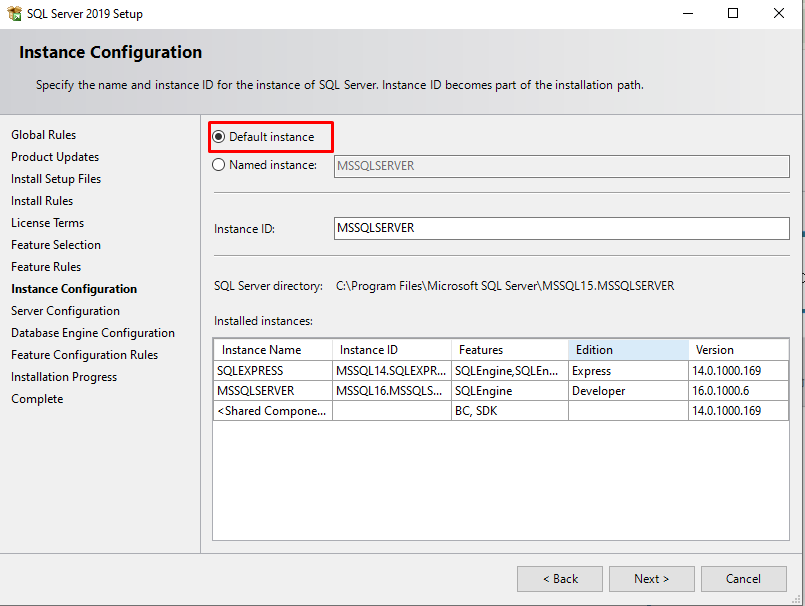
1. Check "Default Instance (D)" and click the "Next (N)>" button.
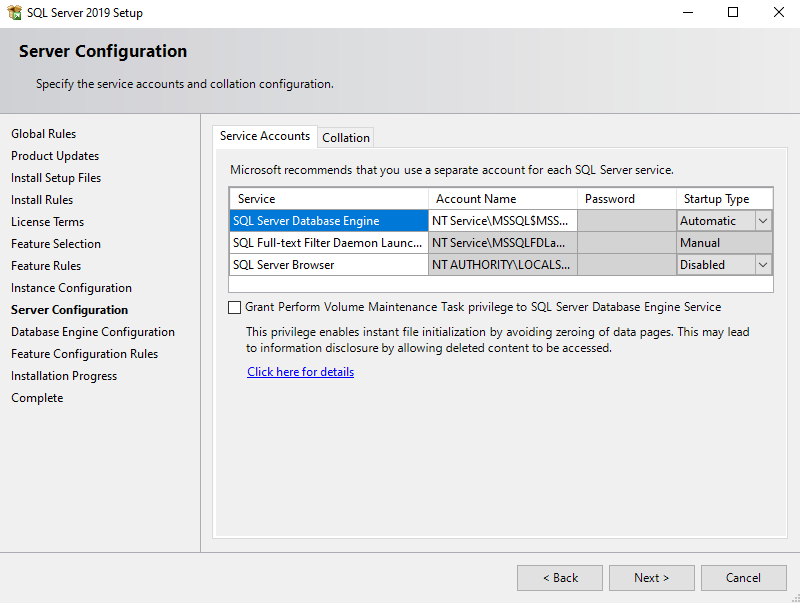
1. Click the "Next (N)>" button.
1. Check "Mixed Mode (SQL Server authentication and Windows authentication) (M)" and set a password of your choice. Please note the password you set as it will be used in "Install Pleasanter". Then click the "Next (N)>" button.

1. Wait until the installation is complete.

### *Error: 1638 occurs, uninstall Microsoft Visual C++ 2017 and install SQL Server again.
1. Confirm that the installation has been completed and click the "Close" button.

## Set up SQL Server 2019 Express with Advanced Services
1. Click the Start button, and launch "Microsoft SQL Server 2019" - "SQL Server 2019 Configuration Manager".
1. In the left pane, select "SQL Server Network Configuration" - "Protocols for MSSQLSERVER". Then, right-click "TCP/IP" in the right pane and click "Enable (E)".

1. In the left pane, select "SQL Server Services". Then, in the right pane, select "SQL Server Agent (MSSQLSERVER)" and click "Restart (T)".

1. When the reboot is complete, this procedure is complete.
