Create a dashboard
[<< Return to Operation Guide Index](/manual/basic-operations)
## Create A Dashboard
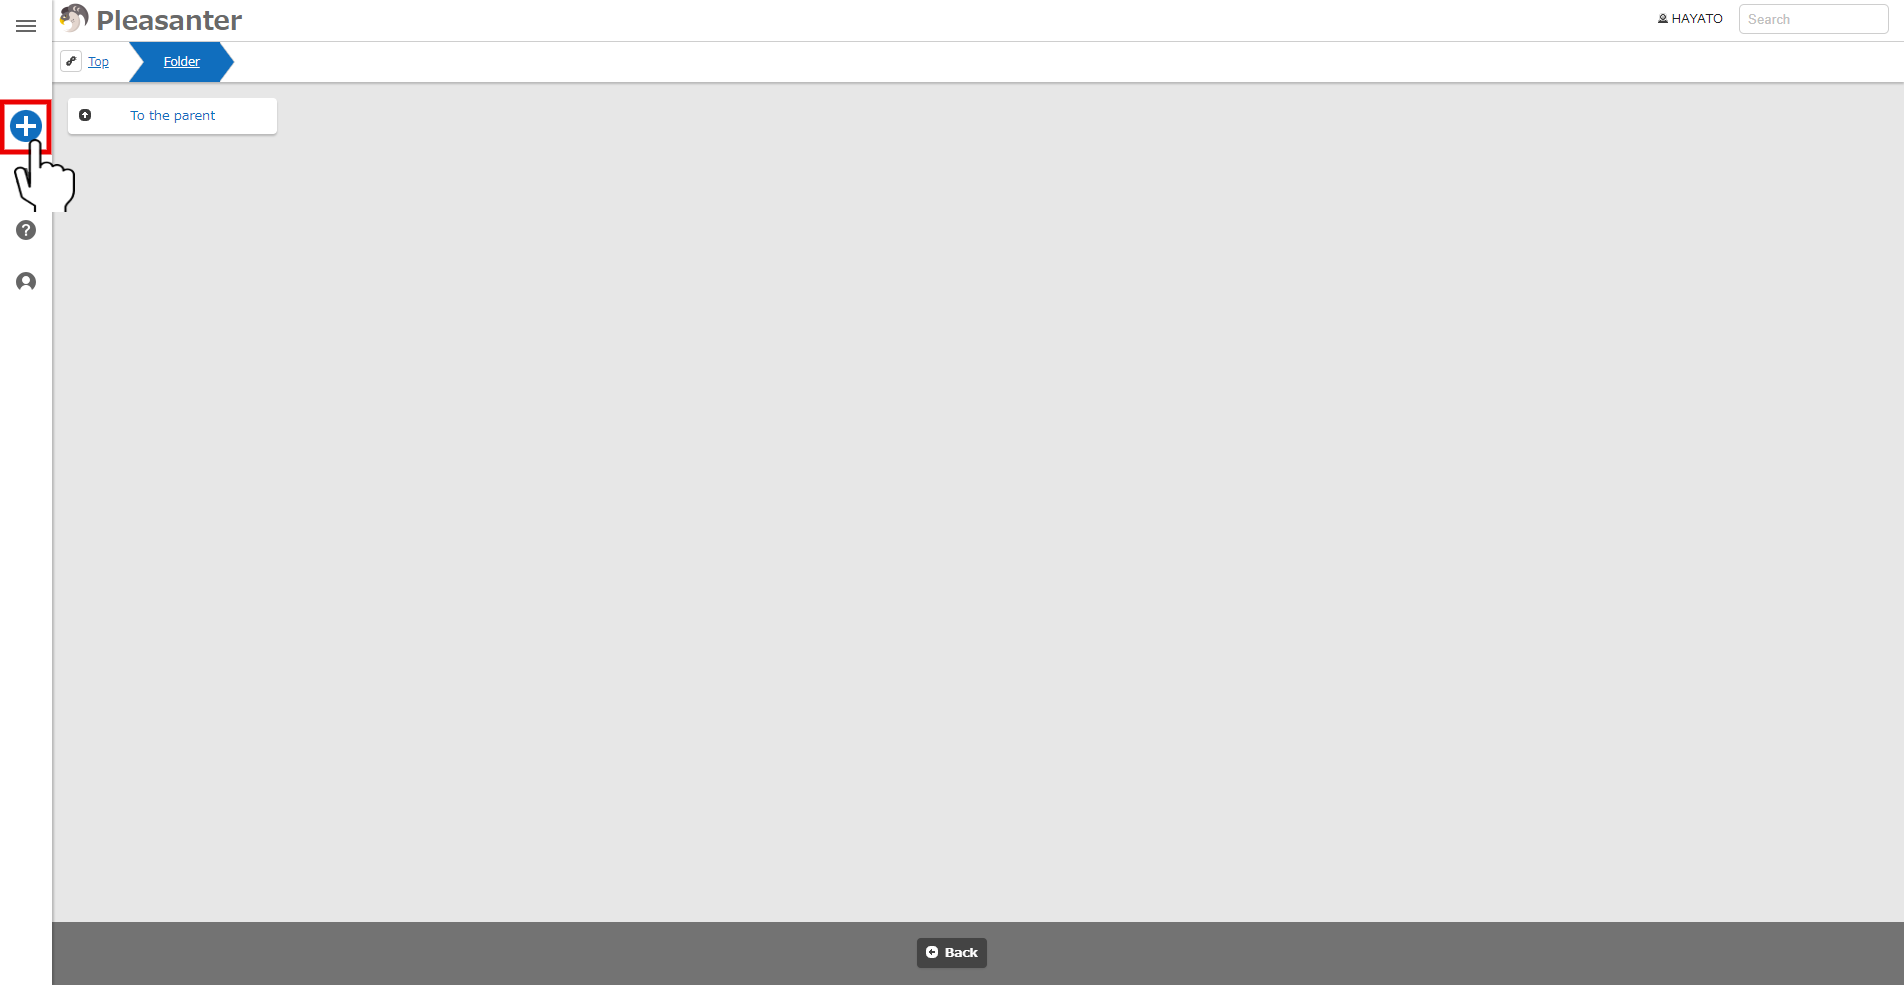
1. Let's create a dashboard. Click the "New" button in the navigation menu.
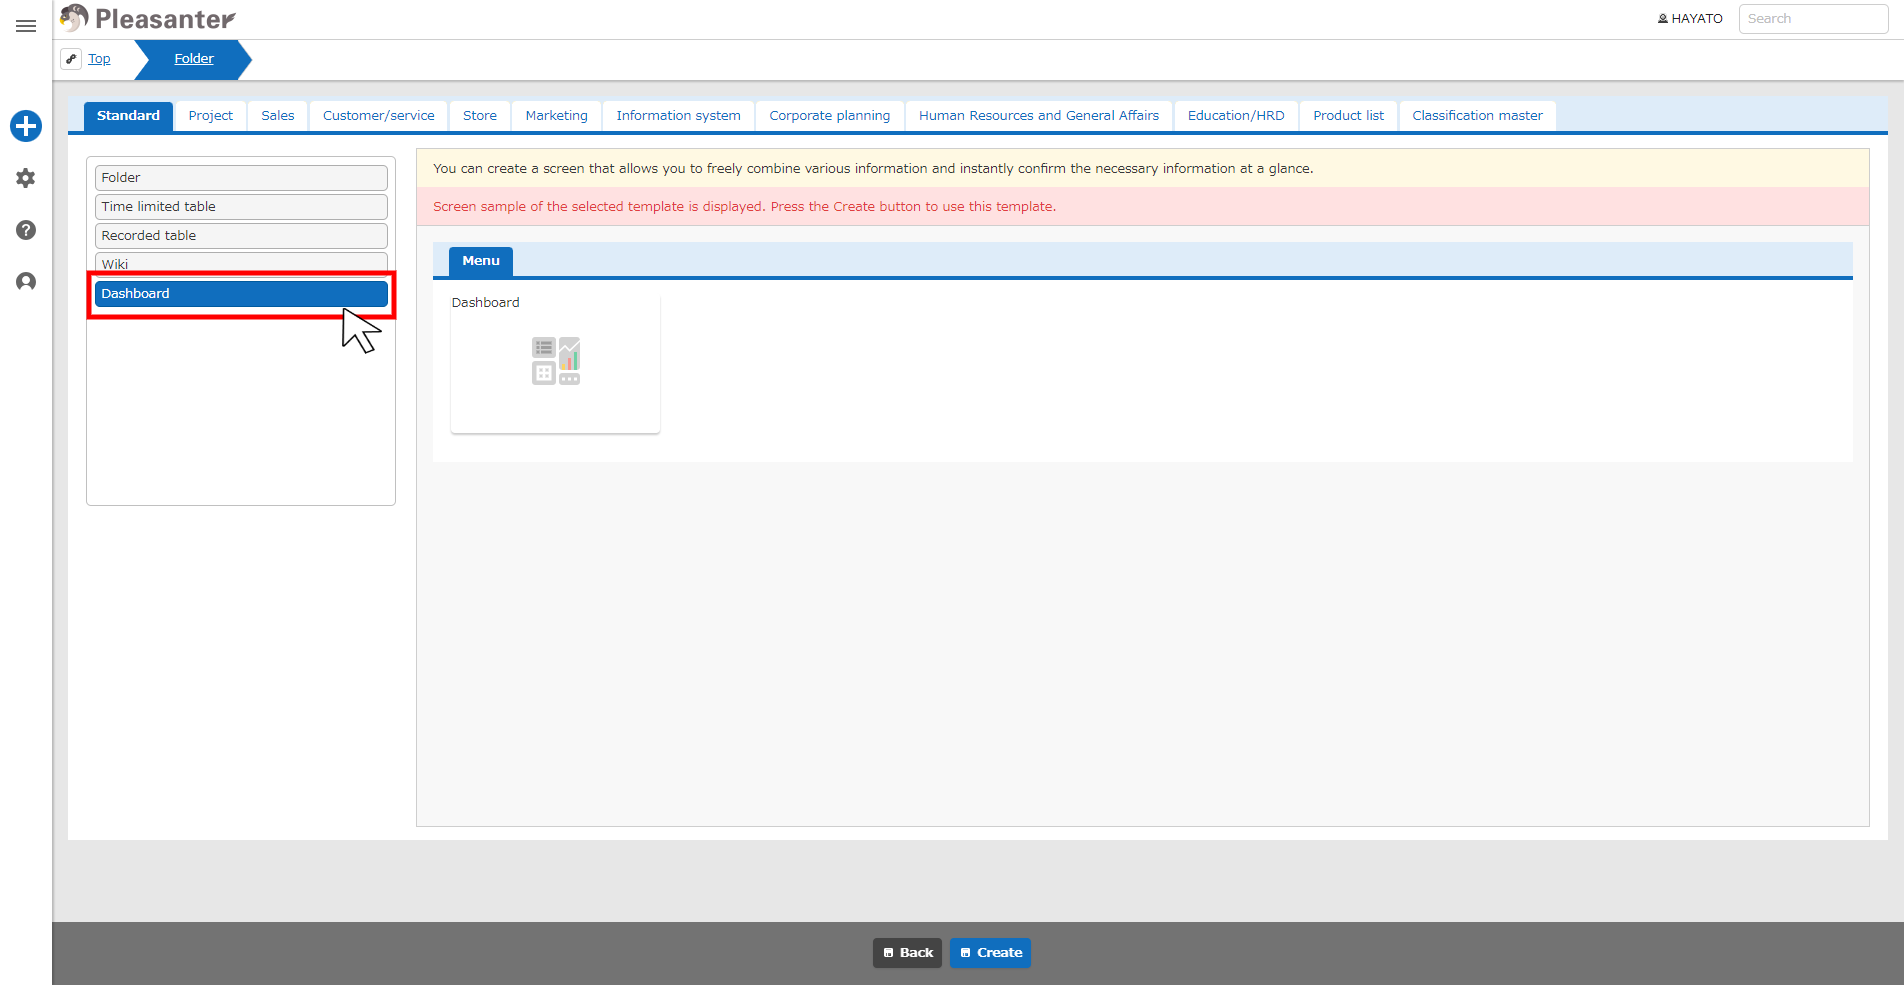
1. Select 「Dashboard」 in the "Standard" tab.
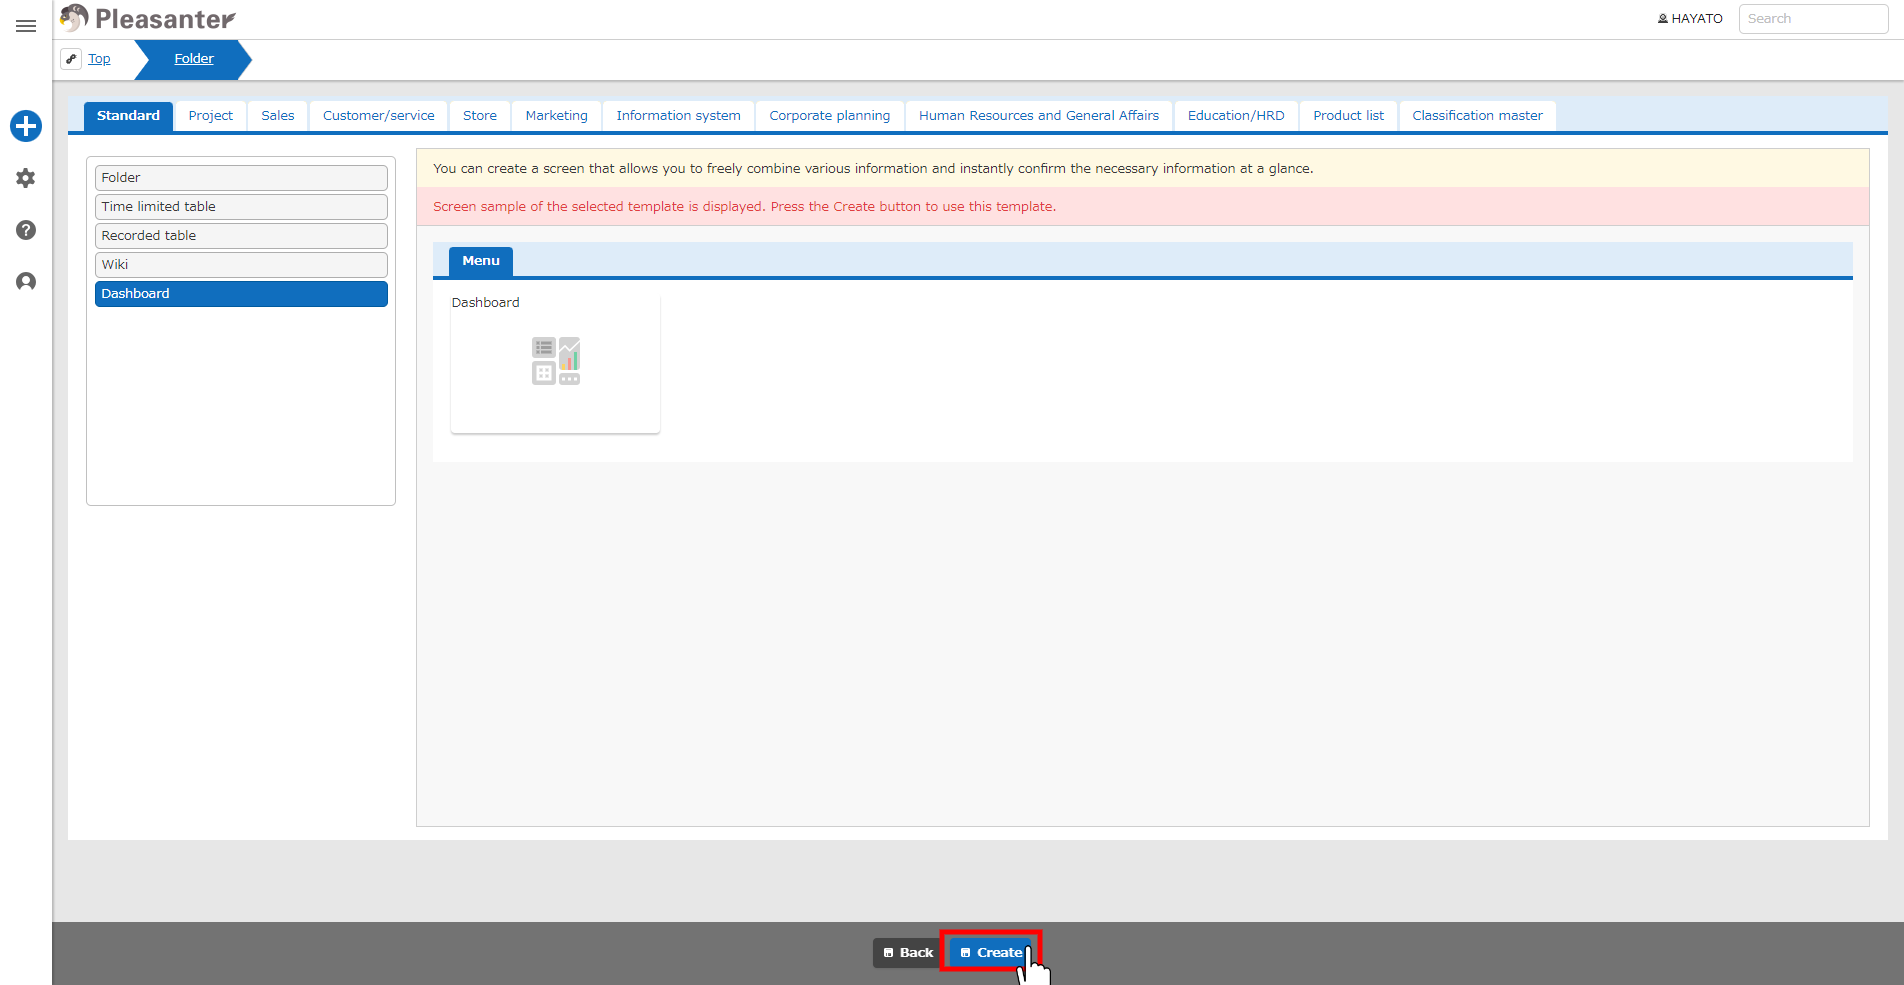
1. Click the "Create" button at the bottom of the screen.
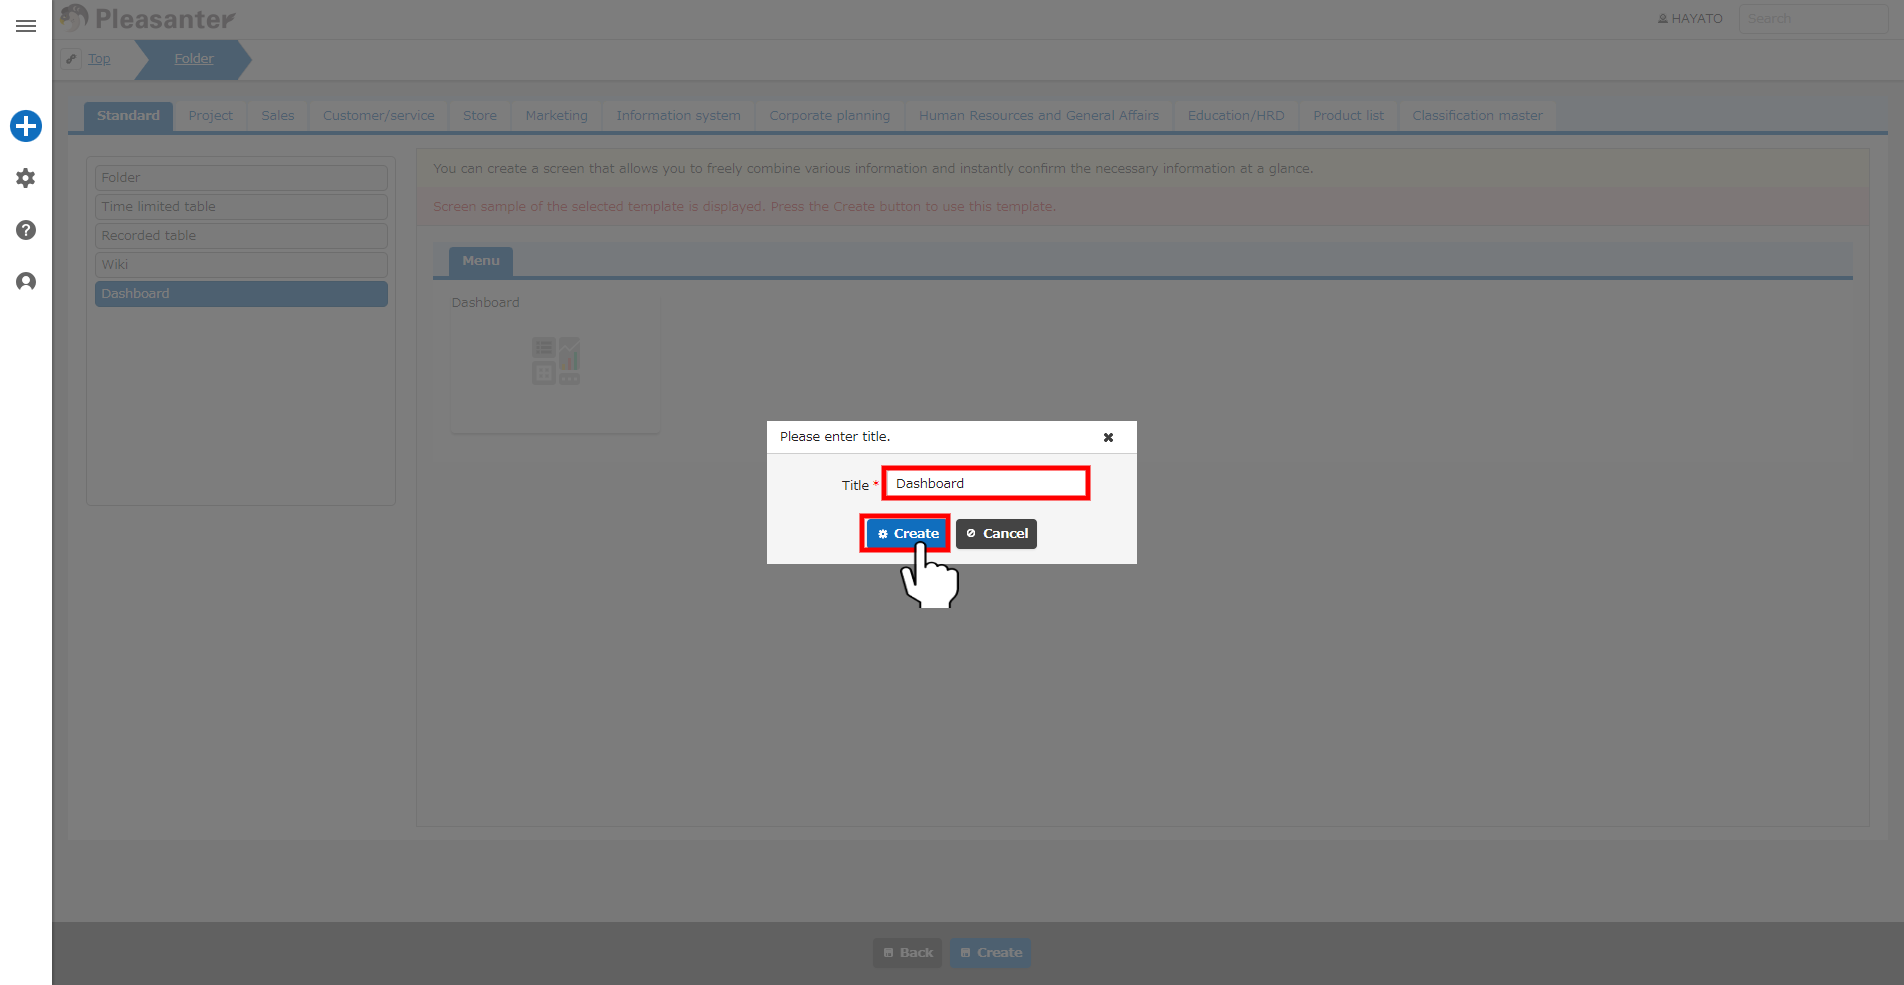
1. Enter a 「Title」 in the dialog and click the "Create" button.
1. The site for creating a dashboard is now complete.
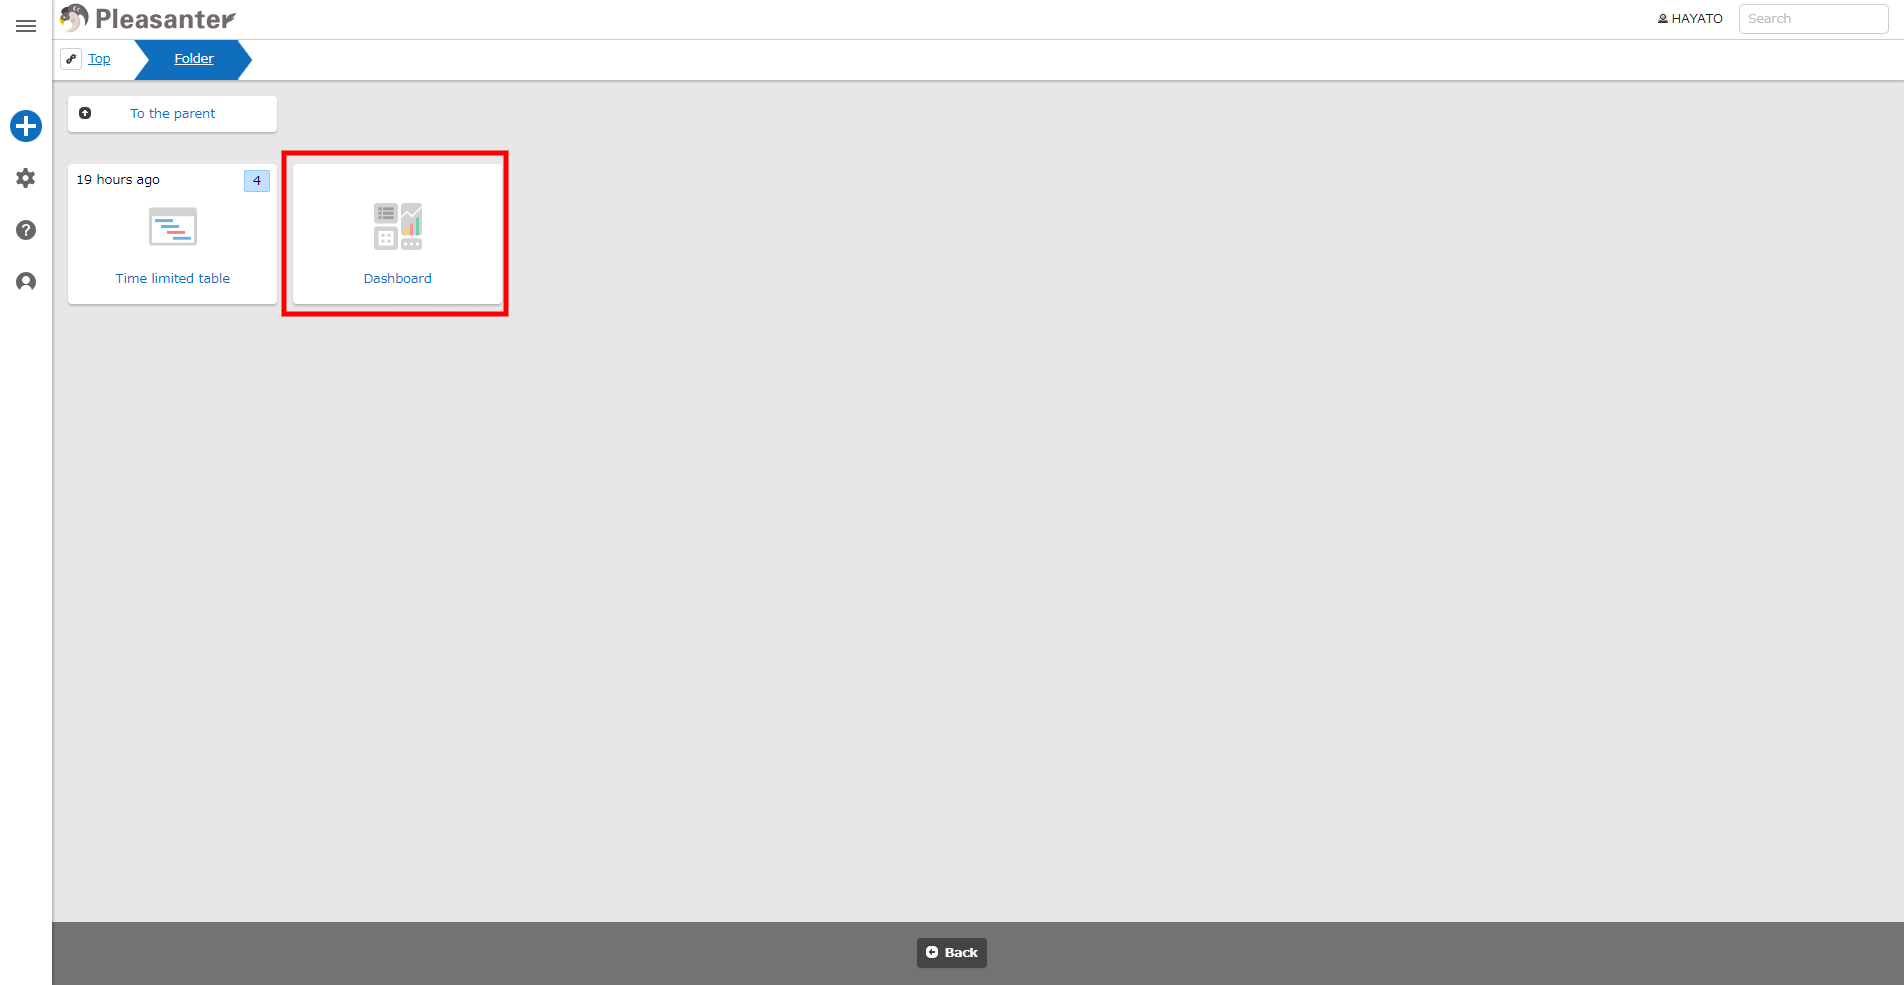
1. Let's add a quick access part that allows you to create shortcuts to frequently used tables, etc. Click "Manage Dashboard" in the navigation menu.
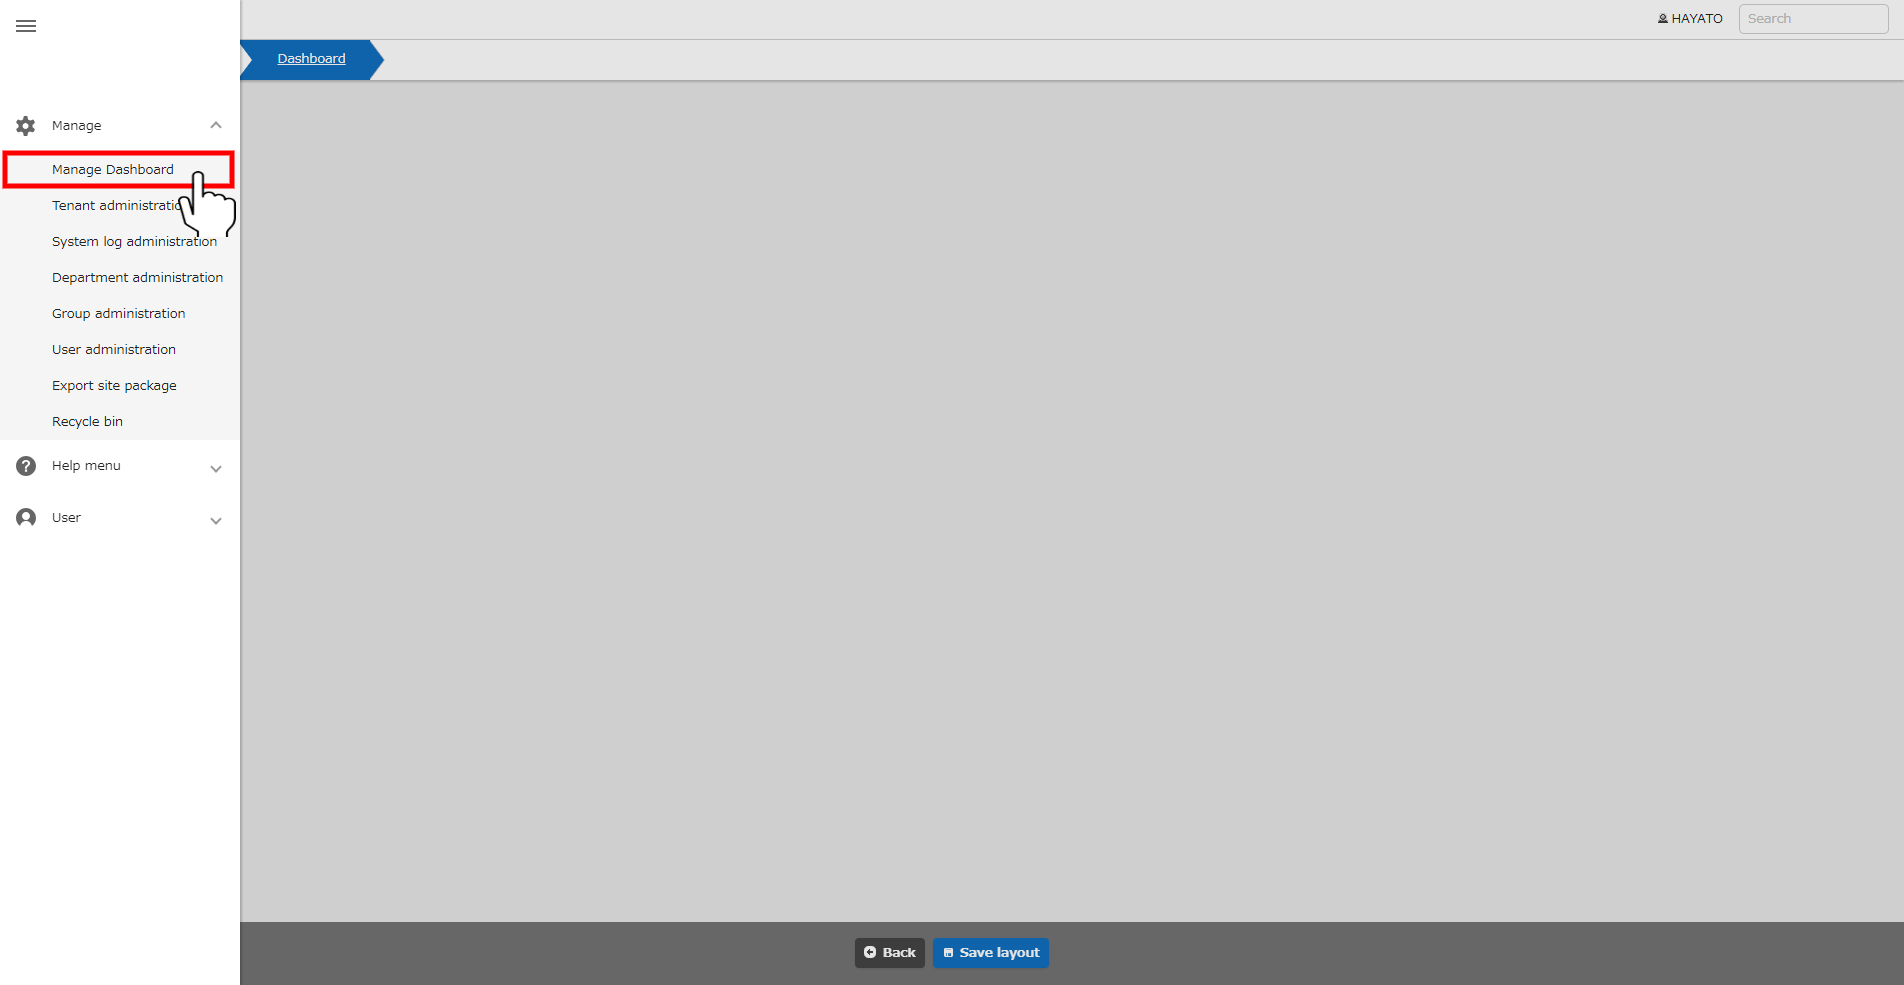
1. Click the "Dashboard parts" tab and click the "New" button.
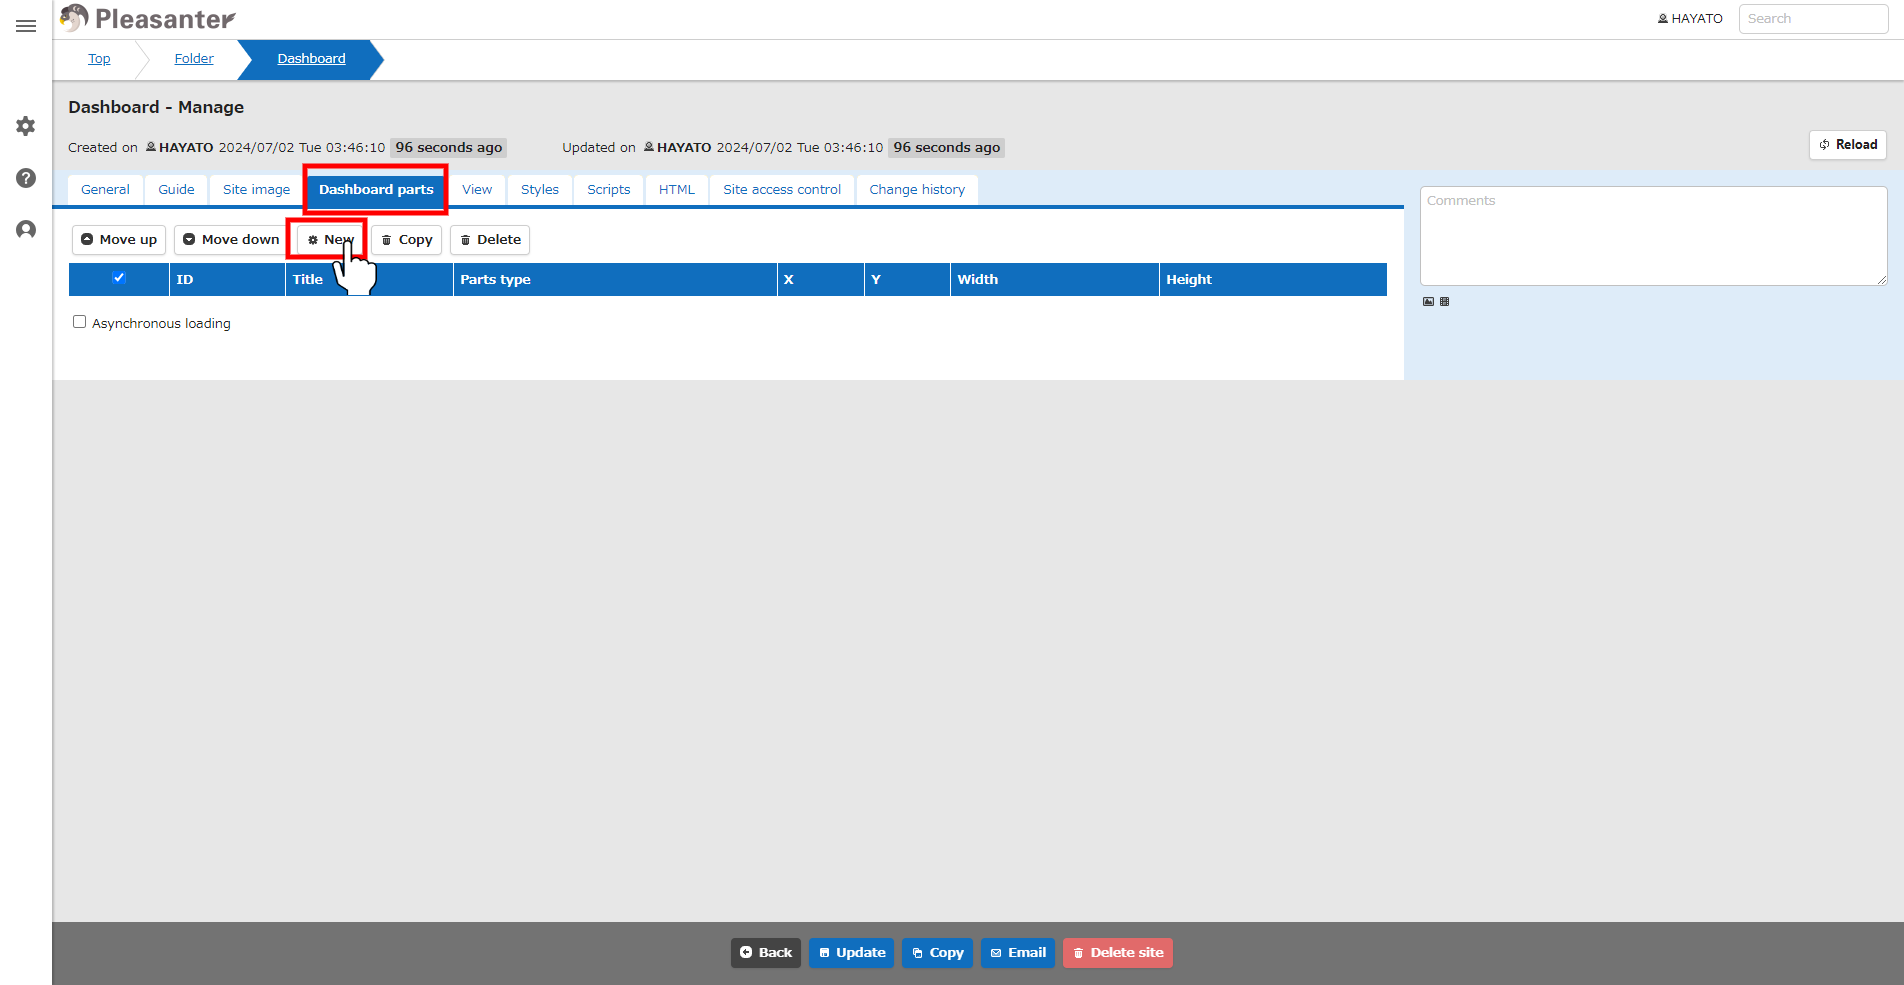
1. The dashboard dialog will be displayed, so enter a name in the title of the "General" tab and select 「Quick Access」 as the part type. Enter the site IDs of the sites you want to display in quick access, separated by commas. Click the "Add" button.
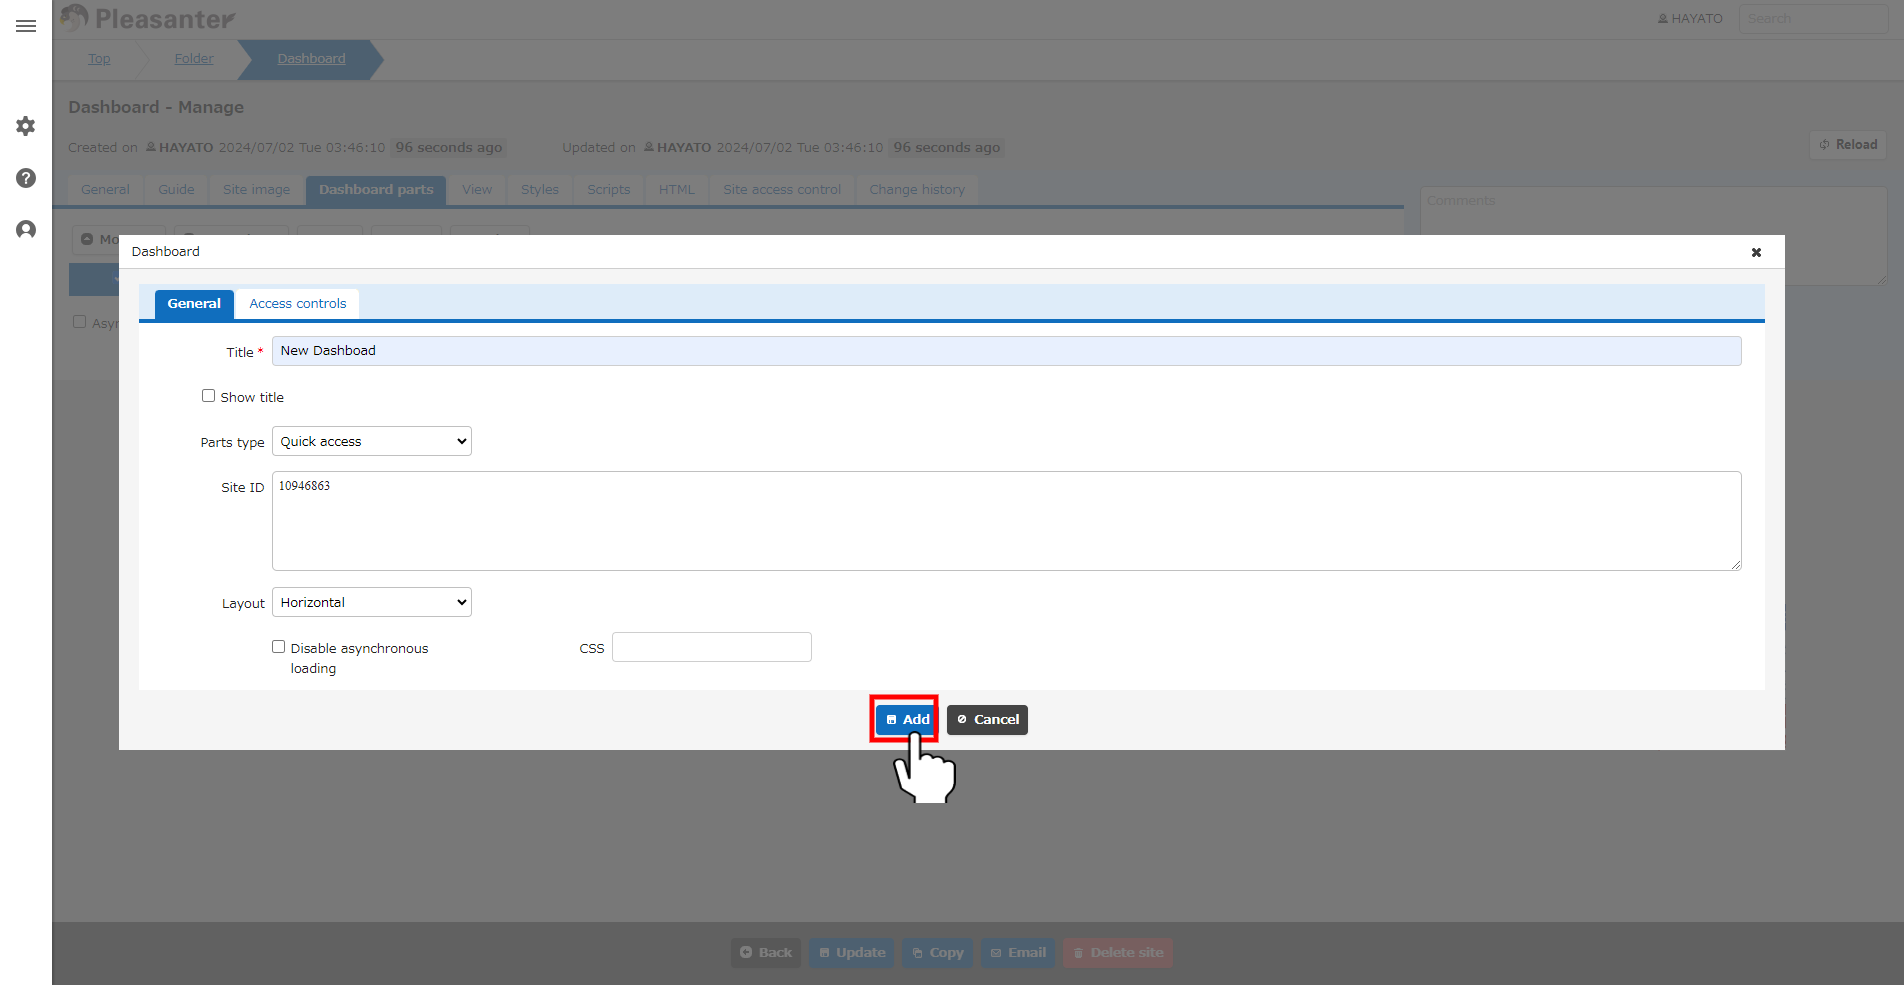
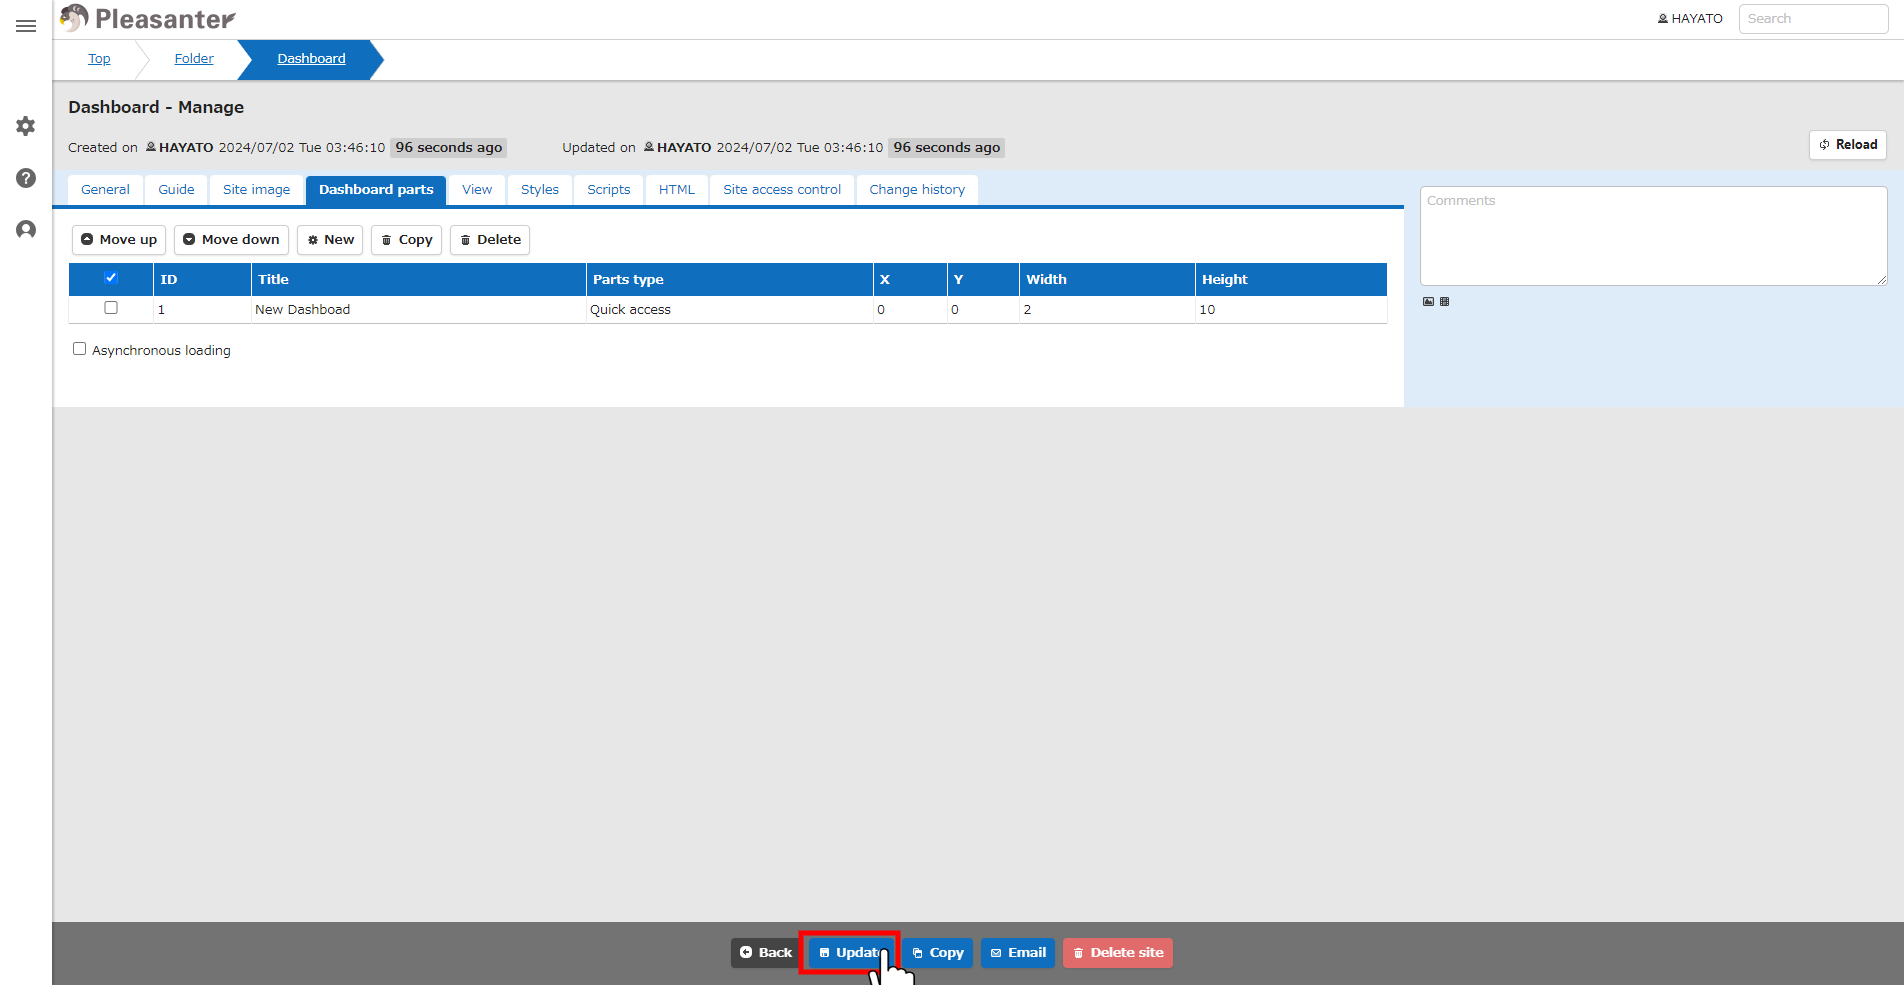
1. Once you have confirmed that the dashboard part has been added, click the "Update" button.
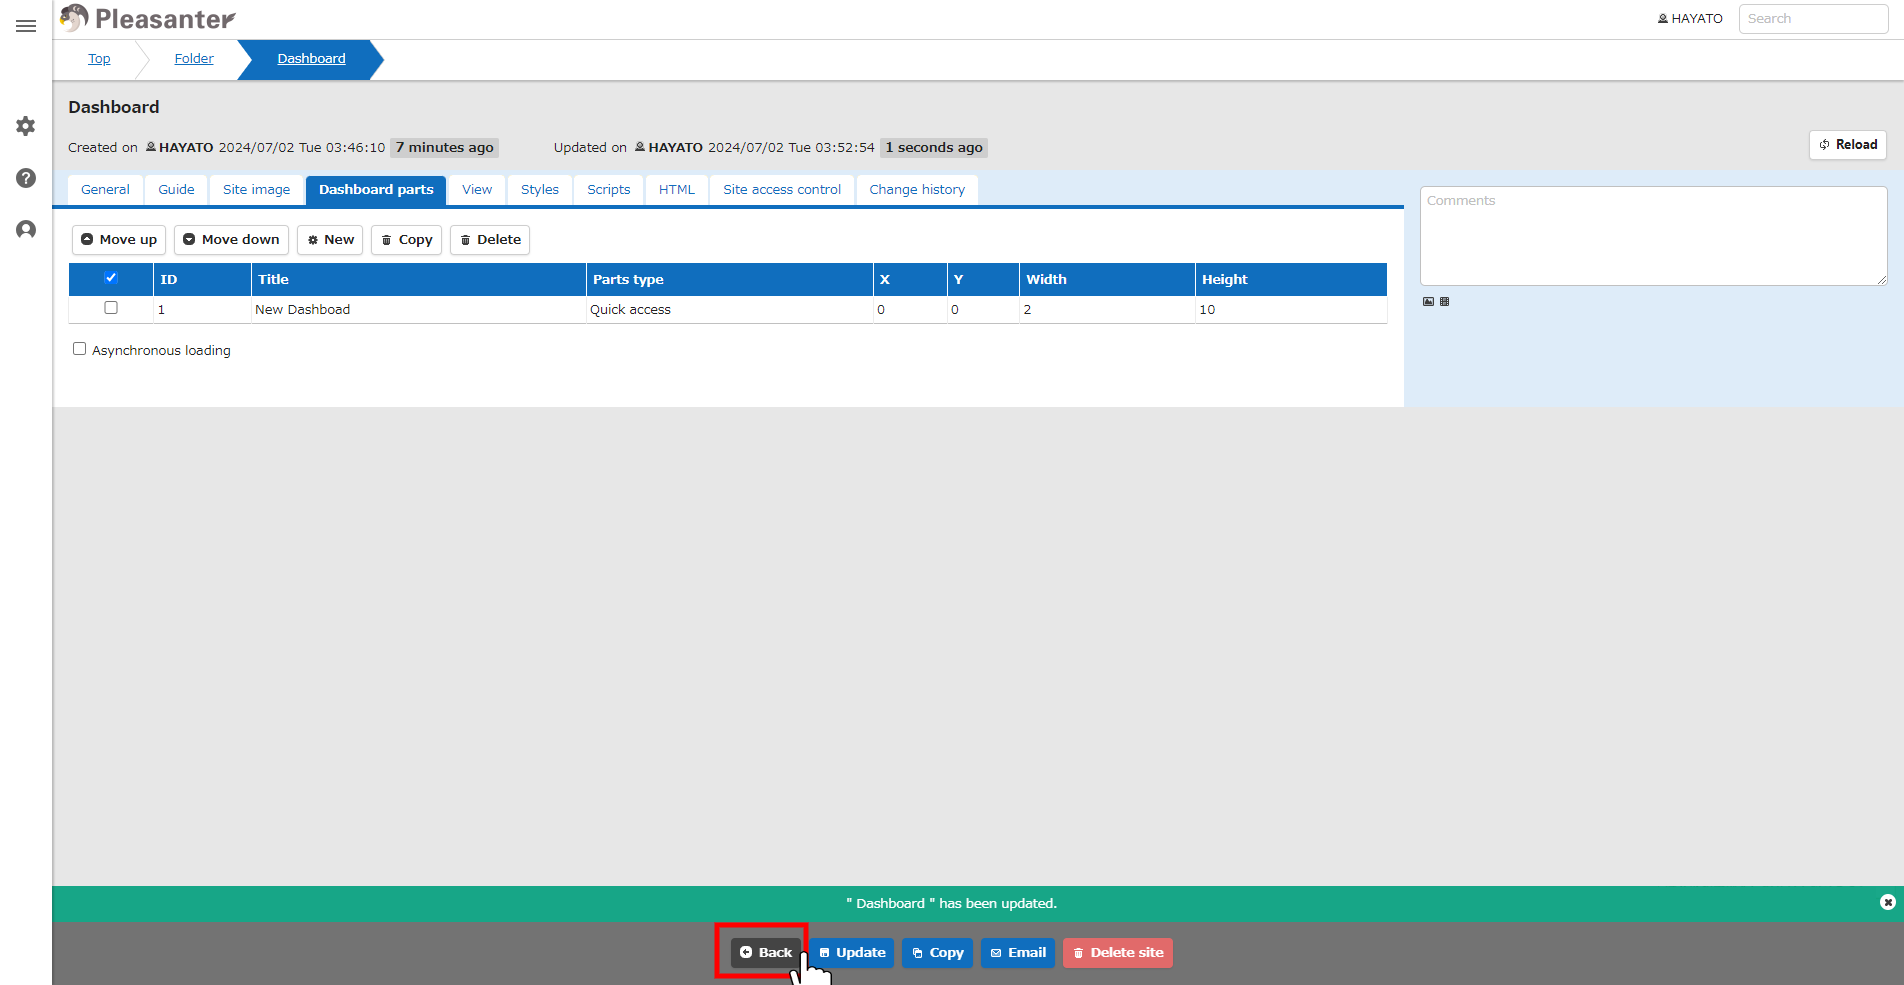
1. Check the message and click the "Back" button.
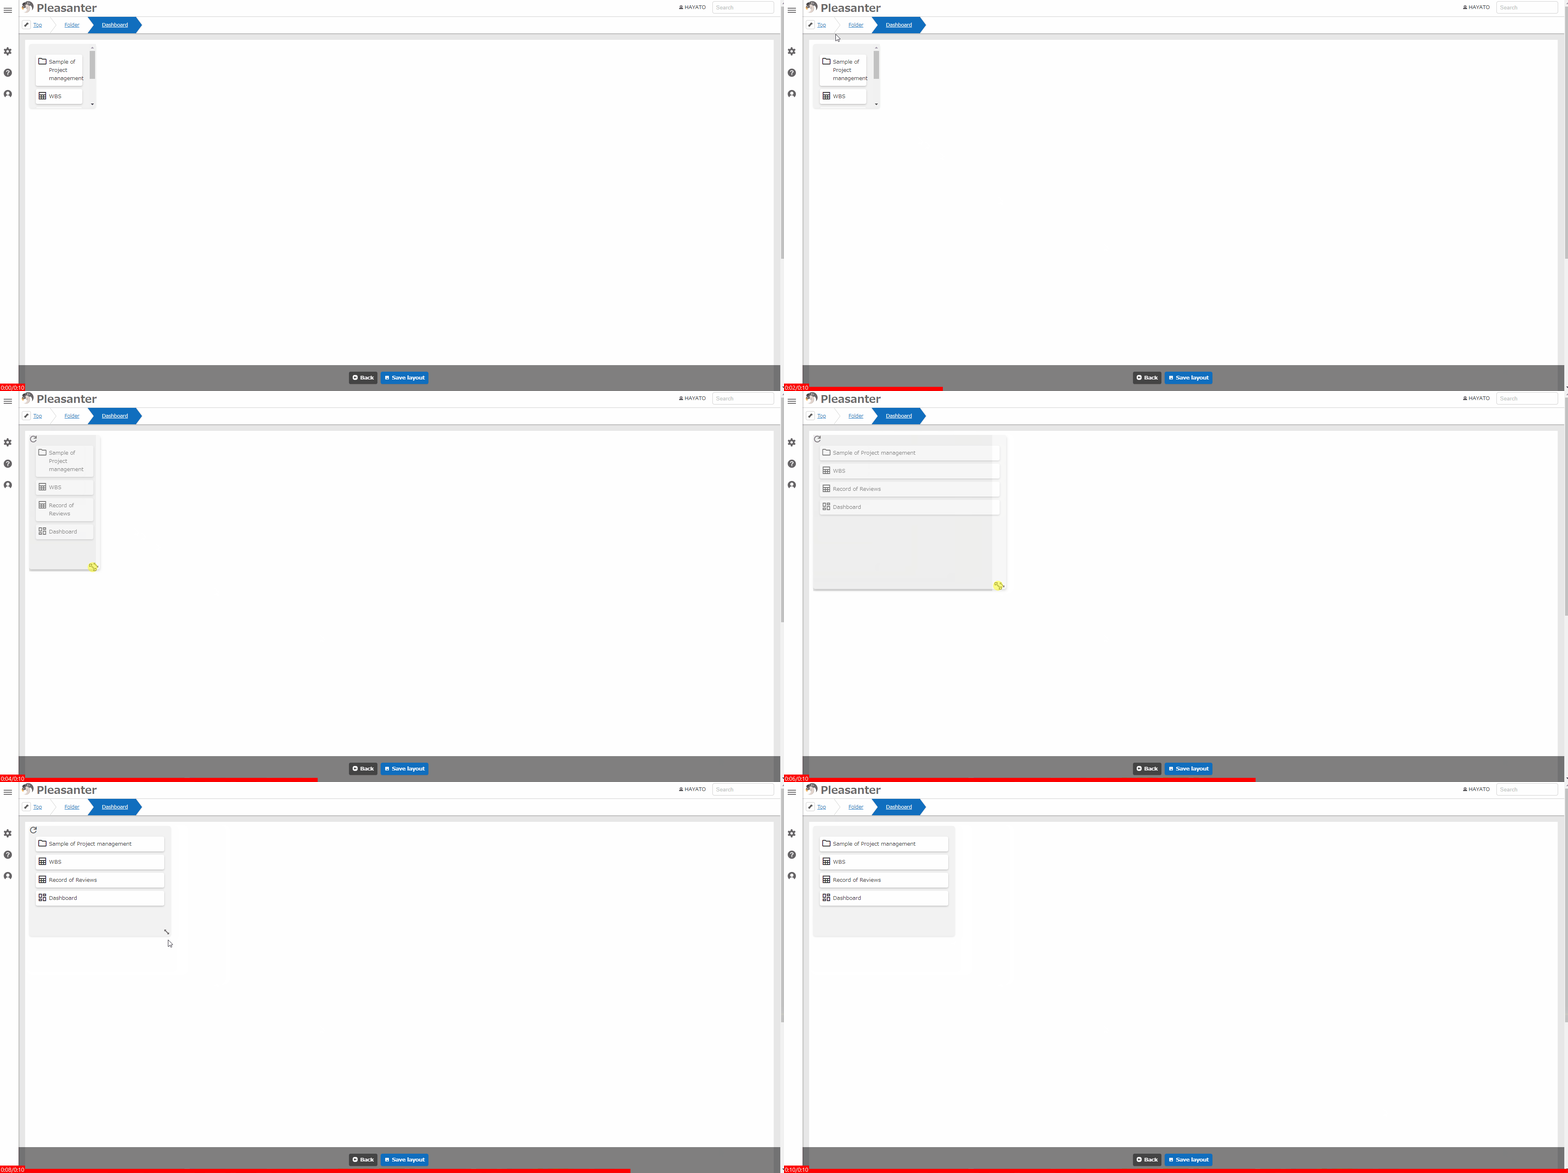
1. When you move the cursor over the part, an arrow icon will appear in the bottom right. You can freely change the part size by placing the cursor on the arrow icon and dragging it.
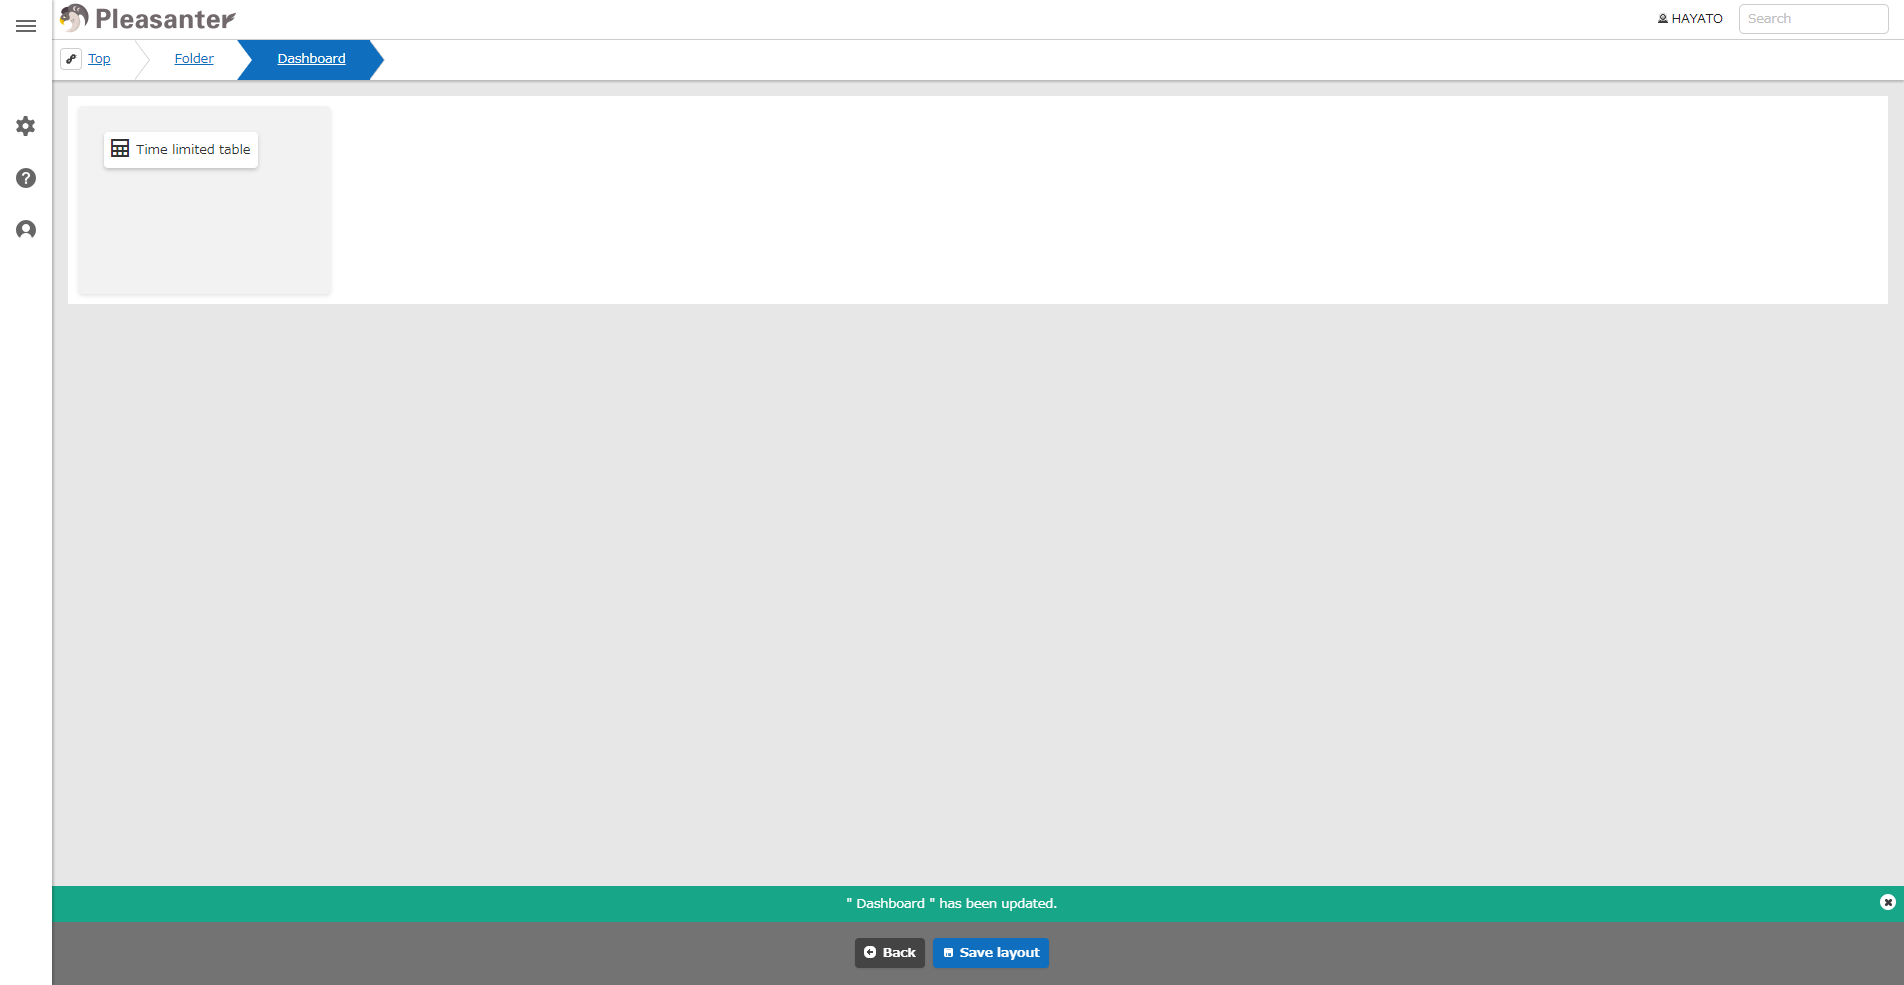
1. Once you have decided on the size, click "Save layout".
<br>
You can set icons, display guides, rearrange, and more for the dashboard you created. See below for details.
<div id="ManualList"><ul><li><a href="/en/manual/site">Site Function</a><span>10.07.2024 up</span></li>
<li><a href="/en/manual/site-delete">Site Function: Delete Site</a><span>12.19.2024 up</span></li>
<li><a href="/en/manual/site-new">Site Function: Create A New Site</a><span>12.19.2024 up</span></li>
<li><a href="/en/manual/site-custom-apps-new">Site Function: Creating New Business Applications (Custom App)</a><span>06.20.2025 up</span></li>
<li><a href="/en/manual/site-sort">Site Function: Site Sorting</a><span>08.13.2024 up</span></li>
<li><a href="/en/manual/site-move">Site Function: Site Move</a><span>08.13.2024 up</span></li>
<li><a href="/en/manual/site-copy">Site Function: Site Copy</a><span>10.02.2024 up</span></li>
<li><a href="/en/manual/site-delete-from-trash">Site Function: Delete Site from Recycle Bin</a><span>12.19.2024 up</span></li>
<li><a href="/en/manual/site-restore">Site Function: Restore Site From Recycle Bin</a><span>10.11.2024 up</span></li>
<li><a href="/en/manual/site-edit">Site Function: View And Change Site Settings</a><span>12.19.2024 up</span></li>
<li><a href="/en/manual/site-guide">Site Function: Guide Settings</a><span>12.26.2025 up</span></li>
<li><a href="/en/manual/site-simplemode">Site function: Simple Mode</a><span>06.26.2025 up</span></li>
<li><a href="/en/manual/site-image">Site Function: Set and Delete Site Images</a><span>10.11.2024 up</span></li>
<li><a href="/en/manual/site-information">Site Function: Toggle Display of Site Information</a><span>06.26.2025 up</span></li></ul></article></div><input id="SearchTextHidden" type="hidden" value="" />
<br>
In addition to Quick access, you can add Timeline, Custom, and Custom HTML parts. For details, please see below.
<div id="ManualList"><ul><li><a href="/en/manual/dashboard">Dashboard Function</a><span>12.19.2024 up</span></li>
<li><a href="/en/manual/dashboard-add-parts">Dashboard Function: Add Parts</a><span>08.14.2024 up</span></li>
<li><a href="/en/manual/dashboard-view">Dashboard Function: View Save Type</a><span>08.14.2024 up</span></li>
<li><a href="/en/manual/dashboard-quickaccess">Dashboard Function: Add Parts: Quick Access</a><span>08.14.2024 up</span></li>
<li><a href="/en/manual/dashboard-calendar">Dashboard Function: Add Parts: Calendar</a><span>08.14.2024 up</span></li>
<li><a href="/en/manual/dashboard-kanban">Dashboard Function: Add Parts: Kanban</a><span>08.14.2024 up</span></li>
<li><a href="/en/manual/dashboard-timeline">Dashboard Function: Add Parts: Timeline</a><span>10.08.2024 up</span></li>
<li><a href="/en/manual/dashboard-grid">Dashboard Function: Add Parts: Index</a><span>06.20.2025 up</span></li>
<li><a href="/en/manual/dashboard-custom">Dashboard Function: Add Parts: Custom</a><span>08.14.2024 up</span></li>
<li><a href="/en/manual/dashboard-customhtml">Dashboard Function: Add Parts: Custom HTML</a><span>08.14.2024 up</span></li></ul></article></div><input id="SearchTextHidden" type="hidden" value="" />
#### [<< Return to Operation Guide Index](/manual/basic-operations)
