Dashboard Function: Add Parts: Quick Access
## Overview
Add quick access to the "[Dashboard](/en/manual/dashboard)". List links to configured sites ("[Folder](/en/manual/folder)", "[Table](/en/manual/table)", "[Wiki](/en/manual/wiki)", "[Dashboard](/en/manual/dashboard)").
## Setting Procedure
### General Tab

|Item name|Description|
|:---|:---|
|Title|The name of the part. |
|Display Title|Check this if you want to display the title.|
|Site ID|Enter the site ID, site name, and site group name you want to display, separated by commas. They will be displayed in the order you enter them. Enter 0 to specify the top page. You can also enter in JSON format. |
|Layout|Select the layout of the quick access parts. |
|Do not Load Asynchronously|If this checkbox is checked, asynchronous loading will not be performed regardless of the asynchronous loading setting. For information on setting asynchronous loading, refer to "[Dashboard Function: Add Parts](/en/manual/dashboard-add-parts)". |
|CSS|Use this to apply CSS to elements in the quick access panel. By specifying a CSS class name, you can assign any class name to each item and apply a "[Style](/en/manual/table-management-style)". |
### Access Control Tab

Set the reference permissions for quick access. This part will be hidden if a user without reference permissions opens the dashboard.
<a id="site-icon"></a>
## Display Content
### Site Icon
An icon will automatically be displayed before the site name according to the type of site specified by the site ID. You can change the icon by [Specifying the site ID in JSON format](#site-icon-by-json), which will be described later.
|Site type|Icon|
|:---|:---|
|Folder||
|Issue Table||
|Record Table||
|Wiki||
|Dashboard||

### Layout
Choose either vertical or horizontal layout.
|Layout|Content|
|:---|:---|
|Vertical|Display sites arranged vertically. A vertical scroll bar appears if the height of the part is reduced.|
|Horizontal|Display sites arranged horizontally. If the width of the part is reduced, the content will wrap.|
* Layout: Vertical

* Layout: Horizontal

<a id="site-icon-by-json"></a>
## Specifying Site IDs in JSON Format
By specifying the site ID in JSON format, you can change icons and assign CSS styles to each displayed site.
|Item name|Description|
|:---|:---|
|Id|Specify the site ID. |
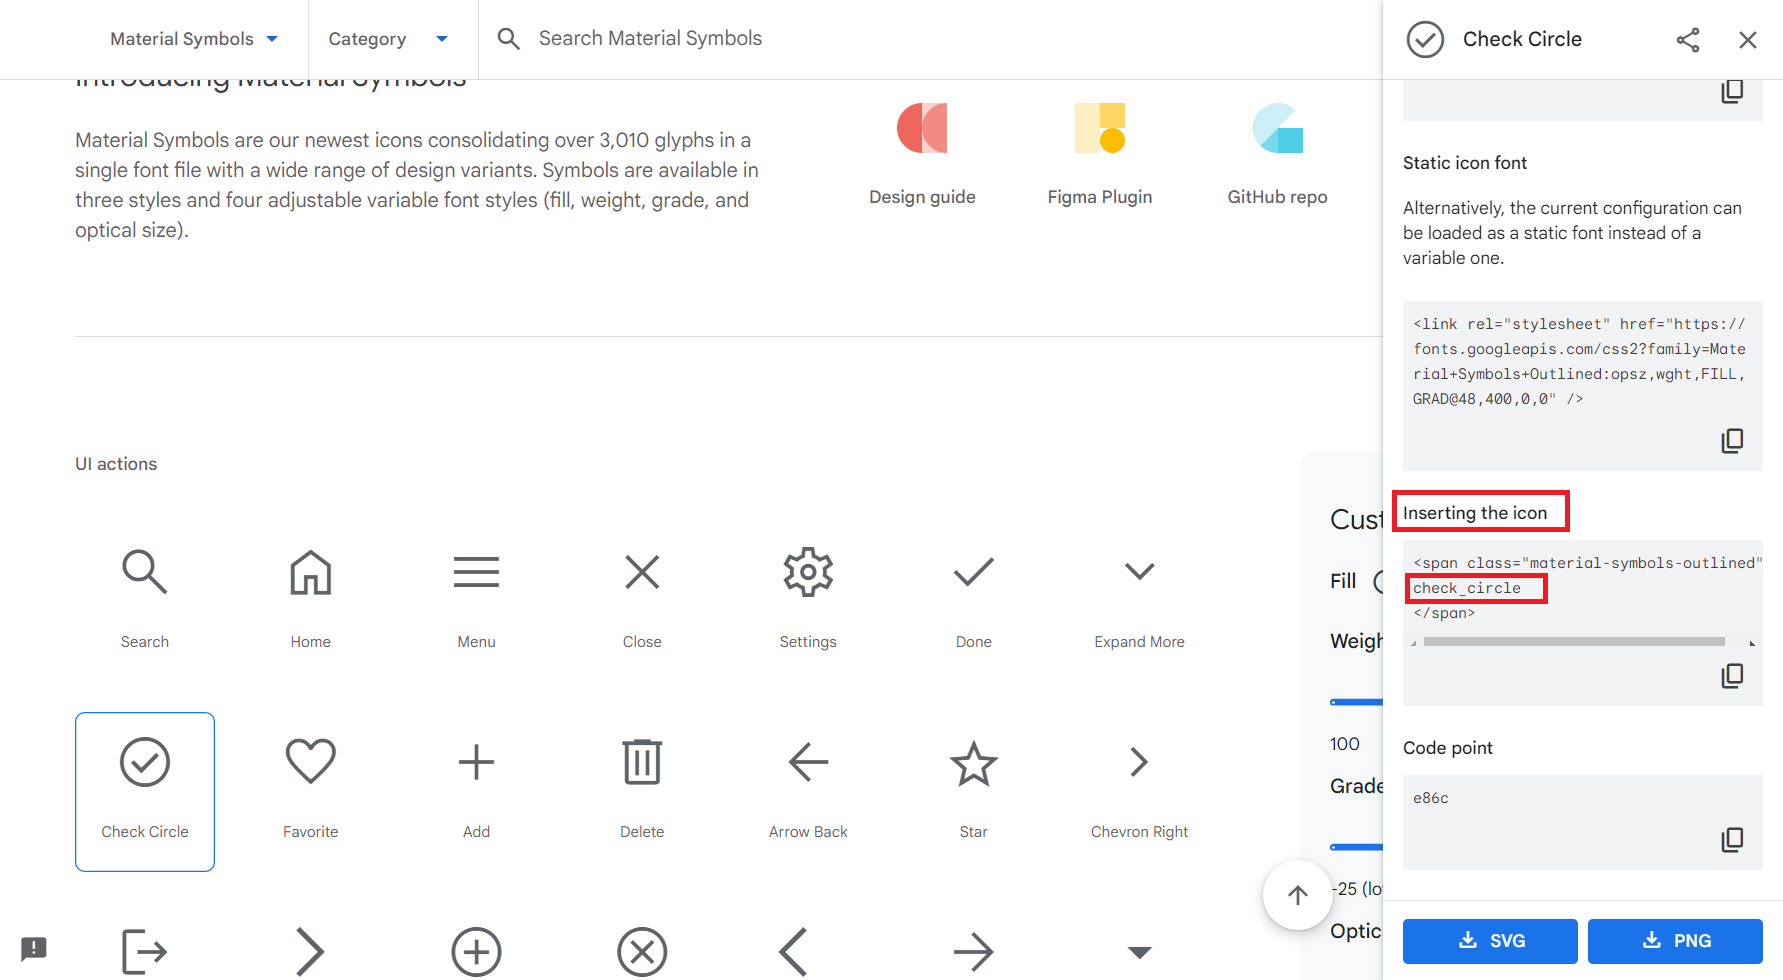
|Icon|Set the icon to be displayed before the site name. For the characters to specify, see [Material Symbols (*1)](#material-symbols). Icon is optional. If omitted, the content of [Site Icon](#site-icon) will be displayed. |
|Css|Sets the css class name. Set the style for the class specified in advance in the "CSS" tab or "Extended CSS". Css is optional. |
### Setting Example
The display results are as shown below when the site ID and CSS are set as follows.
##### JSON
```
[
{
"Id": 123,
"Icon": "check_circle",
"Css": "bgcolorPink"
},
{
"Id": 456,
"Icon": "check_circle"
},
{
"Id": 789,
"Css": "bgcolorPink"
}
]
```
##### CSS
```
.bgcolorPink {
background-color: pink;
}
```
##### Display Result

<a id="material-symbols"></a>
### *1 How to Search for Specified Characters from Material Symbols
To specify the characters for the Icon in the JSON format site ID specification, follow the procedure below:
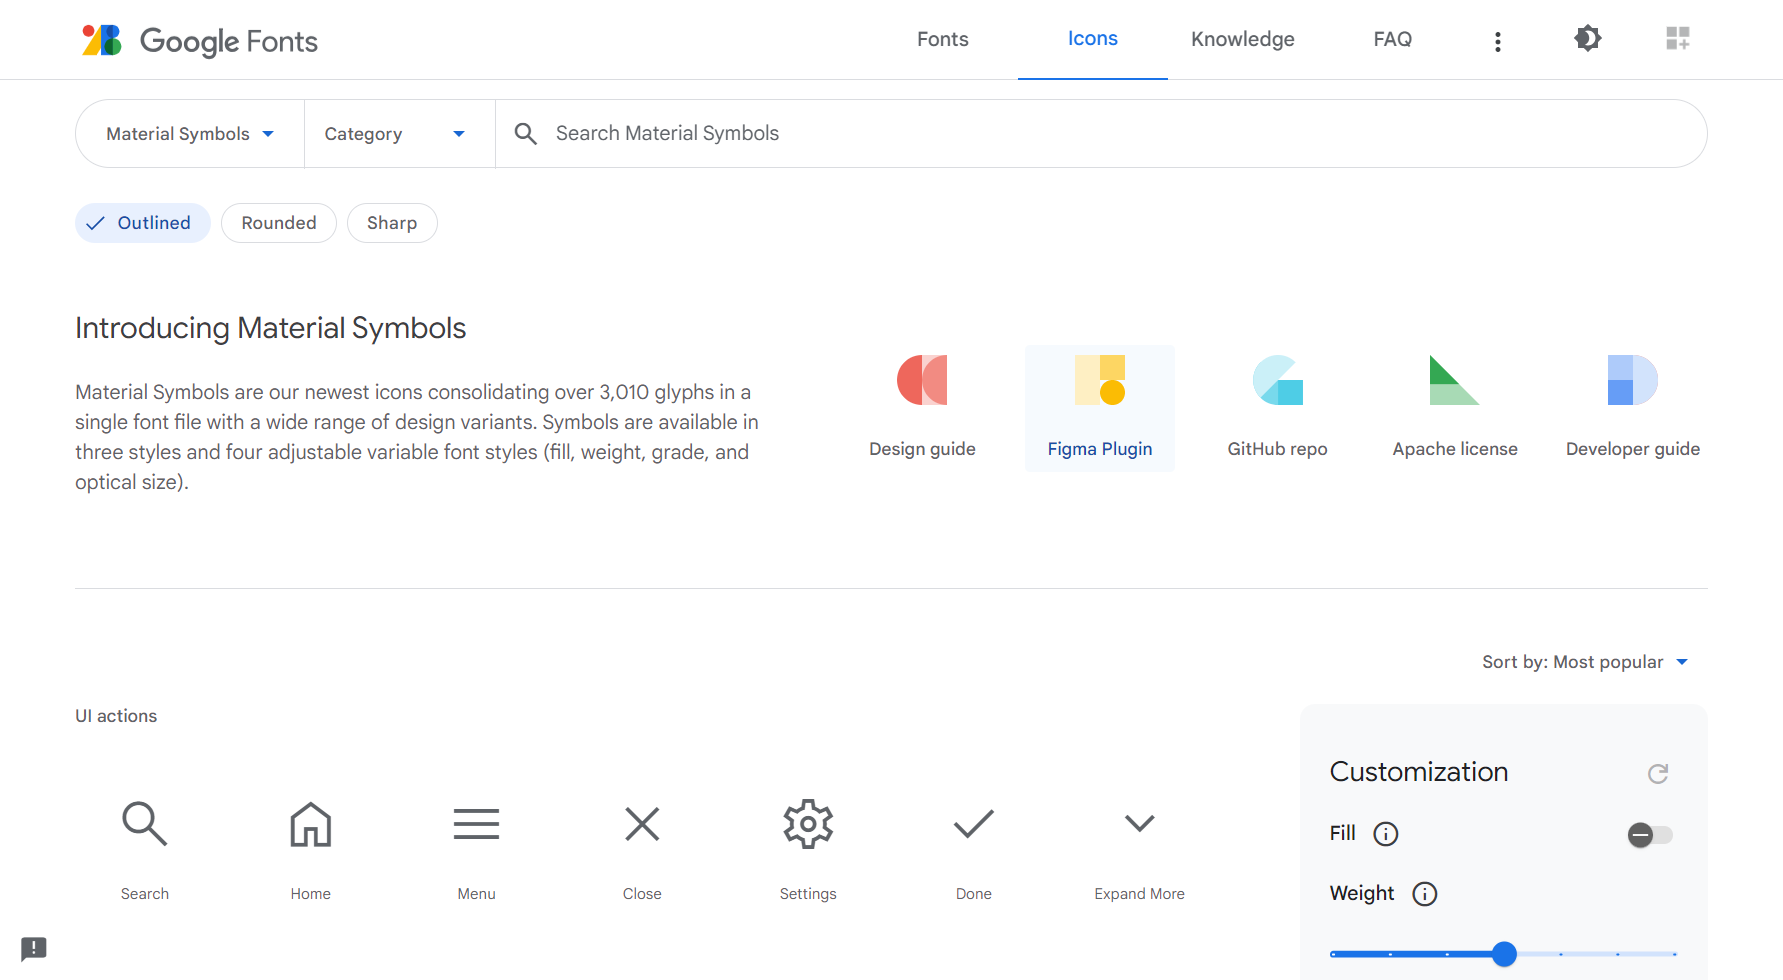
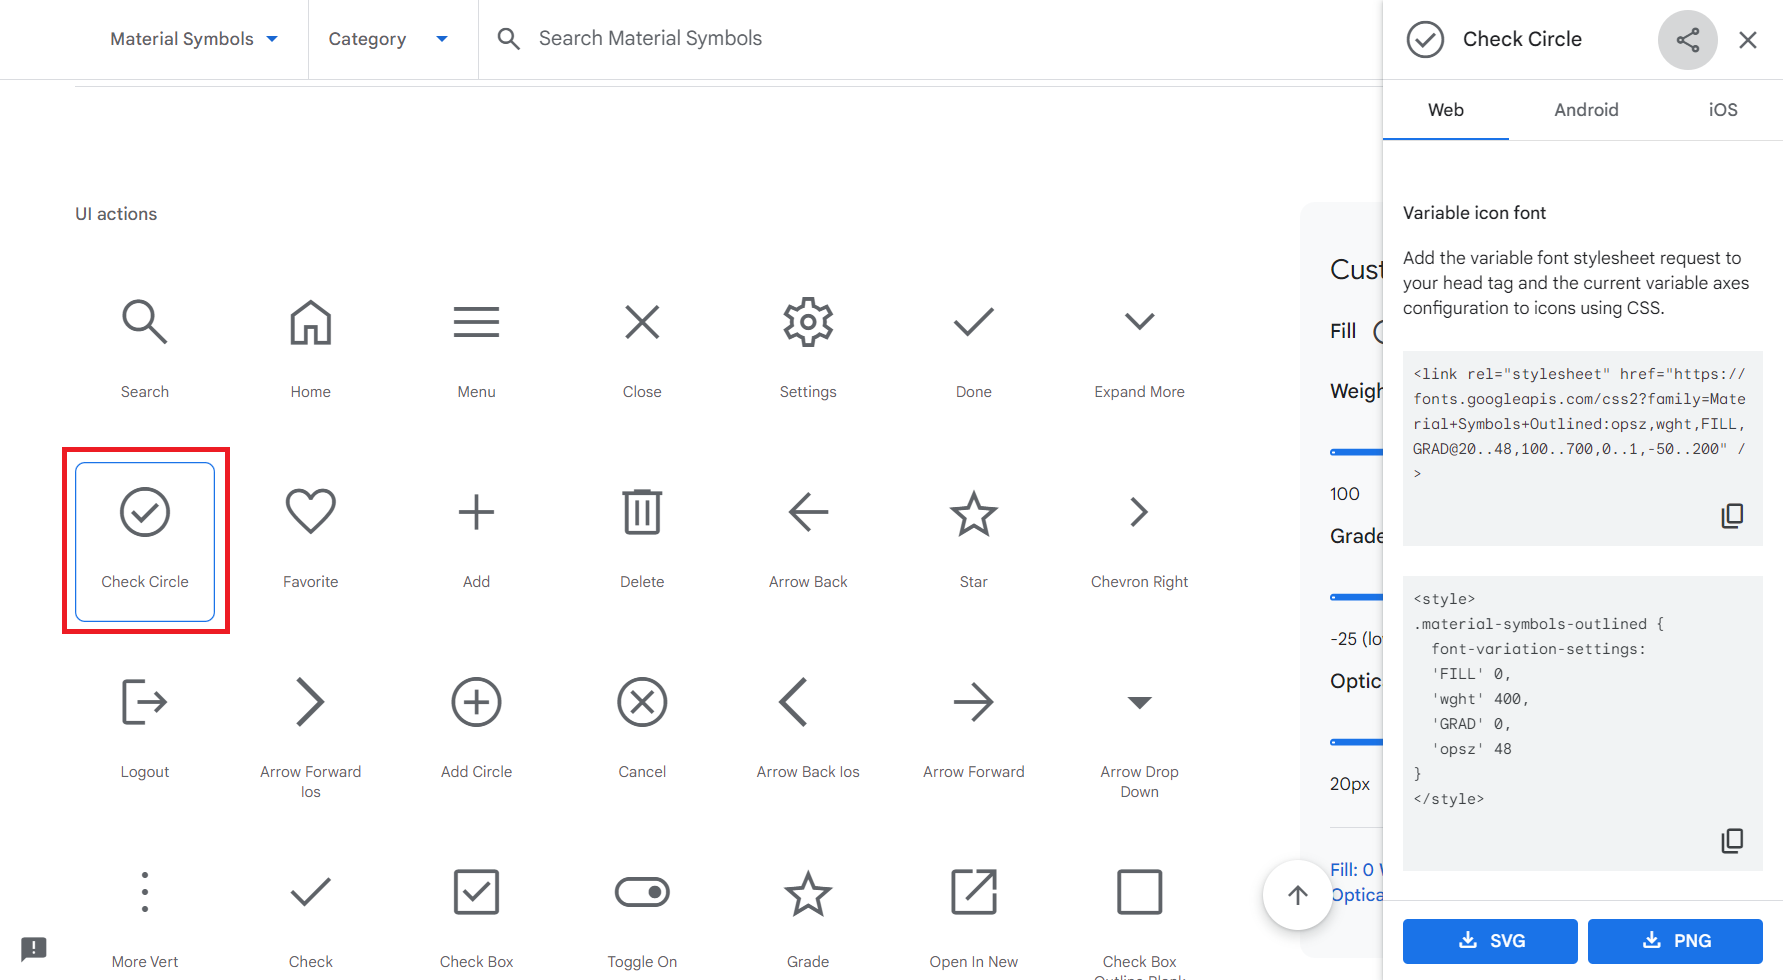
1. Open the [Material Symbols](https://fonts.google.com/icons) page

1. Click on the icon you want to use

1. Set the text enclosed in span tags in the "Inserting the icon" field displayed on the right side of the screen as the Icon.

## Related Information
<div id="ManualList"><ul><li><a href="/en/manual/folder">Folder function</a><span>08.13.2024 up</span></li></ul></article>
<ul><li><a href="/en/manual/table">Table Function</a><span>08.13.2024 up</span></li></ul></article>
<ul><li><a href="/en/manual/table-management-style">Table Management: Style</a><span>08.13.2024 up</span></li></ul></article>
<ul><li><a href="/en/manual/wiki">Wiki Function</a><span>08.13.2024 up</span></li></ul></article>
<ul><li><a href="/en/manual/dashboard">Dashboard Function</a><span>12.19.2024 up</span></li></ul></article></div><input id="SearchTextHidden" type="hidden" value="" />
