Set Up to Send Notifications to Rocket.Chat
## Overview
Setup procedure for notifications from Pleasanter to Rocket.Chat.
## Supported Versions
1. Pleasanter 1.1.20.0 or later
1. Pleasanter .NET Framework version 0.50.240 or later
## Prerequisites
1. You need the "Site Administrator Permission".
1. Setup Rocket.Chat and register as a user.
https://rocket.chat/
1. Set "Rocket.Chat" in [Notification.json](/manual/notification-json) to true.
## Get Webhook URL
1. Log in to Rocket.Chat and click on "Manage" (red frame in the image below).

1. Click "Service Integration" on the left side of the screen, then click "New" in the upper right corner of the screen.

1. Use the button in the top right of the screen to enable service integration.
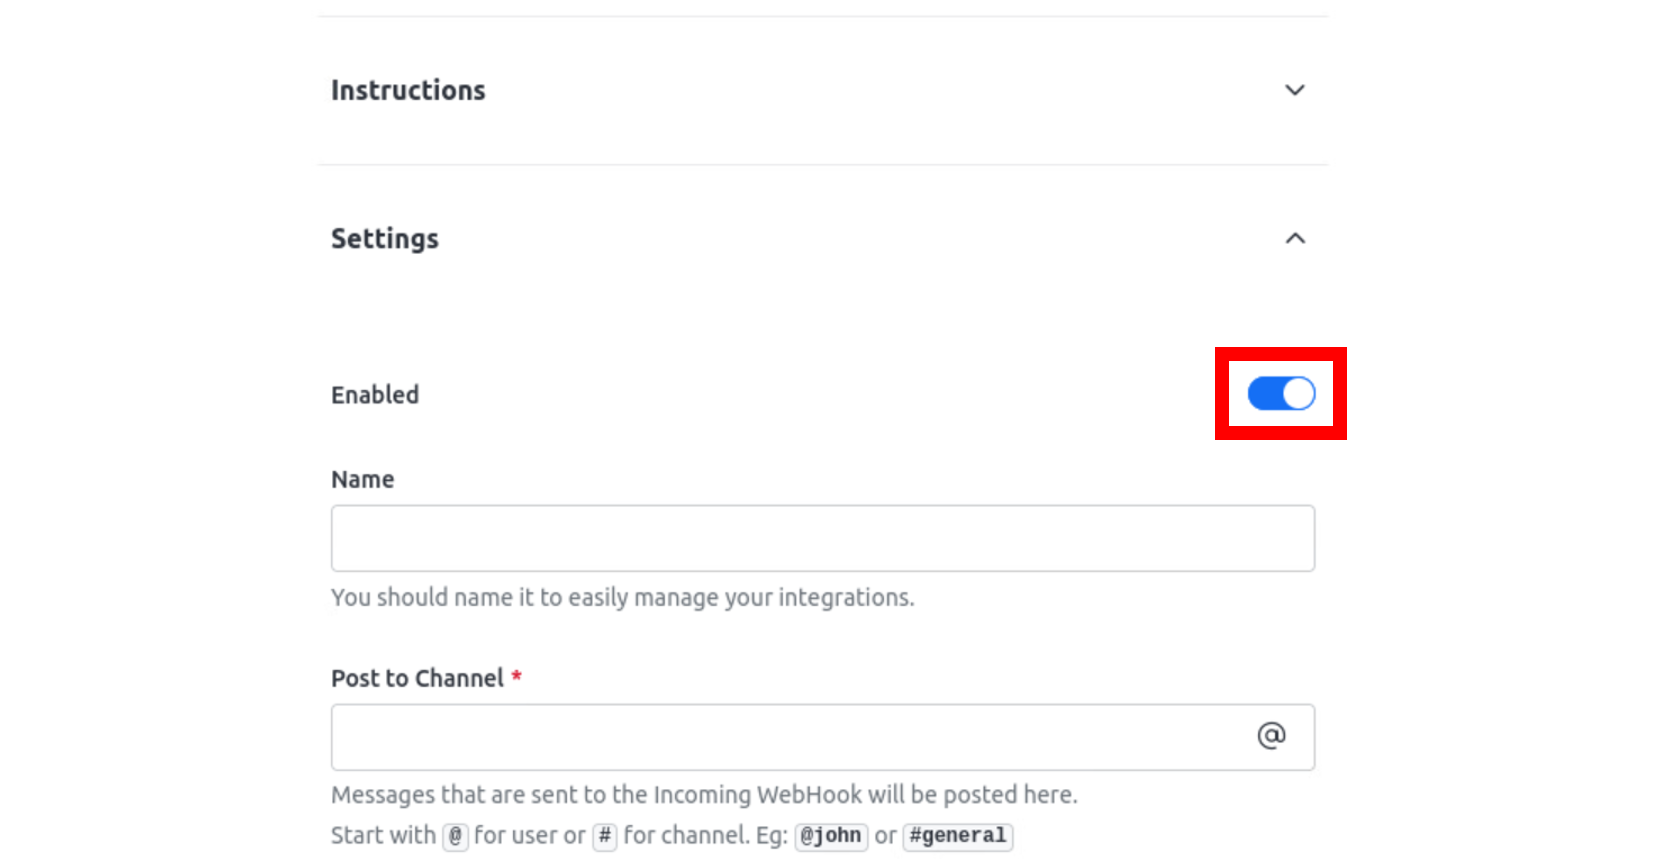
1. Set values for the target channel, posting user, and other necessary columns, then click "Save" at the bottom of the screen.

1. Copy the Webhook URL to register in Pleasanter.

## Pleasanter Settings
1. Select the table to set notifications and open the "[Manage Table](/en/manual/table-management)" - "「Notification」" tab. Click the "Create New" button.

2. Enter "Rocket.Chat" as the notification type and "Webhook URL" as the address. Then click the "Add" button.

3. Click the "Update" button. This completes this procedure.

## Related Information
<div id="ManualList"><ul><li><a href="/en/manual/table-management">Manage Table</a><span>12.09.2025 up</span></li></ul></article></div><input id="SearchTextHidden" type="hidden" value="" />