Table Function: Register Image to Record
## Overview
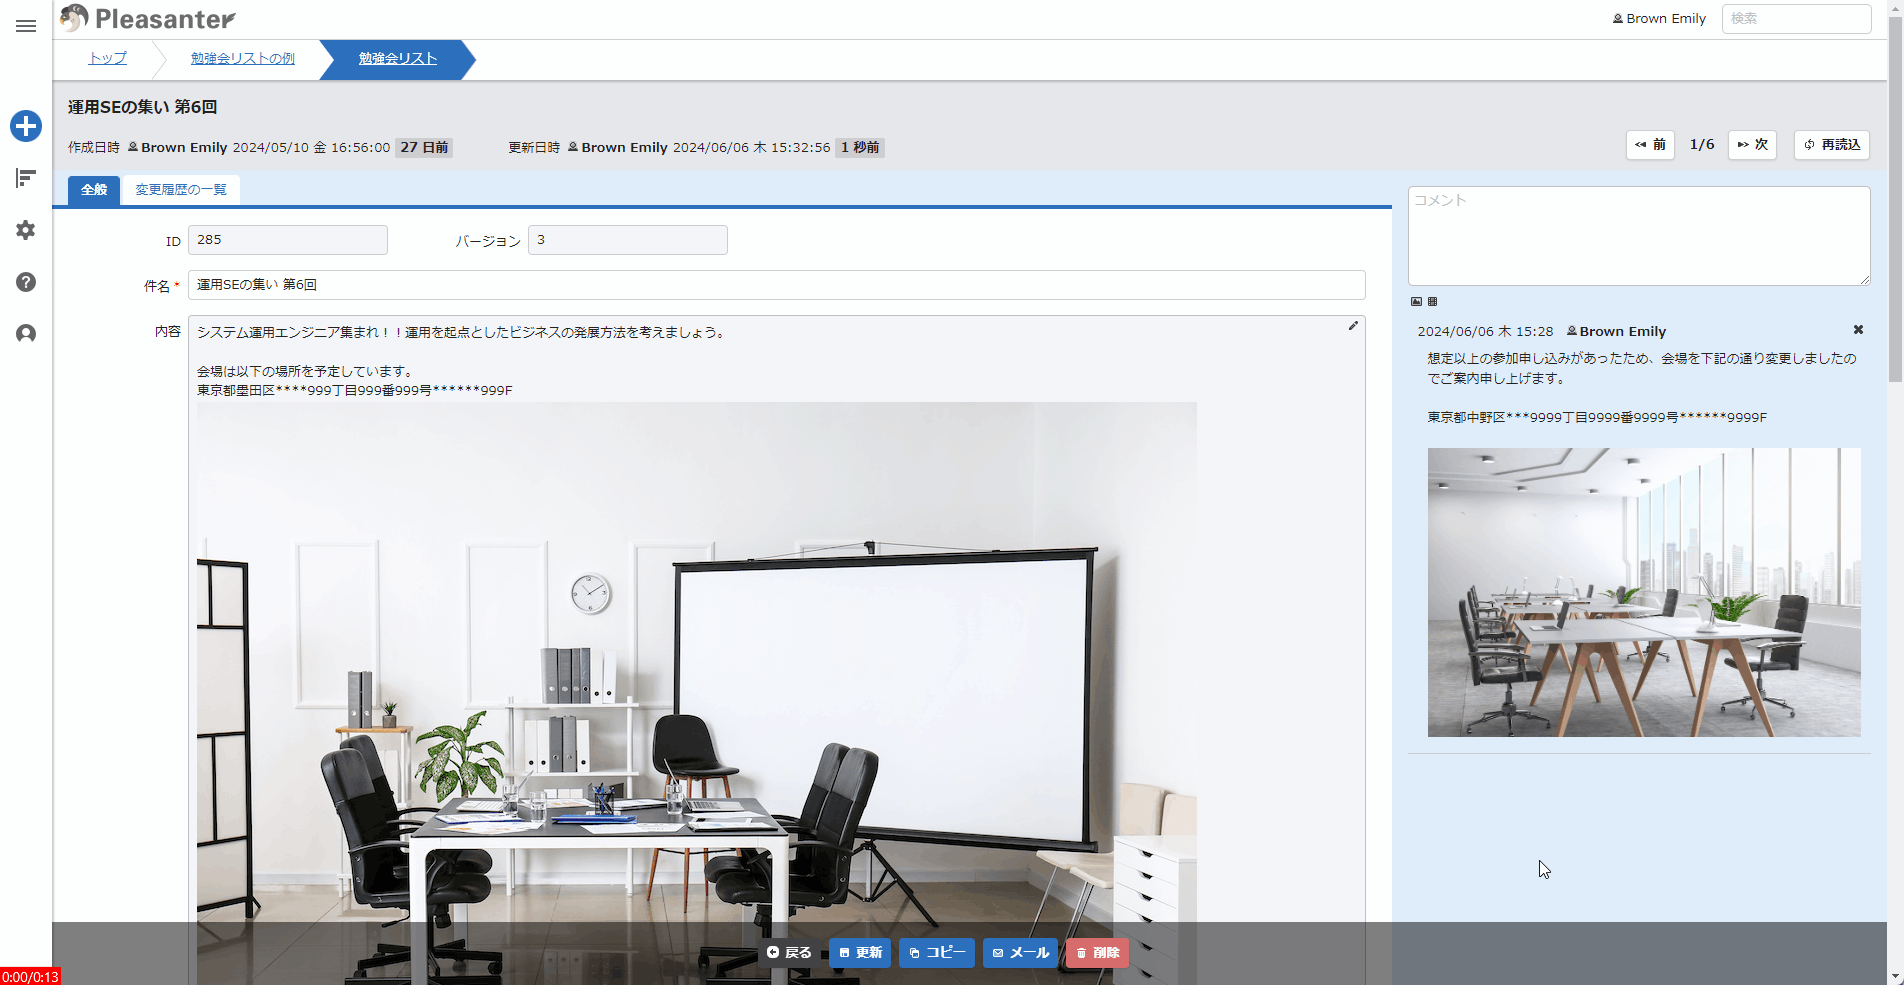
Register/display arbitrary "Image" in the "[Body Item](/en/manual/table-management-body)", "[Description Item](/en/manual/table-management-description)", "[Comments Item](/en/manual/table-management-comments)".
## Limitations
1. Copy and Paste operation is not available in Internet Explorer.
1. If the table is locked, the "Update" button is not displayed and operations cannot be performed.
1. If the record is locked, the "Update" button is not displayed and operations cannot be performed.
1. The "Update" button is not displayed and operations cannot be performed for read-only records.
## Prerequisites
1. "Read Permission" and "Delete Permission" are required.
1. "Allow Image Registration" must be turned on in the advanced settings of the column.
## 1. Select and Register Image Files
### For PC
<details>
<summary>View Details</summary>
1. Place the cursor where you want to insert the image in the text area and click the "Select Image File" button at the bottom left of the text area.

1. Select any image file.
1. The image will be registered to the field.
</details>
### For iPhone
<details>
<summary>View Details</summary>
1. Place the cursor where you want to insert the image in the text area and tap the "Select Image File" button at the bottom left of the text area.
1. Tap "Photo Library".
1. Select any image file.
1. The image will be registered to the field.
</details>
### For Android
<details>
<summary>View Details</summary>
1. Place the cursor where you want to insert the image in the text area and tap the "Select Image File" button at the bottom left of the text area.
1. Select any image file.
1. The image will be registered to the field.
</details>
## 2. Register by Copy & Paste
### Common for PC, iPhone, and Android
<details>
<summary>View Details</summary>
1. Copy any image to the clipboard.
2. Place the cursor where you want to insert the image in the text area and paste.
3. A string indicating the path to the image will be inserted.
4. The image will be displayed when editing is finished.

</details>
## 3. Register Images Taken with Camera
### For iPhone
<details>
<summary>View Details</summary>
1. Place the cursor where you want to insert the image in the text area and click the "Select Image File" button at the bottom left of the text area.
1. Click "Take Photo".
1. When shooting is complete, "Retake" and "Use Photo" will be displayed at the bottom of the screen. Click "Use Photo".
1. The image will be registered to the field.
</details>
### For Android
<details>
<summary>View Details</summary>
1. Place the cursor where you want to insert the image in the text area and click the "Launch Camera" button at the bottom left of the text area.
1. If necessary, click the "Switch Camera" button to switch the camera used for shooting.
1. Clicking the "Capture" button will register the image to the field.
</details>
### For PC
<details>
<summary>View Details</summary>
<a id="bootcamera"></a>
1. Click the camera launch button at the bottom left of the text area.

1. Select the camera to shoot with and choose the permission method.

1. Click the "Capture" button.

1. The image will be registered to the field.
</details>
## 4. Display Registered Images
### Common for PC, iPhone, and Android
<details>
<summary>View Details</summary>
When you click on a registered image, you can view the registered image in a popup display as shown below.
However, if you set the EnableLightBox value to false in "Parameter Settings: General.json", the image will be displayed in a newly opened separate tab.
</details>
## Related Information
<div id="ManualList"><ul><li><a href="/en/manual/table-management-body">Manage Table: Items: Body</a><span>12.09.2025 up</span></li>
<li><a href="/en/manual/table-management-description">Manage Table: Items: Description</a><span>12.09.2025 up</span></li>
<li><a href="/en/manual/table-management-comments">Manage Table: Items: Comments</a><span>12.09.2025 up</span></li></ul></article></div><input id="SearchTextHidden" type="hidden" value="" />